
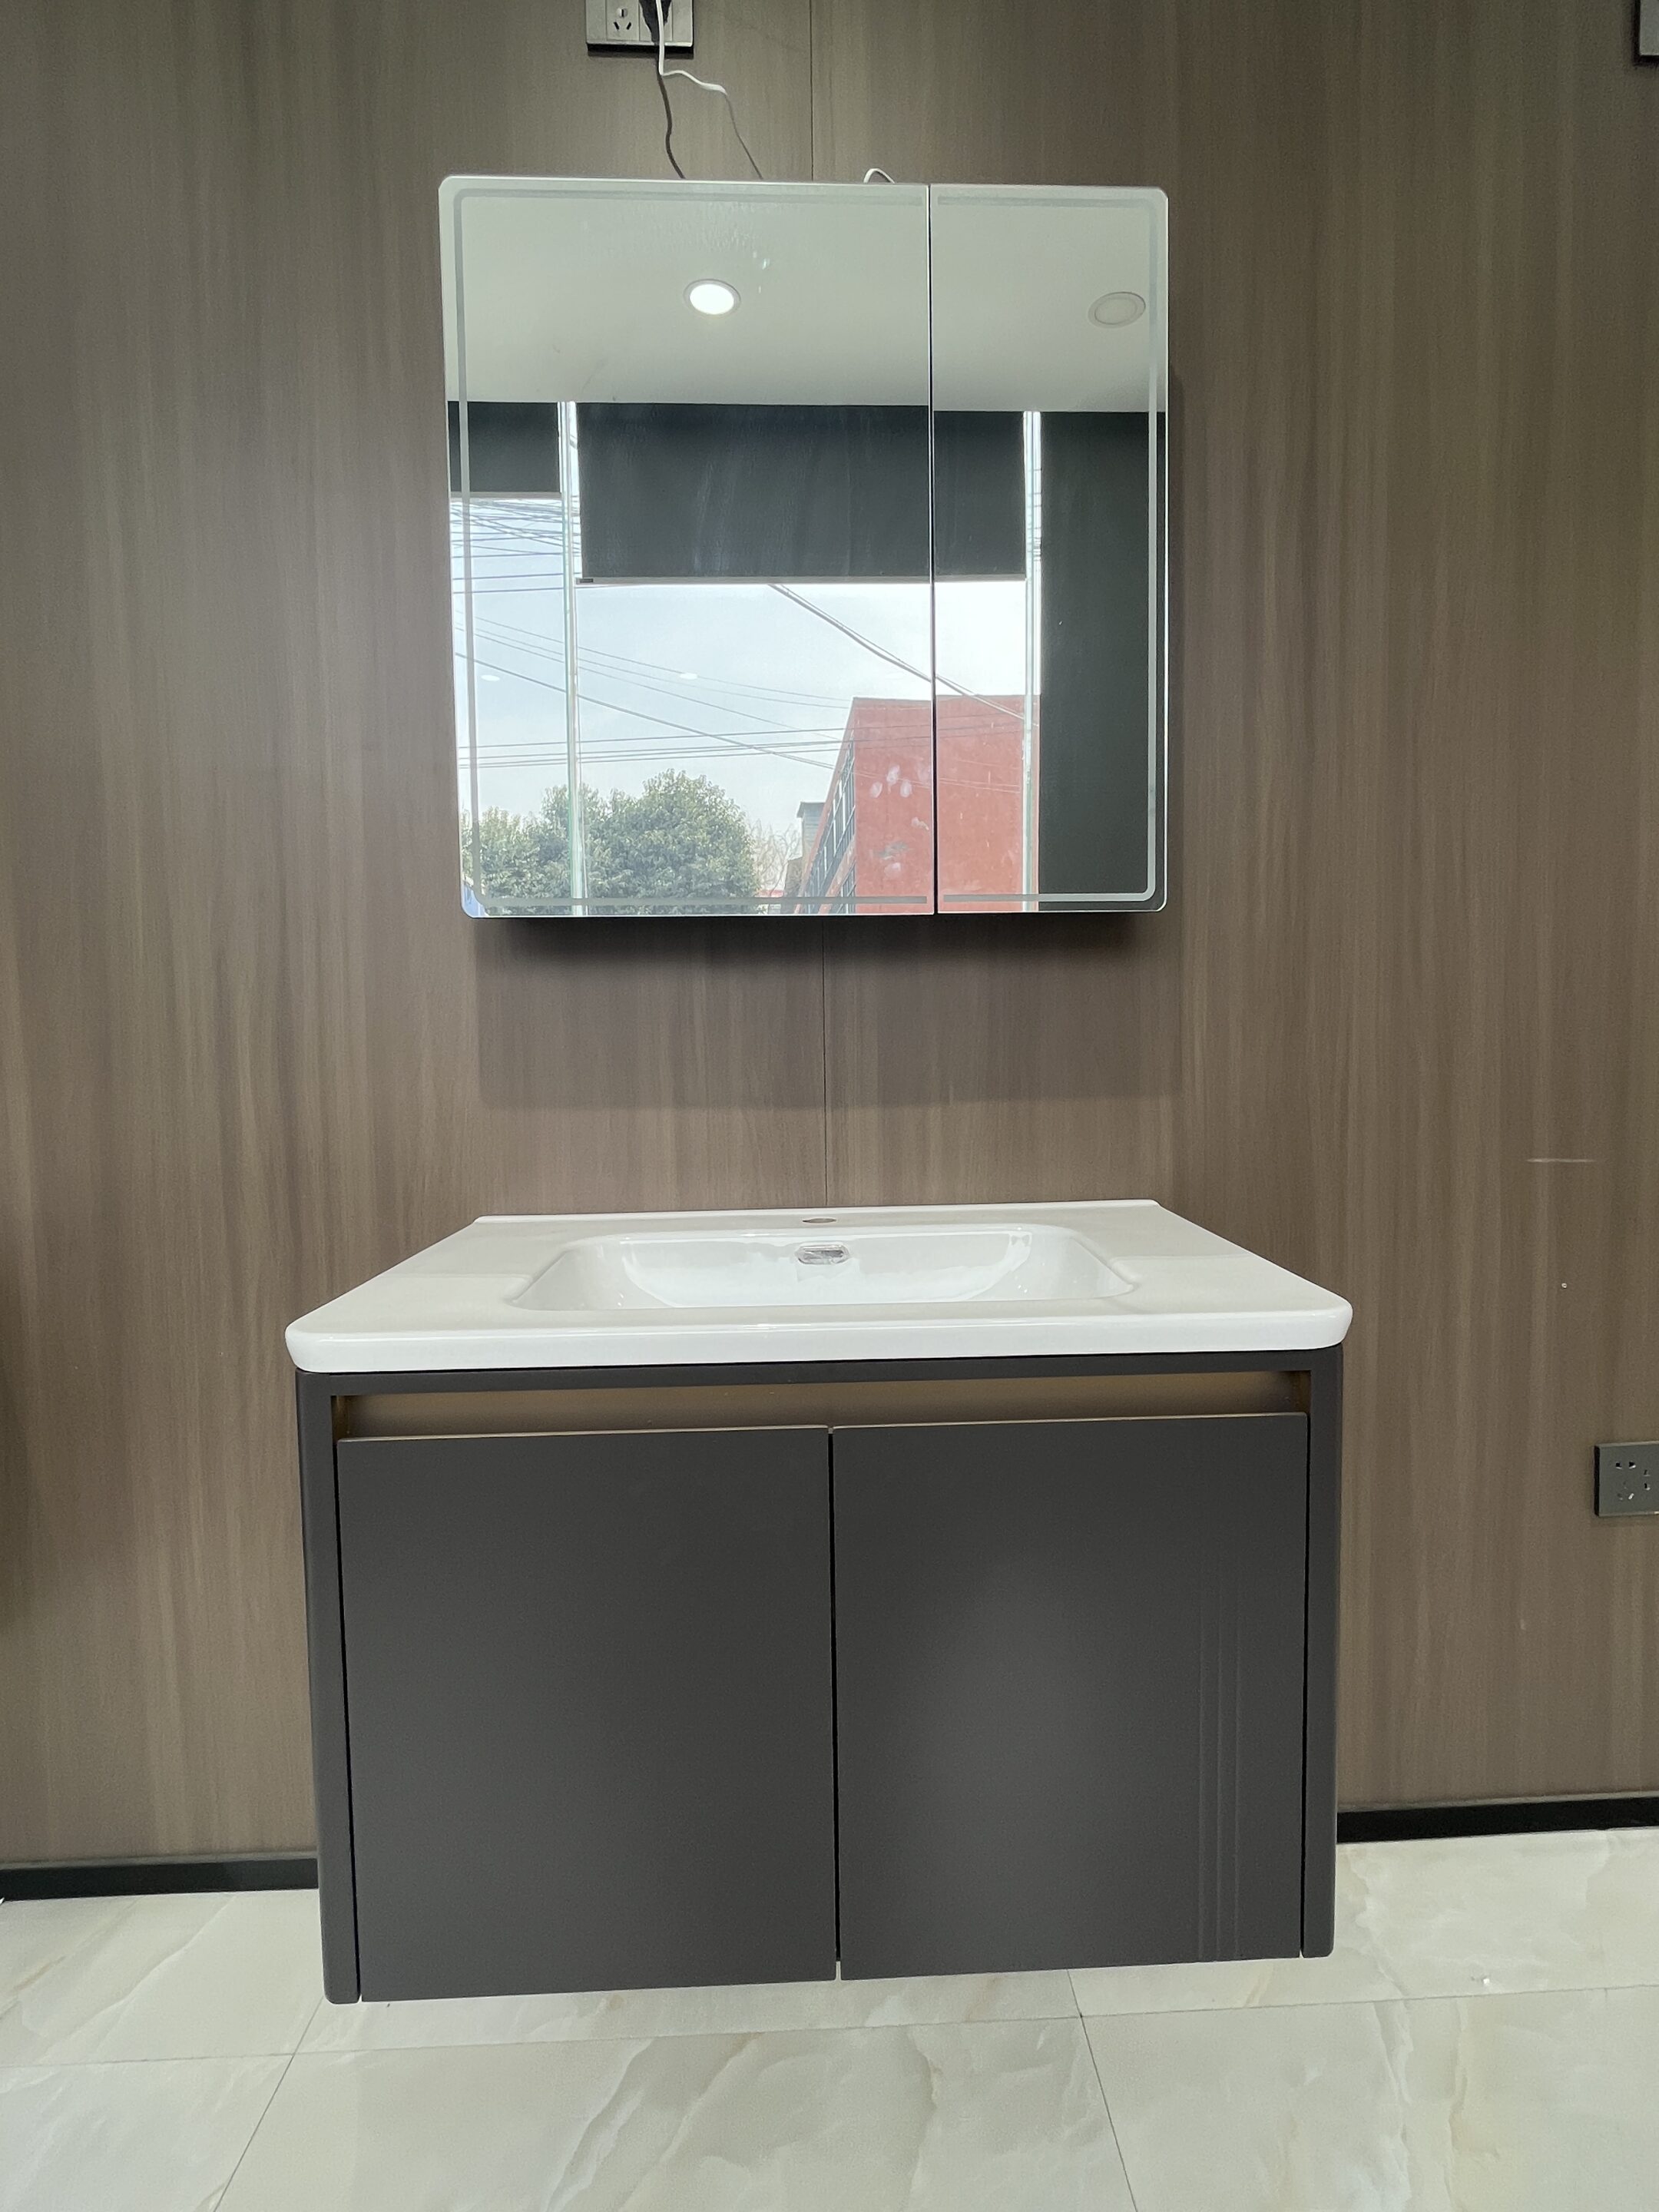
Specifying an industrial bathroom vanity without correct material knowledge can create a major liability, leading to premature failures, water damage, and expensive remediation in commercial settings. The raw aesthetic of exposed pipe, concrete, and reclaimed wood is in high demand, but these materials introduce significant risks when used in high-moisture environments. An unsealed wood top will warp and rot, improperly mixed concrete will crack and stain, and poorly joined pipes can fail under load, turning a design statement into a costly maintenance problem.
This guide serves as a technical brief for getting the specifications right from the start. We will cover the critical differences between real and faux concrete tops, the structural integrity of DIY versus factory-welded pipe legs, and the correct sealants and application methods for reclaimed wood. Consider this your standard operating procedure for building a vanity that performs as well as it looks, ensuring long-term durability and avoiding the common points of failure.
What Is Industrial Design?
Industrial design is the strategic process of defining a manufactured product’s form, function, and user experience to balance consumer needs with production realities.
A Strategic Blend of Form and Function
Industrial design is a problem-solving process that develops manufactured products by combining creativity, aesthetics, and functionality. It defines a product’s form, features, and user experience before it enters mass production. The goal is to create objects that are not only visually appealing but also efficient to manufacture and effective for the end-user.
- Focuses on balancing consumer needs with visual appeal and functional soundness.
- Involves sketching, 3D modeling, and collaborating with engineers and marketers.
- Determines the overall form, colors, materials, and textures of a product.
Key Distinctions from Other Design Fields
Industrial design occupies a unique space between different disciplines. Engineering, for example, prioritizes core functionality and internal components. Graphic design handles visual communication and branding. Industrial design bridges both, emphasizing how a physical product looks, feels, and interacts with its user. It’s less about the internal circuitry and more about the external casing and user interface.
- Prioritizes the aesthetic and user-interface aspects of physical products.
- Avoids designing core mechanical or electrical components, leaving that to engineers.
- Integrates both usability and appearance, whereas other disciplines often focus on one.
A Focus on User Experience and Practical Outcomes
At its core, industrial design is a user-centric field. It starts with empathy to understand what consumers actually need and want. The ultimate goal is to create practical solutions that provide a competitive business advantage by improving usability, optimizing production costs, and creating a desirable product. This pragmatic approach connects innovation directly to business goals and market success.
- Places human needs at the center of the design process.
- Connects innovation, technology, and business goals to create successful products.
- Considers factors like ergonomics, manufacturability, and safety during development.
Real Concrete vs. Faux: Which Is Better?
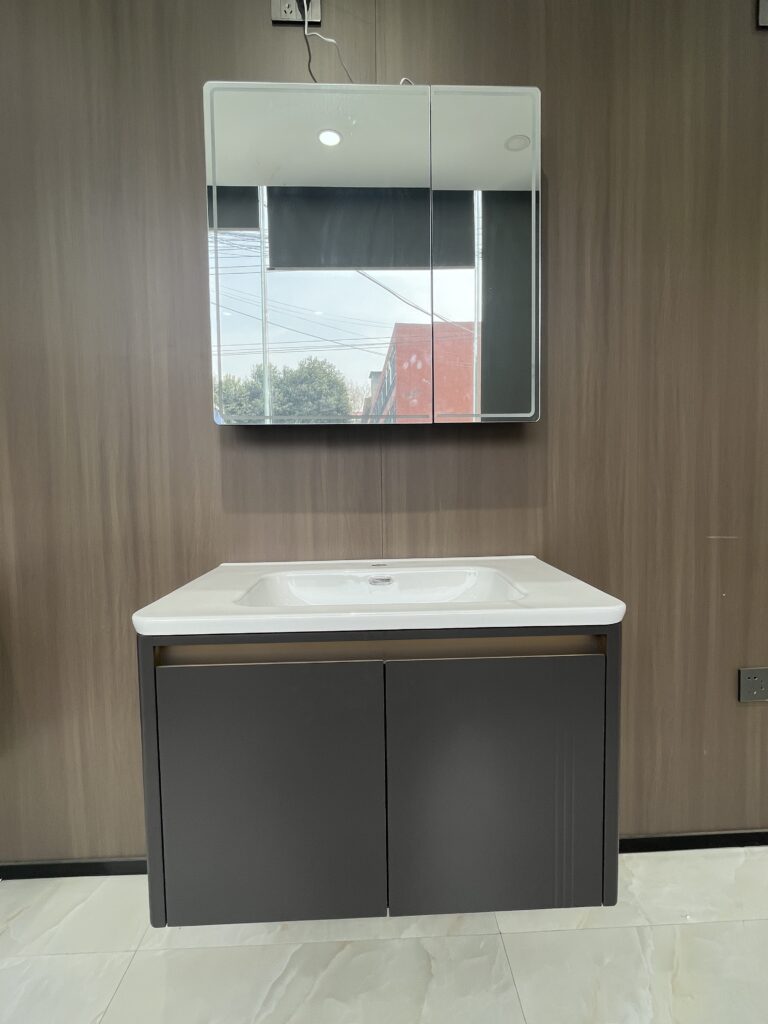
The choice between real, thin-cast, and faux concrete comes down to project requirements: poured concrete for structural applications, thin-cast panels for authentic DIY finishes in wet areas, and faux panels for budget-conscious cosmetic updates.
Real Poured Concrete: For Structural Applications
True poured or precast concrete is the default choice for any application where the material must provide structural integrity. This method offers unparalleled strength and a seamless, authentic finish that defines high-end industrial design. The trade-off is complexity and time. Installation is not a DIY job; it requires professional contractors and involves a significant curing period that can take up to 60 days. This makes it the premium standard for authenticity and long-term performance, but only when the project timeline and budget can accommodate it.
Thin-Cast Panels: A Balanced, DIY-Friendly Solution
Thin-cast panels occupy the middle ground, delivering an authentic concrete aesthetic without the logistical headaches of poured concrete. These panels are made from real concrete reinforced with fiberglass mesh in controlled factory environments, ensuring consistent quality. Because they don’t require foundational support, they can be installed by competent DIYers or general contractors over existing surfaces. Their waterproof and fireproof properties make them an excellent fit for bathroom vanities, shower walls, and high-traffic commercial interiors where both durability and installation speed are critical.
| Material Type | Primary Application | Installation & Weight |
|---|---|---|
| Poured/Precast Concrete | Structural projects (foundations, load-bearing countertops) | Requires professional install; very heavy; up to 60-day cure time. |
| Thin-Cast Panels (Real Concrete) | Non-structural aesthetic surfaces (walls, vanity tops) | DIY-friendly installation over existing surfaces; moderate weight. |
| Faux Panels (Polyurethane) | Purely cosmetic, budget-sensitive updates | Easiest DIY install; extremely lightweight (~1 lb/sq ft). |
Faux Panels: Lightweight and Cost-Effective
Faux concrete panels, usually made from high-density polyurethane, serve the cosmetic end of the market. They are the most lightweight and cost-effective solution, weighing about one pound per square foot, which makes them extremely easy to handle and install. This positions them as the dominant choice for quick renovations and aesthetic updates. While they replicate the look, they offer no structural support or the thermal properties of real concrete, making them suitable only for applications where appearance is the primary goal.
Create Bathroom Vanities Your Market Craves
DIY vs. Factory Welded: Which Is Better?
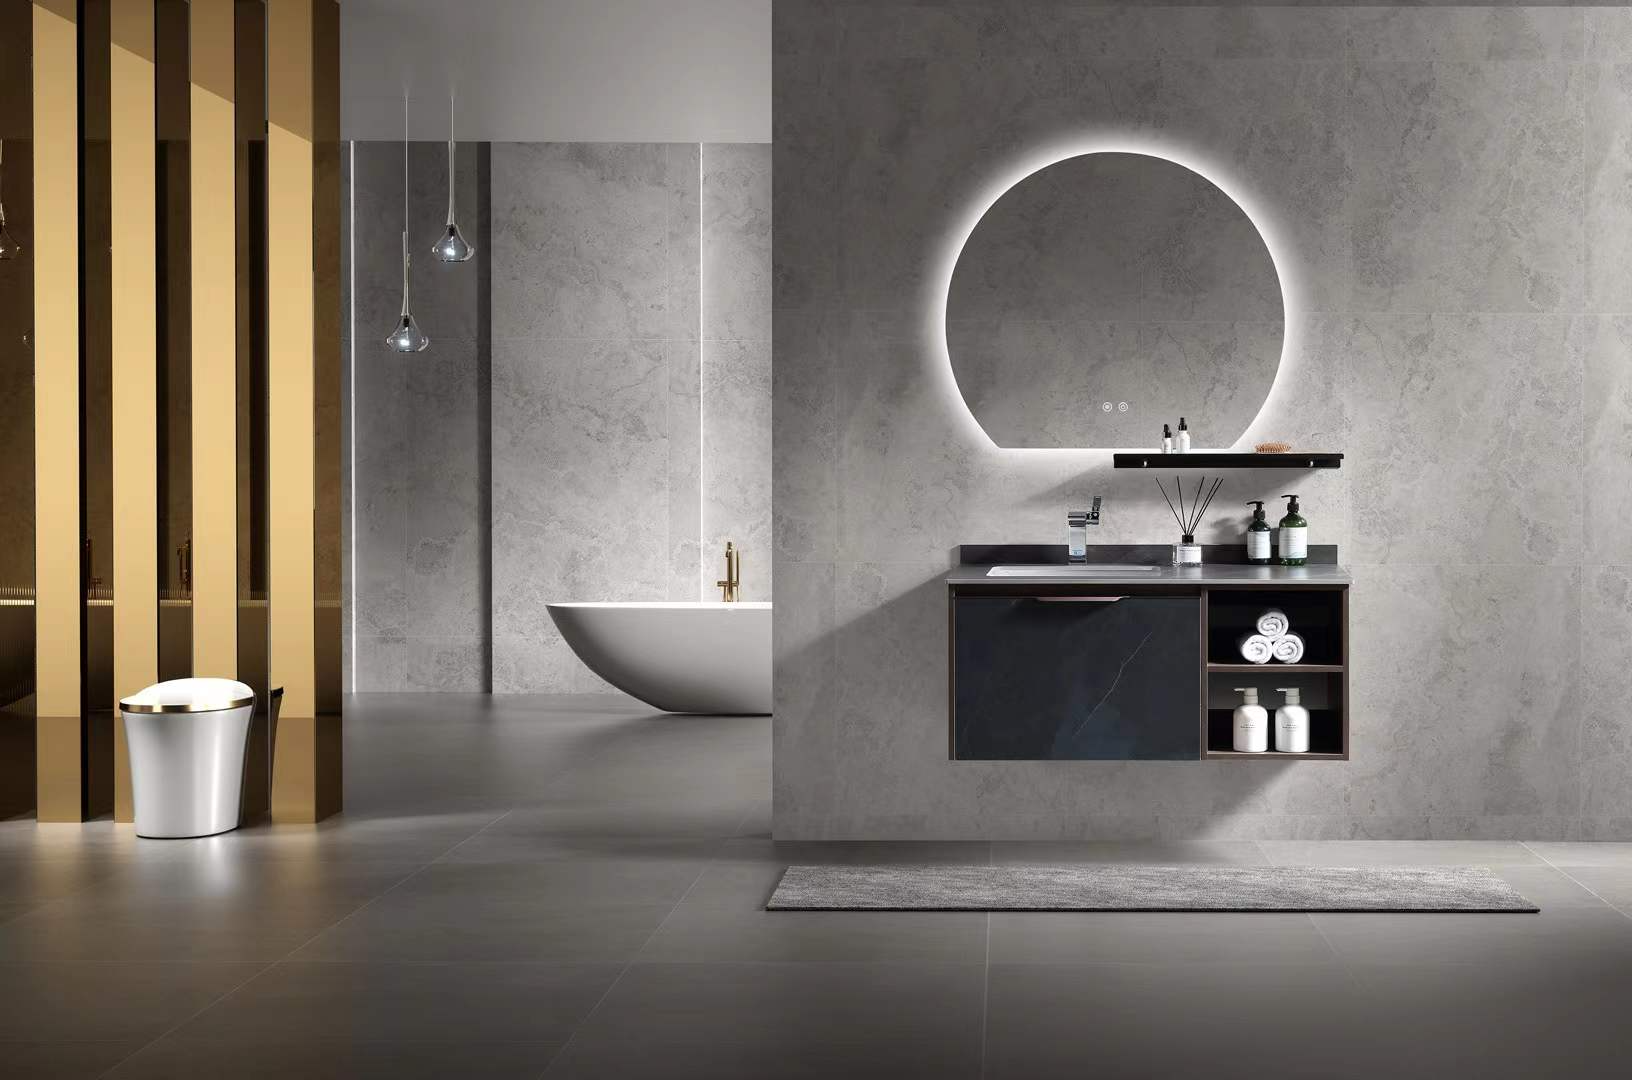
Factory production delivers predictable quality, certified regulatory compliance, and scalable customization that a one-off DIY approach cannot match for any commercial application.
The debate between a do-it-yourself (DIY) build and a factory-produced vanity isn’t just about cost—it’s about precision, durability, and risk. While the term “welded” often implies metalwork, the core principles apply to all industrial vanity construction. A factory process is engineered for consistency and scale, while a DIY project trades proven systems for hands-on control, often with unpredictable results.
Factory Production: Ensuring Quality and Durability
Factory-produced bathroom solutions use advanced manufacturing and strict quality control to deliver consistent, durable products. This approach ensures every component is precisely cut, finished, and assembled to perform in demanding bathroom environments. High-precision CNC machines guarantee perfect fits, while a rigorous quality control process, often in five or more stages, verifies everything from raw material integrity to the final packaged unit. This allows for the use of specialized, engineered materials like 100% waterproof PVC or scratch-resistant sintered stone that are difficult to work with outside a professional setting. With production capacities reaching thousands of units monthly, factories deliver reliable quality on schedule.
| Feature | DIY Approach | Factory Production |
|---|---|---|
| Quality Control | Self-managed and variable; dependent on individual skill and tools. | Multi-stage, standardized process ensuring consistent outcomes. |
| Material Sourcing | Requires sourcing all materials, hardware, and tools individually. | Uses vetted suppliers and specialized materials (e.g., waterproof PVC). |
| Customization | Total creative freedom for a single, one-off piece. | Structured OEM/ODM with thousands of material and color combinations. |
| Compliance & Safety | Builder’s sole responsibility; often overlooked and costly to verify. | Integrated design to meet UL/CSA, CE, and ADA standards. |
DIY Approach: Weighing Flexibility and Effort
A DIY project offers complete creative freedom, but this comes at a high cost in time and effort. You are responsible for sourcing every piece of wood, every fastener, and every specialized tool. In contrast, working with a factory partner provides structured and efficient customization. Modern manufacturers offer extensive options—sometimes over 40,000 combinations of colors, materials, and hardware—allowing businesses to develop unique products without the risks of ground-up development. OEM/ODM partners get branding support like logo engraving and custom packaging. With low minimum order quantities (MOQs) of 10 to 20 units, you can test market preferences with minimal investment, a flexibility that DIY cannot offer at any scale.
Regulatory Compliance: The Factory Advantage
This is where the factory approach becomes non-negotiable for any serious business. Professional manufacturers design and build products to meet complex international and regional standards. This includes electrical safety certifications like UL/CSA for North America and CE for Europe, accessibility standards like the ADA, and environmental compliance such as ISO 14001 and the use of low-formaldehyde E1 grade boards. It’s a massive, costly undertaking to achieve this with a one-off DIY project. Factories also adapt designs for local climates, using materials that can withstand everything from extreme cold to high coastal humidity. This built-in compliance guarantees product safety and market access.
How to Seal Reclaimed Wood?
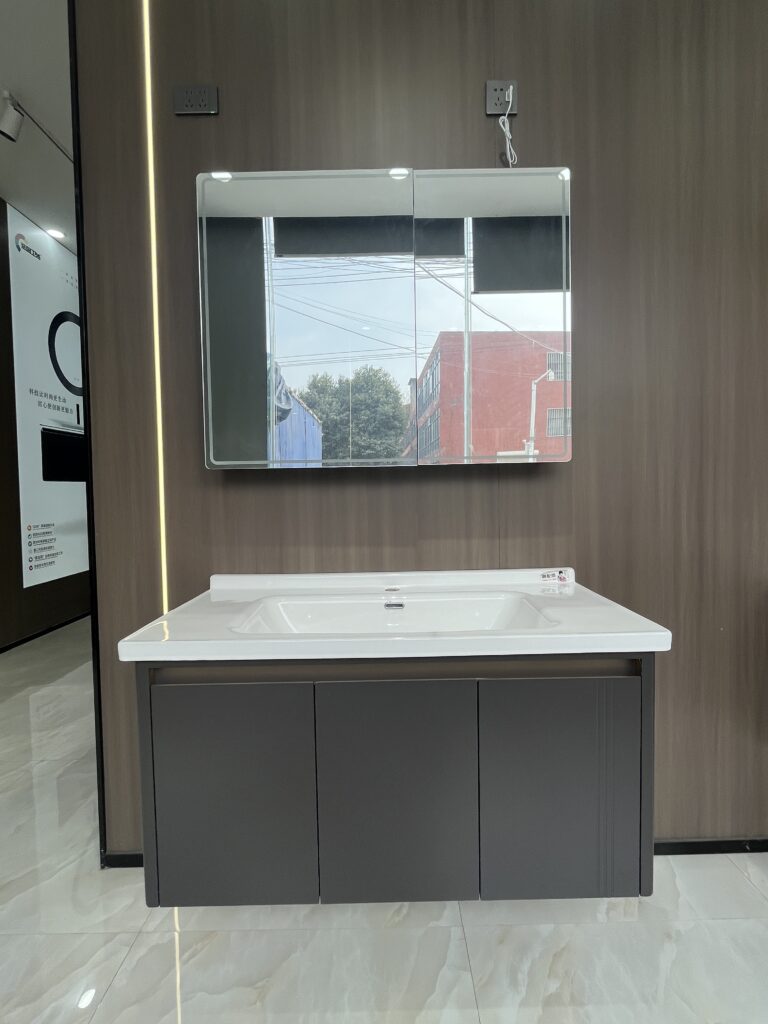
Properly sealing reclaimed wood is a two-part process: choosing a finish that penetrates and protects, then committing to routine maintenance to prevent moisture damage in high-use areas like bathrooms.
Choose the Right Sealing Method
The sealant you use depends on the wood’s intended use and desired look. For countertops or vanities where you want a natural feel, an oil-based finish is a strong choice. It penetrates the wood fibers to create a waterproof barrier from within. For irregular surfaces like a feature wall, a spray sealant is more practical. It effectively locks in old paint chips and patina while reaching into cracks that a brush would miss.
| Sealing Method | Best For | Key Considerations |
|---|---|---|
| Penetrating Oil Finish (e.g., Danish Oil) | Vanity tops and countertops requiring a natural, in-the-wood finish. | Creates a waterproof barrier from within. Requires application, wet-sanding, and buffing. Cures in about 24 hours. |
| Surface Varnish (e.g., Polyurethane) | High-moisture areas where a durable, protective top film is needed. | Sits on top of the wood. Marine-grade options offer excellent durability but require multiple coats and longer cure times. |
| Spray Sealant | Irregular or heavily textured surfaces like feature walls with flaking paint. | Provides even coverage in cracks and corners. Typically requires two coats to lock in patina and prevent further chipping. |
Prepare the Wood Surface
A durable finish depends on proper prep work. Before applying any sealant, you must inspect, clean, and sand the reclaimed wood to ensure the finish adheres correctly.
- Inspect the wood for any embedded materials like old nails, staples, or screws, and remove them completely.
- Clean the surface to remove all dirt and grime. Let the wood dry fully in a space with good air circulation before moving to the next step.
- Sand the wood to create a smooth base for the sealant. Use an orbital sander for large, flat areas and switch to hand sandpaper for edges and detailed sections.
Maintain the Sealed Finish
Ongoing care is essential for protecting reclaimed wood and preserving its durability, especially for pieces in high-moisture environments like a bathroom vanity.
- Apply a specialized, colorless wax every few years. This adds another layer of protection without altering the wood’s natural color or patina.
- Regularly inspect the finish for signs of wear. Reapply sealant as needed to maintain its protective qualities and prevent water from seeping into the wood.
How to Pair Industrial Faucets?
Selecting the right industrial faucet hinges on balancing functional design, such as high-arc spouts and pull-down sprayers, with durable, modular finishes like matte black or brushed nickel over a stainless steel base.
Pairing an industrial faucet correctly means aligning its form with its function. The industrial aesthetic is rooted in utility, so the faucet must not only look the part but also perform under the demands of a high-use environment. This involves choosing a style that supports the primary tasks of the space, coordinating materials for a cohesive and durable result, and integrating technology that enhances efficiency.
Match Faucet Style to Kitchen Workflow
The faucet’s physical design should directly support your kitchen’s operational needs. High-arc and bridge faucets are popular in industrial settings because they offer tangible advantages in managing workspace and controlling water flow. The goal is to match the faucet’s geometry to common tasks, like filling large pots or cleaning the basin, ensuring the industrial look also delivers superior performance.
- High-arc and gooseneck styles create significant vertical clearance, simplifying the filling and cleaning of large cookware.
- Bridge faucets provide distinct hot and cold controls and can free up under-sink space by consolidating plumbing lines.
Coordinate Materials and Finishes
A cohesive industrial look depends on smart material and finish coordination. Stainless steel provides a durable, corrosion-resistant foundation that aligns with the style’s utilitarian roots. Layering modular finishes like matte black or brushed nickel allows for customization, letting the faucet either blend with other hardware or serve as a bold statement piece. This approach ensures visual consistency and long-term resilience.
- Stainless steel acts as a classic, durable base for any industrial kitchen faucet.
- Matte black and brushed nickel are versatile finishes that can create a subtle, integrated look or a high-contrast focal point.
- Using modular finishes lets you tailor the hardware’s appearance to fit a wide range of kitchen designs and color palettes.
Incorporate Modern Technology
Modern faucet technology has become a standard feature in functional industrial kitchens. Features once considered luxuries, like touchless activation and integrated pull-down sprayers, are now essential for improving hygiene and workflow efficiency. These technologies directly support the industrial principle of purpose-driven design, making kitchen tasks faster and cleaner in both residential and commercial applications.
- Touchless activation enables a hands-free workflow, reducing cross-contamination and improving hygiene.
- Pull-down sprayers add crucial flexibility for rinsing produce and efficiently cleaning the entire sink basin.
Do You Need Edison Bulbs?
By 2026, the discussion has moved past incandescent originals; modern LED versions deliver the industrial aesthetic with superior efficiency and smart controls, making them a practical standard.
Balancing Vintage Aesthetics with Modern Efficiency
The choice is no longer about accepting inefficient incandescent bulbs to achieve a classic look. Modern LED versions replicate that warm, vintage ambiance crucial for industrial designs but without the high energy consumption. This shift allows businesses and homeowners to adopt the style without compromising on operational costs or sustainability goals.
- Modern LED Edison bulbs use up to 92% less energy than their traditional filament counterparts, offering a direct path to reduced utility spending.
- They successfully preserve the warm, aesthetic glow that defines vintage lighting, making them suitable for hospitality, commercial, and residential projects.
- This combination of form and function delivers significant cost savings while fully supporting specific interior design objectives.
Smart Features and Design Versatility
Today’s Edison bulbs are functional components, not just decorative pieces. Many are integrated with smart technology, giving you direct control over the lighting environment. Their design is also versatile enough to fit into rugged industrial settings or be softened for more contemporary interiors, proving their broad appeal.
- Many models come standard with smart features like dimming, letting you adjust the room’s ambiance on demand.
- Their popularity crosses multiple design styles, confirming they can serve as a primary lighting element in almost any context.
- Businesses gain the most by combining the visual appeal with the practical benefits of smart, energy-efficient lighting systems.
How to Soften the Look?
To prevent an industrial bathroom from feeling cold or institutional, the key is to strategically layer in contrasting textures and warmer, more refined materials.
The raw, utilitarian nature of industrial design can sometimes feel too harsh for a residential bathroom. The goal isn’t to eliminate the core aesthetic but to balance it. By introducing specific elements, you can create a more comfortable and inviting space that still retains its strong industrial character.
Mix in Contrasting Textures
The most direct way to soften an industrial look is by creating tactile and visual contrast. Hard materials like concrete, steel, and exposed brick define the style, so introducing soft textures counterbalances their utilitarian feel. This doesn’t dilute the design; it makes it more complex and livable.
- Incorporate soft furnishings like plush area rugs or high-quality bath mats to counter cold, hard floors.
- Add natural elements, such as woven storage baskets or wooden accessories, to soften raw edges and add organic warmth.
Select Refined Materials and Fixtures
“Industrial” doesn’t have to mean “unfinished.” You can reduce the raw feel by choosing materials and fixtures that offer a more polished look while preserving the industrial structure. This modernizes the vanity and the surrounding space. For example, an epoxy coating on a concrete countertop provides a smooth, refined surface without losing the material’s authentic character.
- Opt for fully integrated sinks and basins to create a sleeker, less utilitarian profile.
- Use refinished surfaces or polished metallic finishes on fixtures to give materials a clean and updated appearance.
Layer in Warming Accents
Combining core industrial elements with inviting accents prevents the bathroom from feeling sterile. This approach is critical for making the style work in a home setting. Warm-toned lighting, such as LED Edison bulbs with a lower color temperature, can instantly make the space feel more welcoming. Pairing cool-toned materials like gray concrete or black steel with warm metal accents like brass or copper also creates a sophisticated and balanced look.
Conclusion
Balancing the raw look of industrial design with long-term durability comes down to smart material choices. Specifying between authentic materials like real concrete and their high-performance alternatives, such as concrete-look quartz, directly impacts maintenance needs and customer satisfaction. The right combination ensures your vanity collection delivers both rugged style and reliable function.
If you’re ready to develop an industrial vanity line tailored to your specific market and price point, our team can help. Contact us to discuss material options or to order a refundable sample and test our quality firsthand.
Frequently Asked Questions
How to make industrial bathroom vanity?
Creating an industrial bathroom vanity involves combining raw, functional materials. Start with a frame made from black iron pipe, welded square steel tubing, or angle iron for a sturdy, utilitarian base. For the countertop, choose either a thick, sealed reclaimed wood slab or a custom-poured concrete top. Pair this with a vessel sink made of concrete, stone, or hammered metal. Keep shelving open and minimal, often using the same wood or metal as the main structure. Finish the metal components with a matte black spray paint or a clear coat to prevent rust while preserving the raw look.
Concrete vanity top pros cons?
Concrete vanity tops offer significant advantages in durability and customization. The pros include high resistance to scratches and heat, the ability to be cast into any shape with integral sinks, and a unique, modern aesthetic. However, the cons are notable: concrete is naturally porous and requires regular sealing to prevent staining and bacteria. It is also extremely heavy, demanding a robust vanity base for support. Finally, it can develop non-structural hairline cracks over time and is susceptible to etching from acidic substances if the sealer is compromised.
Industrial bathroom ideas?
Key industrial bathroom ideas center on a raw, utilitarian aesthetic. Incorporate materials like exposed brick walls, concrete floors or countertops, and reclaimed wood. Use metal elements such as black steel, iron pipe shelving, and copper or brass plumbing. For fixtures, choose matte black or oil-rubbed bronze faucets and showerheads. Lighting is critical; use Edison bulbs in wire cage pendants or simple sconces. Complete the look with a minimalist metal-framed mirror, a frameless glass shower enclosure, and functional storage like wire baskets or open wooden shelves.
Cleaning concrete bathroom sink?
To clean a concrete bathroom sink, use a pH-neutral cleaner, such as gentle dish soap and warm water, with a soft cloth or sponge for daily wipedowns. Avoid abrasive scrubbers and harsh chemicals like bleach, ammonia, or acidic cleaners, as they can damage the sealer. For tough stains, apply a paste of baking soda and water, let it sit for several minutes, then gently scrub and rinse. Always wipe up spills, especially from acidic liquids like citrus or vinegar, immediately. Periodic re-sealing or waxing (typically annually) is essential to maintain its protective layer and prevent stains.
Pipe legs for vanity?
Pipe legs are an excellent choice for an industrial vanity base. For optimal stability, use 3/4-inch or 1-inch diameter black iron pipe and fittings. You will need flanges to mount the legs to the underside of the vanity top and to the floor for stability. The design is assembled using various threaded fittings like tees, elbows, and nipples. Before assembly, clean the pipes with a degreaser, then connect the pieces tightly. After assembly, apply a matte clear-coat sealant over the entire structure to prevent rusting in the humid bathroom environment.
Reclaimed wood vanity sealer?
For a reclaimed wood vanity in a bathroom, a waterproof and durable sealer is crucial. The best options are marine spar varnish, which offers excellent water resistance, or a high-quality water-based polyurethane. Water-based polyurethane dries clear, has low odor, and provides a hard, protective shell without the yellowing of oil-based alternatives. Apply at least three to four coats, lightly sanding between each coat for a smooth, impenetrable finish. Another excellent option is a hardwax-oil finish, which penetrates the wood to provide a more natural look and feel while still repelling water effectively.




0 Comments