
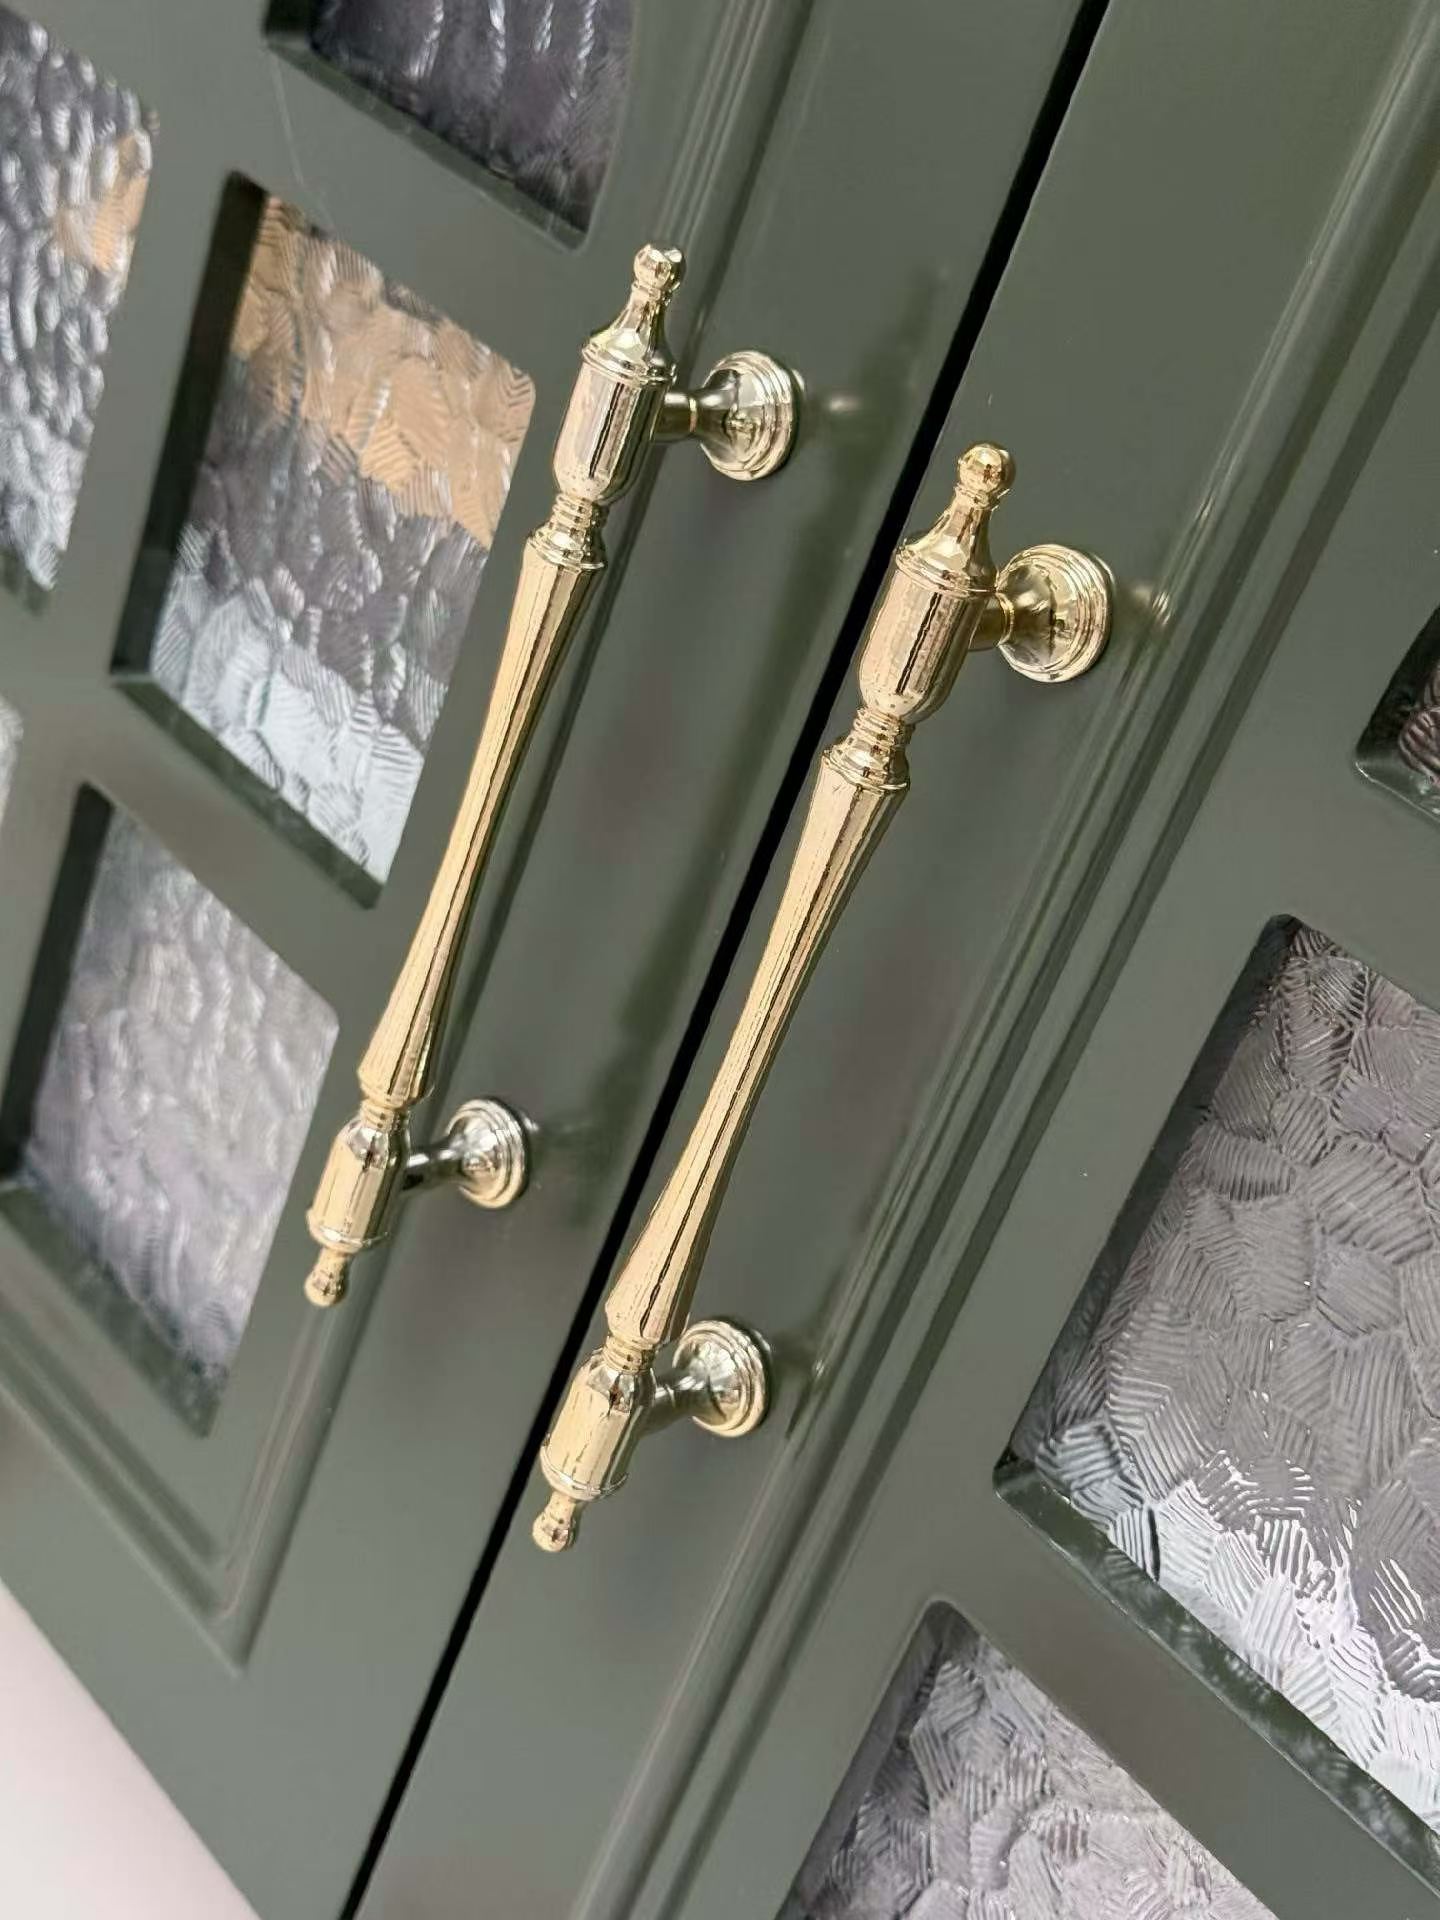
Choosing the wrong wood veneer vanity for a commercial project can lead to costly client callbacks and permanent damage to your firm’s reputation. Many specifiers are drawn to the promise of achieving a solid wood aesthetic on a tighter budget, but they often overlook the engineering details that separate a durable, moisture-resistant cabinet from one destined to peel and warp. When delamination occurs in a high-humidity environment like a bathroom, the failure isn’t just cosmetic—it’s a direct reflection on the material selection and technical oversight of the project team.
This guide provides the technical criteria needed to specify veneered products with confidence. We will analyze the core manufacturing differences between rotary-cut and plain-sliced veneers and explain how an engineered core like MDF provides greater dimensional stability than solid wood. We’ll also examine why edge banding is the most common point of failure and provide a framework for identifying high-quality construction, ensuring the vanities you choose perform for the long term.
What Are the Core Differences Between Wood Veneer and Solid Wood?
Solid wood offers superior repairability and longevity, while wood veneer provides greater dimensional stability and cost efficiency by bonding a thin layer of real wood to an engineered core like plywood or HMR MDF.
The choice between wood veneer and solid wood is not about “good” versus “bad” but about matching the material to the application. Wood veneer consists of a thin slice of actual wood bonded to a stable substrate, whereas solid wood is milled from a single piece of timber. Each has distinct performance characteristics that dictate its best use in manufacturing, especially for items like bathroom vanities that exist in high-humidity environments.
Durability and Maintenance
Solid wood’s primary advantage is its resilience to physical damage. Because it’s wood all the way through, deep scratches and dents can be sanded out and the piece can be refinished multiple times over its lifespan. Wood veneer, with its thin decorative layer, is more vulnerable to chipping or peeling at the edges if damaged. Sanding is not a viable repair option. Yet, veneer outperforms solid wood in resisting environmental stress; its engineered core is far less likely to warp, expand, or crack when exposed to the temperature and humidity shifts common in bathrooms.
| Attribute | Wood Veneer | Solid Wood |
|---|---|---|
| Repairability | Cannot be sanded; deep scratches are difficult to repair. | Can be sanded and refinished multiple times to remove damage. |
| Moisture Stability | Highly resistant to warping, splitting, or cracking. | Expands and contracts with humidity changes, risking damage. |
| Cost & Sustainability | More affordable and uses significantly less raw timber. | Higher cost due to high material consumption. |
| Weight | Lighter, making it ideal for wall-mounted applications. | Significantly heavier and more difficult to install. |
Cost and Sustainability
Wood veneer is a more resource-efficient and cost-effective material. The manufacturing process involves slicing a log into many thin sheets, maximizing the yield of premium or exotic wood. This technique provides the aesthetic of natural wood at a lower price point. Solid wood construction requires whole pieces of lumber, which consumes far more raw material and drives up the final cost, particularly for rare wood species.
Stability and Aesthetic Qualities
Because veneer is applied to an engineered core, the final panel has superior dimensional stability. This prevents issues with moving parts like cabinet doors or drawers, which can bind or stick on solid wood pieces as they swell. Aesthetically, veneer allows for highly controlled and consistent grain patterns, which is ideal for modern designs seeking a uniform look. Solid wood offers a more organic appearance, with unique natural variations and knots. Over time, solid wood develops a patina, while veneer maintains its original look.
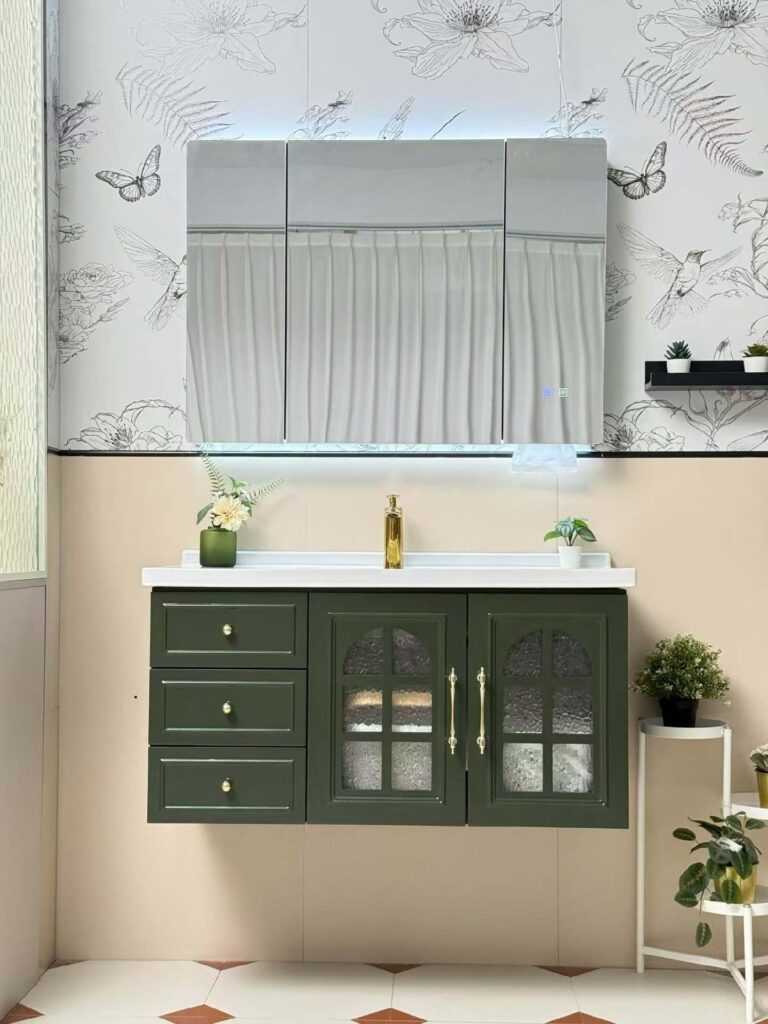
How Does Wood Veneer Provide Better Stability and Prevent Warping?
Veneer’s stability comes from a precise engineering process that balances internal forces and uses a core material that neutralizes wood’s natural tendency to move with humidity changes.
The Principle of Balanced Lamination Construction
The stability of wood veneer panels originates from a manufacturing method called balanced construction. This process involves applying equal and opposite forces to a central core, which forces the panel to remain flat even when temperature and humidity fluctuate. This approach directly counters the internal stress imbalances that cause solid wood to warp. By creating a symmetrical, multi-layer structure, the panel’s internal forces cancel each other out.
- Consistent veneer grades are applied to both the front and back of the substrate to create symmetrical tension.
- Engineers carefully match the expansion coefficients of the veneer and the core material to prevent internal stress during environmental changes.
- All layers are conditioned to a uniform moisture content, typically between 6-9%, before being bonded together to lock in stability.
How an Engineered Core Resists Moisture-Induced Stress
Unlike a solid piece of wood, which has a single grain direction prone to bending, veneer panels use an engineered core that neutralizes the natural movement of wood. This core—often high-quality plywood or HMR MDF—is the primary defense against warping caused by humidity. Solid wood absorbs moisture and expands primarily in one direction, but an engineered core provides multi-directional resistance.
- Plywood cores with cross-grained layers provide superior resistance against pulling or cupping forces from any direction.
- The core material is inherently more dimensionally stable and less reactive to moisture absorption than a single slab of solid wood.
- This construction isolates the wood veneer’s natural tendency to expand or contract, which stops the panel from distorting over time.
Create Standout Bathroom Vanities for Your Market
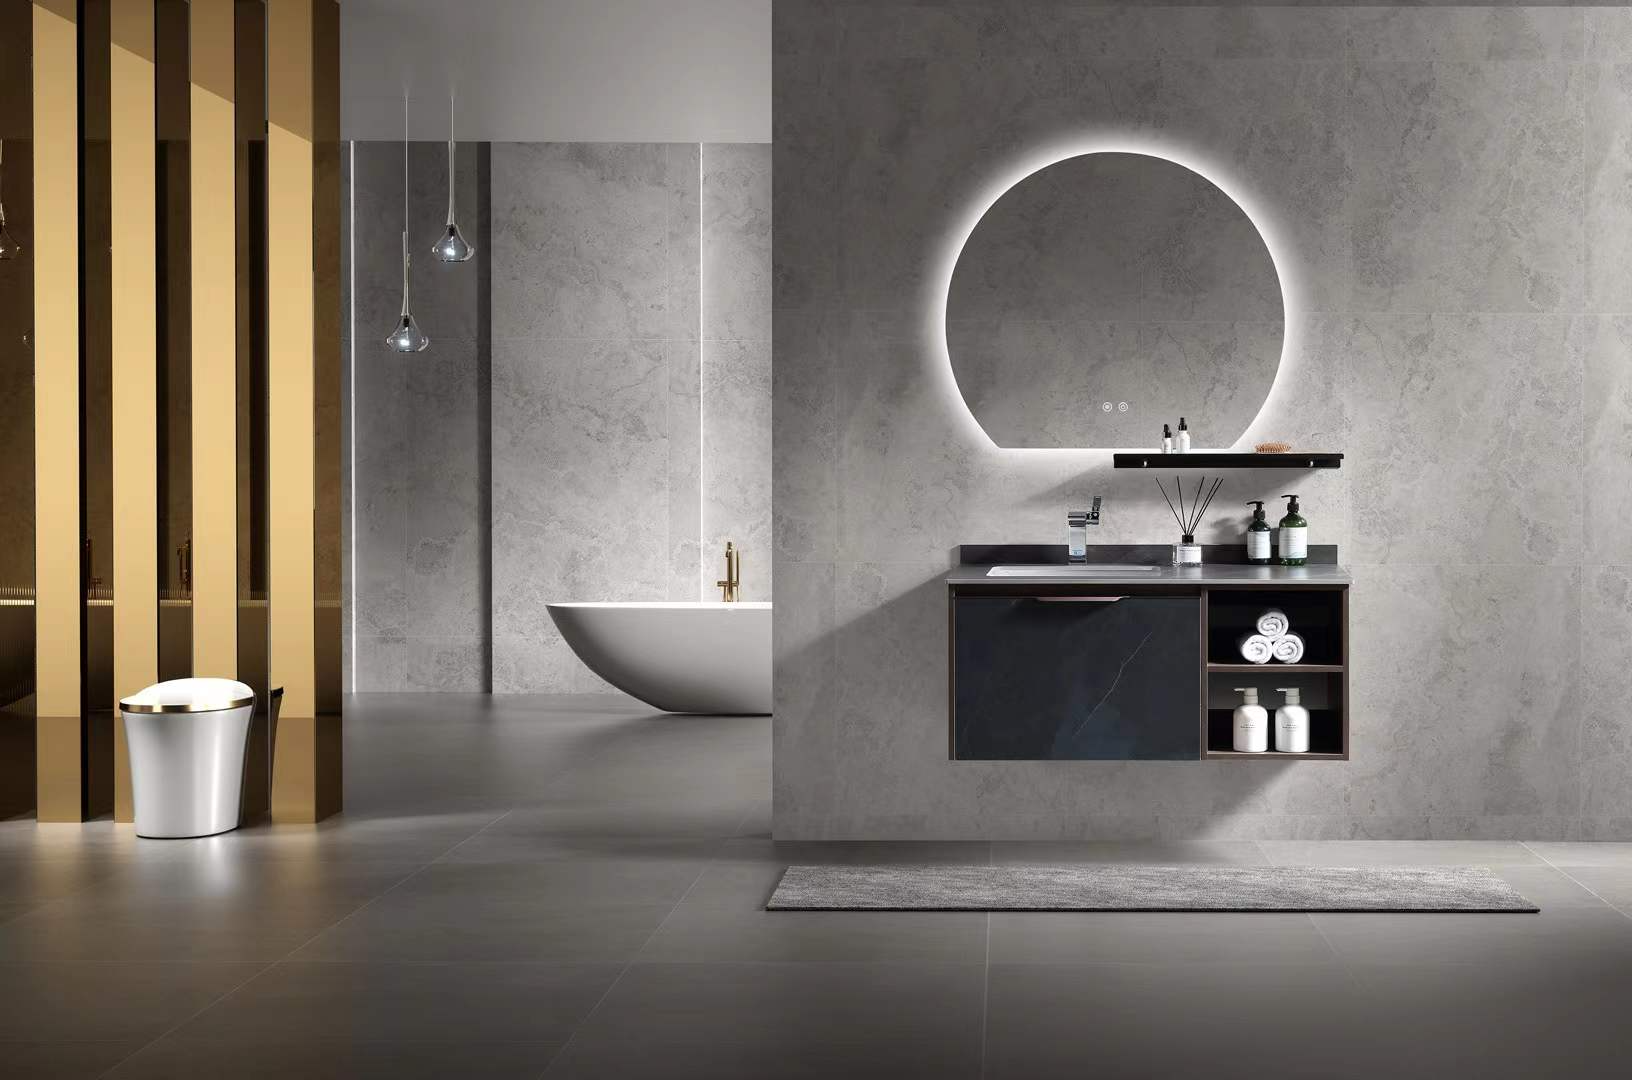
How Are Wood Veneers Manufactured (Rotary Cut vs. Plain Sliced)?
The manufacturing method directly dictates a veneer’s final cost and aesthetic value, creating a clear trade-off between the high-yield rotary cut for industrial use and the visually appealing plain slice for decorative applications.
Rotary Cut Method for High-Yield Production
Rotary cutting is a manufacturing process that dominates cost-sensitive applications, particularly plywood production. The process involves rotating a log against a long, stationary blade, essentially peeling off a continuous sheet of wood veneer much like unrolling a paper towel. This technique maximizes the usable material from a single log, making it the most efficient and economical method available. The resulting grain pattern is broad and often irregular, prioritizing yield over decorative consistency.
Plain Sliced Method for Aesthetic Appeal
Plain slicing, also known as flat slicing, is the standard for creating veneers used in high-quality furniture, cabinetry, and architectural panels. The log half, or “flitch,” is cut parallel to its center. This motion produces the classic “cathedral” grain pattern, a series of arches and straight grains that is highly valued for its visual appeal. While this method yields less material than rotary cutting, its primary goal is to produce an aesthetically superior and consistent surface.
| Manufacturing Method | Primary Application | Key Outcome / Grain Pattern |
|---|---|---|
| Rotary Cut | Cost-sensitive products (e.g., Plywood) | Maximizes material yield; broad, non-repeating grain |
| Plain Sliced (Flat Sliced) | Furniture & architectural panels | Aesthetically valued “cathedral” grain pattern |
Why Is Edge Banding Often Considered the Weakest Link in Veneered Cabinets?
Edge banding is the primary failure point on veneered panels because it must defend against both moisture ingress at the seam and constant mechanical stress from daily use, a combination that flat surfaces don’t face.
Vulnerability to Moisture and Seal Failure
Edge banding acts as the first line of defense for the exposed core of a veneered panel. In high-humidity environments like bathrooms, its adhesive seal is under constant attack. If this seal fails, it creates a direct channel for moisture to penetrate the underlying wood composite (MDF or particleboard). The core then swells, delaminates, and loses its structural integrity. This process is often irreversible and is the most common cause of premature cabinet failure.
- The edges of cabinet doors and frames are the most susceptible points for water ingress.
- Once the seal is compromised, the core material absorbs moisture and expands, which pushes the banding further away.
- This cycle of swelling and deterioration is why edges often fail long before the flat veneered surfaces show any wear.
Exposure to Constant Mechanical Stress
Unlike flat panel faces, the edges of cabinet doors and drawers endure constant physical contact. Daily use involves opening and closing, accidental bumps, and general abrasion. This mechanical stress places a continuous strain on both the adhesive bond and the banding material itself. Over time, this consistent wear leads directly to chipping, peeling, and cracking, even in environments without high moisture.
- Edges experience continuous impacts and abrasion that flat surfaces do not.
- The quality of the installation and the strength of the adhesive are critical for withstanding this daily wear.
- Material mismatches, such as using thin veneer banding, can make edges more prone to chipping under physical pressure.
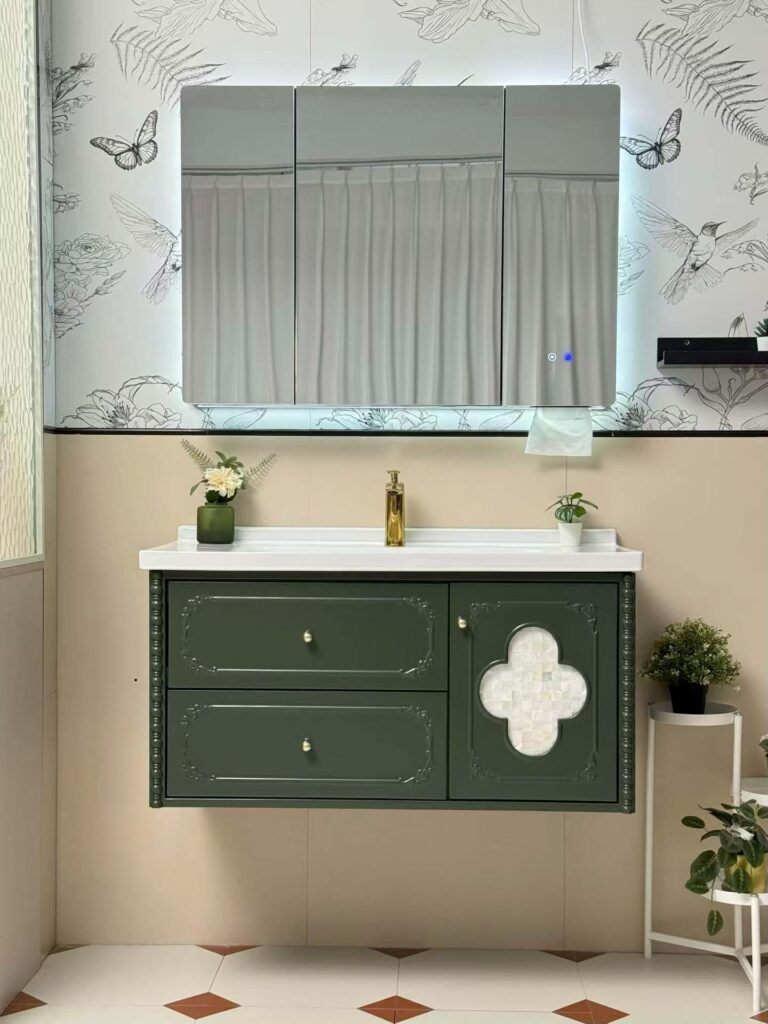
How Does the Cost of Mid-Range Veneer Compare to High-End Solid Wood?
Mid-range veneer provides a 30–60% cost savings over high-end solid wood, repositioning it as a strategic material for modern projects rather than just a budget alternative.
Price Point Analysis: Veneer’s Cost-Effectiveness
Mid-range veneer delivers a significant cost advantage over premium solid wood. The savings, typically between 30% and 60%, stem directly from its manufacturing process. By applying thin layers of desirable wood over an engineered substrate, veneer drastically reduces the amount of raw lumber needed for large surfaces like vanity panels and doors. This efficiency makes it a practical choice for contemporary projects where aesthetic appeal and budget control are equally critical. Solid wood’s higher price point reflects not only the cost of the raw material but also its long-term value as a durable, refinishable asset that can last for generations.
Application-Driven Value in Modern vs. Luxury Projects
The market no longer views veneer as simply an inferior alternative to solid wood. Instead, it is recognized as a material fit for its specific purpose. In large-scale modern designs requiring consistent grain patterns and high dimensional stability, veneer is the dominant choice. Its engineered core resists the warping and cracking that can affect solid wood in humid environments like bathrooms. High-end solid wood, on the other hand, is positioned as a premium investment. It is the preferred material for bespoke, traditional, and luxury applications where its ability to be repeatedly sanded and refinished justifies the higher initial cost.
How Do You Repair Scratched Wood Veneer on Bathroom Vanities?
The correct repair method for a scratched veneer vanity is determined entirely by the depth of the damage—cosmetic flaws require simple touch-ups, while deeper gouges demand a structural fill-and-finish process.
Addressing Light Surface Scratches
For minor imperfections that only affect the top finish layer, a simple cosmetic touch-up is usually enough to conceal the damage. These repairs don’t require fillers or extensive sanding because the veneer itself is not compromised. The goal is to blend the scratch into the surrounding finish.
- Use a wood stain marker that closely matches the veneer’s color. Carefully trace the inside of the scratch to fill it in, then wipe away any excess immediately.
- Alternatively, apply a very thin coat of a compatible lacquer finish with a fine-tipped brush. This helps to blend the scuff mark and restore the protective topcoat over the affected area.
Fixing Deeper Scratches and Gouges
When a scratch penetrates the thin veneer layer and exposes the substrate, the damage must be filled before refinishing. This process restores a smooth, level surface that can be stained or painted to blend seamlessly with the rest of the vanity face.
- Start by cleaning the damaged area to remove any dirt or oils. Use a utility knife to carefully trim away any loose or splintered veneer chips for a clean repair base.
- Apply a quality wood filler, pressing it firmly into the scratch with a flexible putty knife. Overfill the gouge slightly to account for shrinkage as it dries.
- Once the filler is completely dry, sand it perfectly flush with the surrounding veneer using 220-grit sandpaper. Work carefully to avoid sanding through the veneer itself.
- Finish the repair by applying a matching gel stain, which offers better control than liquid stains on sealed surfaces. If painting, apply a bonding primer first, followed by your topcoat.
Re-Adhering Loose or Lifting Veneer Edges
Moisture or wear and tear can cause the edges of a veneer sheet to delaminate or peel away from the core panel. In most cases, you can reactivate the original adhesive or apply a new one to secure the piece without requiring a full replacement.
- For loose edges, use a putty knife to carefully apply a thin layer of wood glue beneath the lifting section. Press the veneer down firmly and use clamps with a wood block to distribute pressure evenly until the glue cures.
- If the original adhesive was heat-activated, you can often reactivate it. Place a clean cloth over the lifting veneer and press it with a household iron on a low-heat setting. The heat will soften the old glue, allowing it to re-bond with the substrate.
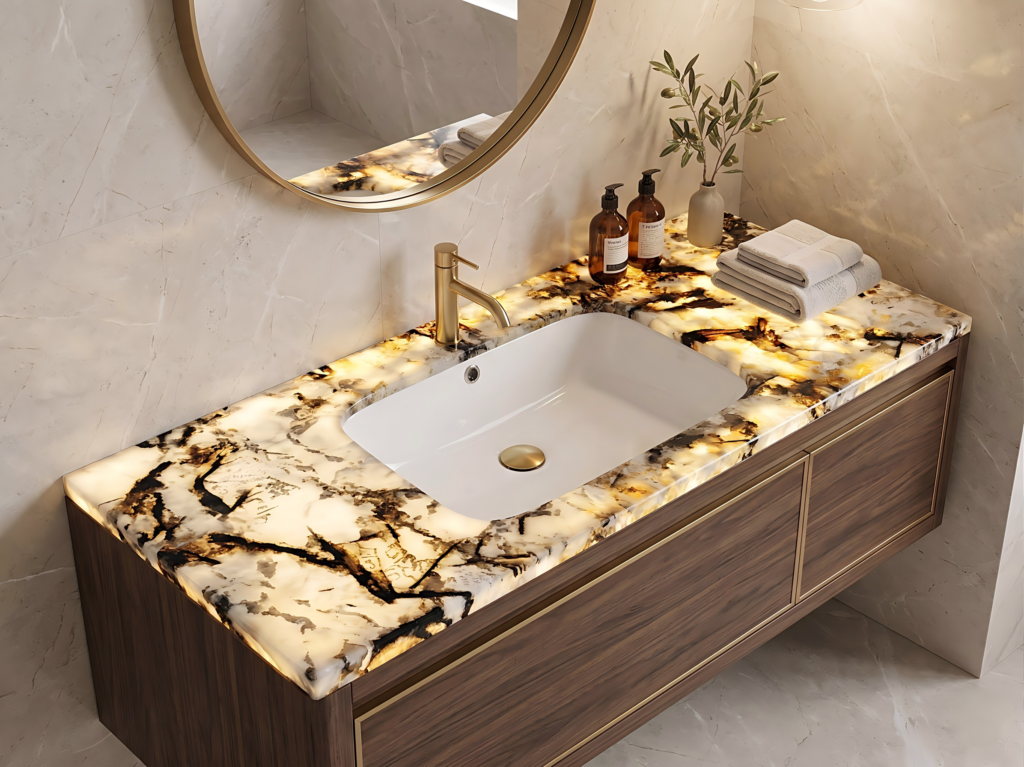
How Can Buyers Identify High-Quality Wood Veneers?
Assessing veneer quality goes beyond surface appearance; it requires a systematic check of grain consistency, official grading standards, and the integrity of the substrate adhesion.
Visual Inspection for Grain and Surface Defects
A close visual check is the first and most direct method for evaluating veneer quality. The goal is to identify consistency and rule out physical flaws that compromise both aesthetics and durability. Start by examining the entire panel, paying extra attention to the corners and edges where delamination or chipping often begins. Any inconsistency can indicate lower-grade material or manufacturing shortcuts.
- Grain Pattern: High-quality veneer displays intricate, well-defined grain patterns that are consistent across the entire surface.
- Color Uniformity: Look for a uniform color profile. Significant spots, streaks, or discolorations often point to lower-quality logs or improper processing.
- Surface Finish: The surface must be smooth to the touch, without any rough patches, cracks, splits, or voids. Obvious knots are a clear sign of a lower-grade cut.
- Edge Integrity: Carefully inspect all edges and corners. These areas are the most vulnerable and are the first to show signs of poor adhesion or handling damage.
Understanding Veneer Grading Standards
Professional suppliers use a standardized grading system to classify veneer, which gives buyers a reliable benchmark for quality. While systems vary, a common one, particularly for burl veneers, ranges from AA (highest) to C (lowest). This grade directly correlates to the veneer’s aesthetic value and its intended application, allowing buyers to select material fit for their project’s requirements, from luxury furniture to non-visible structural components.
| Veneer Grade | Key Characteristics | Ideal Application |
|---|---|---|
| AA Grade | Most intricate and well-defined patterns. Consistent color with a flawless, smooth finish. No visible defects. | High-end furniture, luxury architectural panels, and decorative surfaces where appearance is critical. |
| A Grade | Well-defined patterns with good color consistency. May have very minor, barely noticeable imperfections. | High-quality furniture, cabinet doors, and wall panels for commercial or residential projects. |
| B Grade | More noticeable variations in grain and color. Sound knots and other minor natural defects are acceptable. | General furniture manufacturing, component parts, and surfaces where some natural character is desired. |
| C Grade | Contains visible defects such as splits, knots, voids, and significant discoloration. | Used for backing material, substrates, or in applications where the veneer will not be visible. |
Assessing Structural Integrity and Adhesion
Beyond the surface appearance, the structural foundation of the veneer is critical. True quality is determined by the original log, the precision of the manufacturing process, and how well the veneer is bonded to its substrate. A failure in any of these areas can lead to warping, checking, or delamination, even if the veneer initially looks good. A simple physical test can often reveal issues that a visual inspection might miss.
- Log Quality: The best veneers originate from prime logs that are clear on four sides, with uniform color and no mineral streaks.
- Moisture Content: Optimal moisture content during manufacturing should be between 4-5%. Anything higher can cause severe checking and damage later on.
- Adhesion Test: Gently flex the veneered board. A high-quality panel will remain intact without any signs of buckling, lifting, or separating from the core. This tests the glue line’s integrity.
Conclusion
Wood veneer provides the authentic look of solid wood on a stable, moisture-resistant core, making it a reliable choice for bathroom vanities. This engineered approach delivers the visual appeal of premium lumber while improving resistance to warping in humid environments. It effectively bridges the gap between high-end aesthetics and practical, long-term performance.
If you are sourcing vanities for an upcoming project or product line, we can tailor veneer specifications to meet your exact quality and price targets. Contact our team to discuss your material requirements or to arrange a refundable sample.
Frequently Asked Questions
Is wood veneer good for bathroom?
Yes, modern, high-quality wood veneer is an excellent choice for bathrooms. Its engineered core provides superior dimensional stability, making it less likely to warp or bow from humidity and temperature changes compared to solid wood. The key is to ensure the vanity is well-constructed with waterproof adhesives and fully sealed edges to prevent any moisture from penetrating the core material.
Veneer vs solid wood vanity?
The choice depends on your priorities. A solid wood vanity offers exceptional durability, as it can be sanded and refinished multiple times to repair scratches. A veneer vanity provides better stability against warping in humid bathroom environments and is significantly more affordable and sustainable. Aesthetically, veneer offers a uniform, consistent grain pattern, while solid wood provides unique, natural character.
Does veneer peel in bathroom?
Veneer can peel in a bathroom, but this is almost always due to poor quality or damage. High-quality manufacturing with waterproof glues and factory-sealed edges is crucial to prevent moisture from getting underneath the veneer layer. If the seal on an edge or corner is broken, prolonged exposure to steam and water can cause the adhesive to fail, leading to peeling.
Repairing chipped wood veneer?
Repairing chipped wood veneer is possible but requires a delicate approach, as the veneer layer is too thin to be sanded down like solid wood. For small chips, use a color-matched wood filler or putty, carefully smooth it, and touch it up with stain and a clear topcoat. For larger areas of damage or peeling, you may need to carefully cut out the damaged section and glue in a matching veneer patch, which is a more advanced repair.
Cost of walnut veneer vanity?
A walnut veneer vanity is a premium mid-range option, typically costing between $800 and $3,000 for a standard 36- to 48-inch unit. While this is significantly less than a solid walnut vanity, the final price depends on factors like the vanity’s size, the quality of the MDF core, the grade and cut of the veneer, and the quality of the hardware and countertop it includes.
Painting over veneer vanity?
Yes, you can successfully paint a veneer vanity, but meticulous preparation is essential for a durable finish. The process involves cleaning the surface thoroughly, scuff-sanding with fine-grit sandpaper to create grip, and applying a high-adhesion bonding primer. Afterward, apply two or more coats of high-quality cabinet or enamel paint. For a bathroom environment, finishing with a polyurethane topcoat is highly recommended for added moisture resistance and durability.




0 Comments