

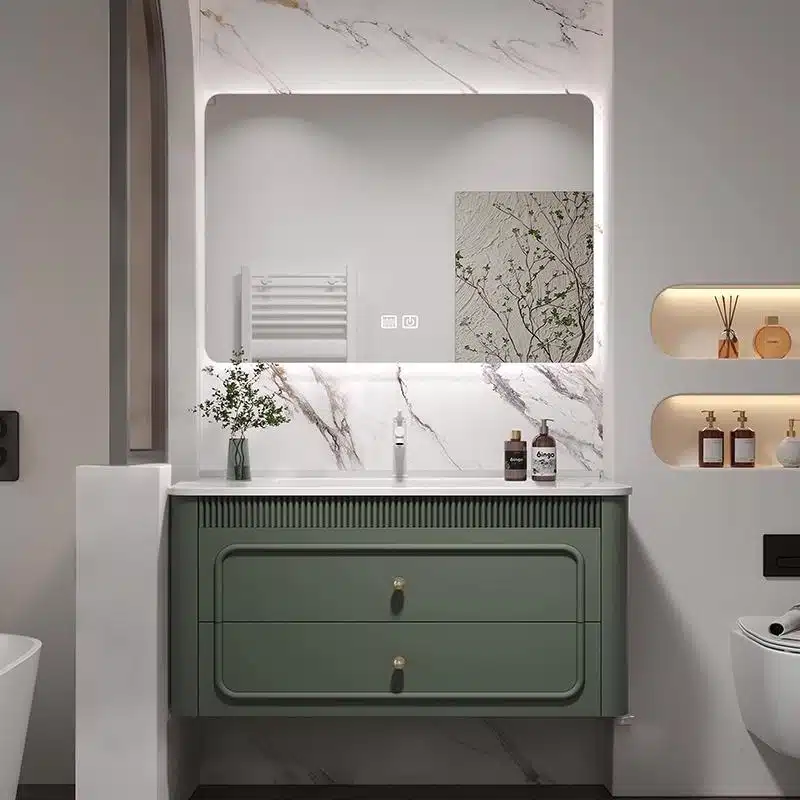
 A clear Vanity Lighting Guide is the primary defense against the specification errors that trigger expensive post-installation rework and negative guest reviews. Getting the lighting wrong in a commercial bathroom or hospitality suite creates unflattering shadows, skews color perception, and ultimately impacts a property’s reputation and profitability. These are not just aesthetic choices; they are functional decisions with direct financial consequences.
This guide establishes a standard operating procedure for vanity illumination. We will provide the technical specifications for fixture placement to eliminate shadows, define the optimal color temperatures (Kelvin) for makeup application, and calculate the correct size ratios between the light bar and the vanity. We will also cover the non-negotiables: IP ratings for damp locations, electrical rough-in heights, and coordinating hardware finishes for project consistency.
The “Shadow Problem”: Downlight vs. Sconce?
Side-mounted sconces provide even, shadow-free facial illumination critical for grooming, while overhead downlights often create harsh shadows. The best practice is a layered strategy combining both for functional task lighting and overall ambient light.
Downlighting: The Cause of Facial Shadows
Traditional downlighting, while offering a focused and modern look, casts harsh shadows downward across the face. This directional overhead approach creates an unflattering appearance and makes detailed tasks like makeup application or shaving difficult because key areas are obscured.
- Casts light directly from above, creating shadows under the eyes, nose, and chin.
- Reduces visibility for precision grooming tasks.
- Prioritizes a clean aesthetic over functional, balanced light for vanities.
Sconces: Even Illumination at Eye Level
Side-mounted sconces or multi-directional fixtures placed at eye level are the professional solution for minimizing shadows. By delivering light from the sides, they distribute it evenly across the face. This provides clear, consistent, and flattering illumination for all vanity activities and represents the current best practice for functional task lighting.
| Lighting Characteristic | Overhead Downlighting | Side-Mounted Sconces |
|---|---|---|
| Light Direction | From Above | From the Sides (Eye Level) |
| Shadow Effect | Creates harsh shadows under eyes, nose, and chin. | Eliminates shadows for clear, even facial light. |
| Best Use Case | General ambient lighting; supplements task lights. | Primary task lighting for grooming (makeup, shaving). |
| Professional Recommendation | Avoid as the sole vanity light source. | Industry best practice for functional vanity lighting. |
Layered Lighting: A Balanced Strategy
The most effective design avoids relying on a single fixture. A layered strategy combines different light sources to balance focused task lighting with overall ambient illumination. This creates a complete solution that is both highly functional for grooming and provides a pleasant atmosphere for the entire bathroom.
- Combines ambient overhead fixtures with task-specific side lights like sconces.
- Uses adjustable fixtures to control light direction and intensity where needed.
- Achieves both high functionality for grooming and a well-lit, pleasant atmosphere.
Optimal Kelvin for Bathrooms (3000K vs 4000K)?
Choosing the right Kelvin temperature is a direct trade-off between task-oriented clarity and relaxing ambiance, with the industry now favoring a 3000K–3500K range for residential use to balance both needs.

3000K: The Choice for Ambiance and Relaxation
A 3000K color temperature produces a warm white light, often specified to create a relaxing, spa-like atmosphere in residential bathrooms. This spectrum provides a flattering and soft illumination at the vanity, making it a strong choice for general use rather than high-precision tasks where color accuracy is critical.
- Creates an inviting and comfortable environment.
- Renders skin tones in a softer, more flattering way.
- Aligns with designs focused on relaxation and ambiance.
4000K: The Standard for Task-Oriented Precision
The 4000K color temperature delivers a neutral or cool white light that enhances clarity and visibility. It is the preferred choice for spaces where detailed grooming activities, such as applying makeup or shaving, are performed daily. It provides a more accurate color representation by mimicking natural daylight.
- Improves focus and visibility for detailed tasks.
- Mimics natural daylight, offering better color accuracy.
- Gives the bathroom a clean, modern, and functional feel.
| Attribute | 3000K (Warm White) | 4000K (Neutral White) |
|---|---|---|
| Primary Use Case | General use, relaxation, ambiance | Detailed tasks (makeup, shaving), high-visibility areas |
| Atmosphere | Inviting, spa-like, soft, comfortable | Clean, modern, energizing, functional |
| Skin Tone Rendering | Flattering and soft; can appear slightly yellow | True-to-life color accuracy; less forgiving |
The Emerging Sweet Spot: 3000K to 3500K
By 2026, design guidance points toward a middle ground between 3000K and 3500K as the ideal choice for most homes. This range balances the comfortable ambiance of warmer light with the functional clarity needed for daily routines. It effectively avoids the clinical, overly harsh feel of higher Kelvin temperatures that were once common in commercial settings but are ill-suited for residential spaces.
- Offers a practical balance between aesthetic comfort and task visibility.
- Represents a shift from commercial standards to residential preferences.
- Provides sufficient brightness for tasks without feeling harsh.
Durable, Factory-Direct Vanities That Boost Profits
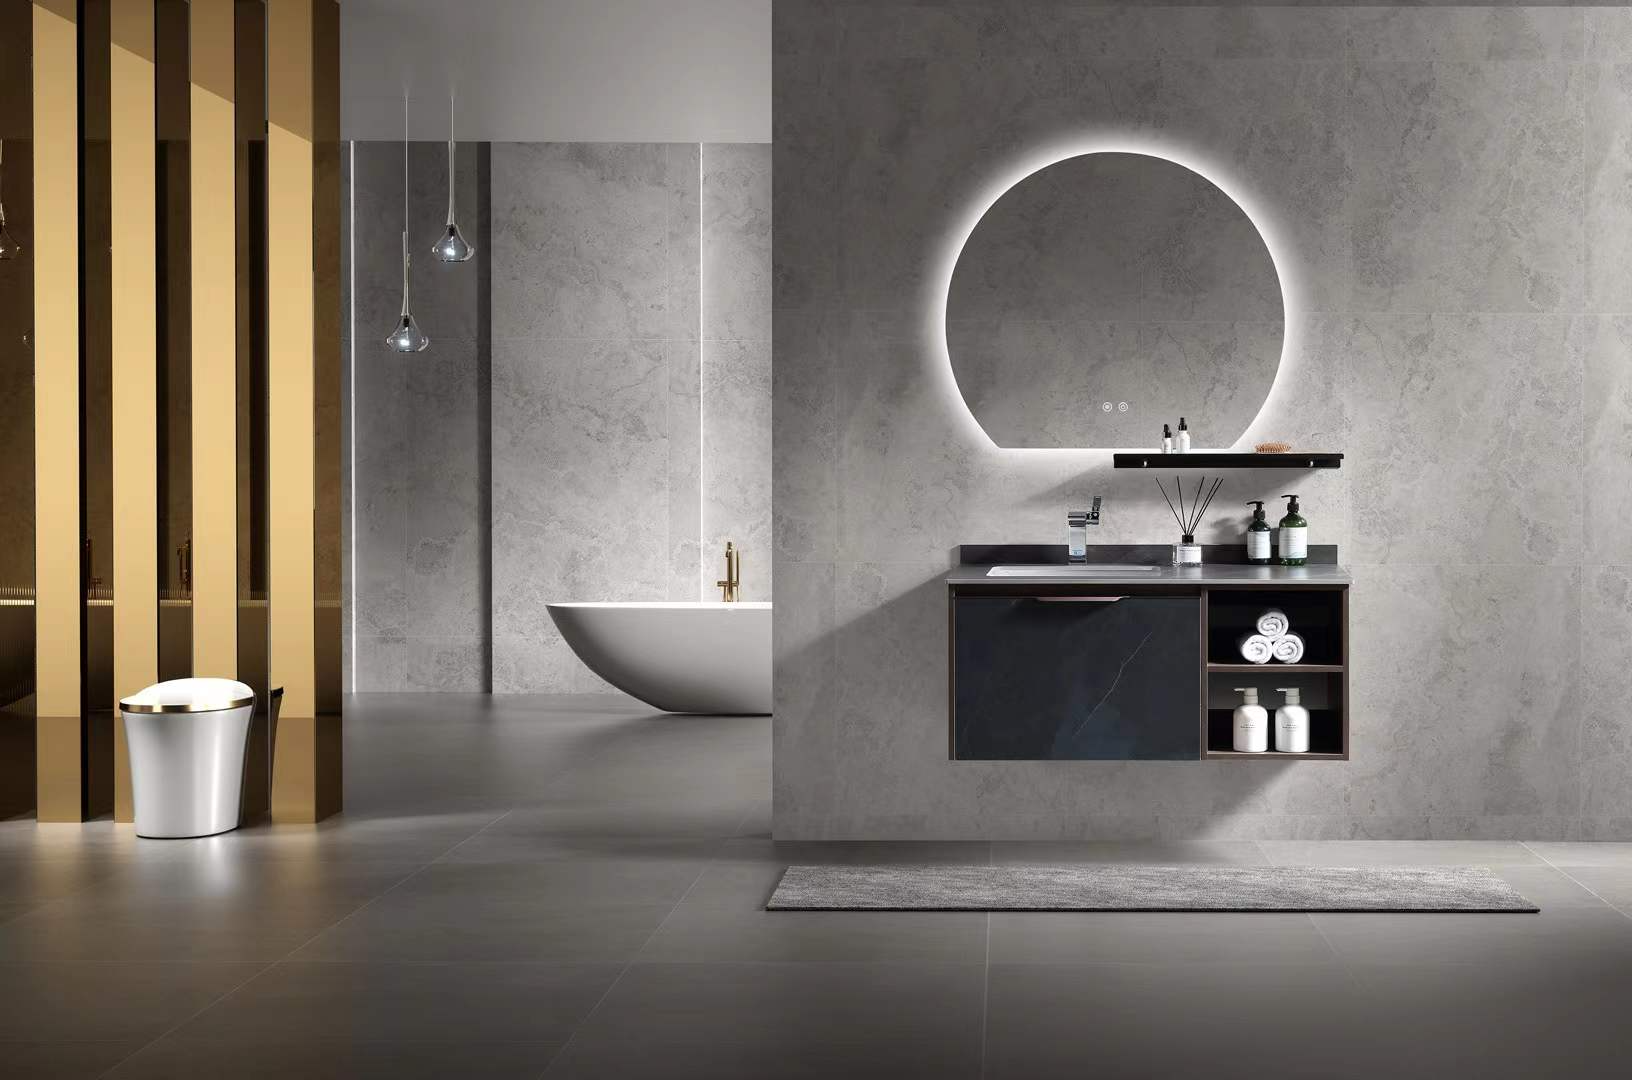
Size Ratio: Light Bar Width vs. Vanity Width?
The industry standard for vanity light sizing is to select a fixture that is 70-80% of the mirror or vanity’s total width, ensuring proportional lighting without extending past the mirror’s edges.
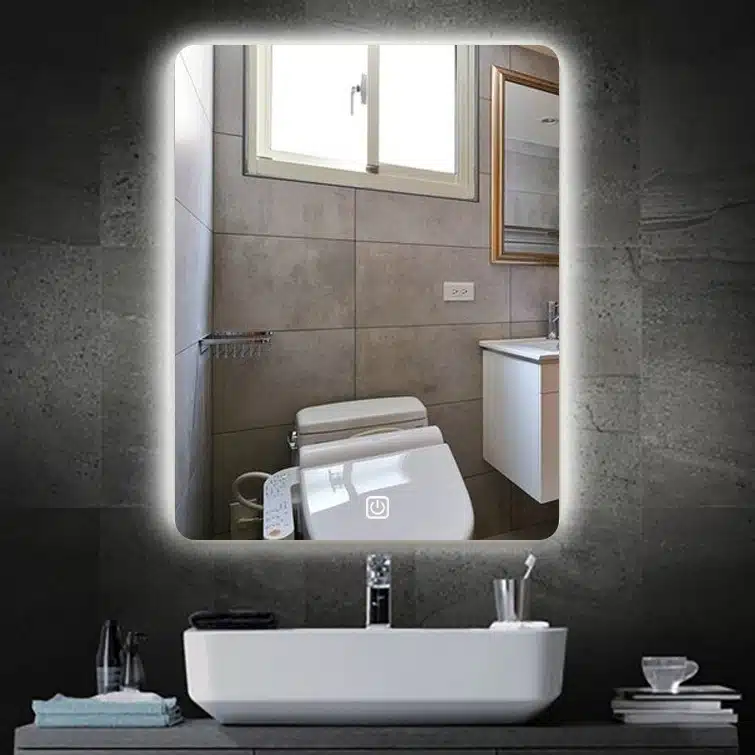
The 75% Rule for Fixture Width
The most reliable guideline for sizing bathroom vanity lighting is the 75% rule. A fixture that is roughly 75% of the mirror’s width creates a visually balanced look and provides proportional illumination without overpowering the space. To apply this, first measure the width of your vanity mirror from edge to edge. Multiply that measurement by 0.75 to get your target fixture width. For instance, a 36-inch mirror pairs well with a light bar between 25 and 29 inches wide. The fixture should always be centered and never extend beyond the sides of the mirror, which maintains clean visual lines.
| Vanity / Mirror Width | Recommended Light Fixture Width | Common Application |
|---|---|---|
| 24 inches (60cm) | ~18 inches (45cm) | Compact / Powder Room |
| 36 inches (90cm) | 25-29 inches (~65-75cm) | Standard Single Sink |
| 48 inches (120cm) | 36-40 inches (~90-100cm) | Large Single / Small Double |
| 60 inches (150cm) | 42-48 inches (~105-120cm) | Standard Double Sink |
Sizing for Double or Compact Vanities
Sizing logic adapts for different vanity configurations. For a double vanity with one large, continuous mirror, the best practice is to treat each sink area as a separate zone. Divide the mirror’s total width in half, then apply the 75% rule to each half and center a light fixture over each sink. If the double vanity uses two separate mirrors, simply apply the 75% rule to each individual mirror. For compact vanities (24 inches or less), a standard light bar can look disproportionately large. In these cases, narrow bar lights or a pair of vertical sconces on either side of the mirror often provide better scale and illumination.
Standard Mounting Height Above the Floor
Correct vertical placement is as critical as the fixture’s width. The standard is to mount the vanity light so that the bottom of the fixture is between 75 and 80 inches above the finished floor. This height typically places the light source a few inches above the top of the mirror frame. Positioning the light correctly ensures it illuminates the face evenly, which is critical for grooming tasks, and it minimizes the harsh downward shadows that occur when a light is mounted too high.
IP Ratings for “Damp Locations”?
Specifying the correct IP rating is a critical technical decision that ensures regulatory compliance, prevents moisture damage, and guarantees electrical safety in bathroom environments.
Defining an IP Rating for Bathroom Fixtures
An IP (Ingress Protection) rating is the international standard for classifying a product’s resistance to solids and liquids. For any electrical fixture in a bathroom, this rating provides a clear, technical measure of safety and durability against humidity and splashing. It replaces vague marketing terms like ‘water-resistant’ with precise, actionable performance data.
- The first digit in the rating measures protection against solids, such as dust.
- The second digit measures protection against liquids, like water.
- A higher number for either digit indicates a greater level of protection.
IP44: The Standard for Damp Bathroom Zones
The IP44 rating is the accepted industry minimum for electrical fixtures installed in Bathroom Zone 2. This zone includes the area directly above a vanity or near a tub where splashing is likely but direct jetting is not. An IP44 rating certifies that the fixture can withstand water splashes from any direction, making it safe for typical bathroom use. This is crucial for meeting regulatory compliance in both European (CE) and North American (UL) markets and protects sensitive internal electronics like LED drivers and anti-fog systems from moisture damage.
The Difference Between ‘Damp’ and ‘Wet’ Locations
Specifiers must clearly distinguish between “damp” and “wet” locations to ensure product longevity and user safety. A damp location is exposed to condensation and humidity but not direct streams of water, like the area over a vanity. A wet location, such as the inside of a shower enclosure, can be saturated with water and requires a much higher IP rating, typically IP65 or IP67. Using a damp-rated fixture in a wet location is a building code violation and creates a significant electrical hazard.
Integrated LED vs. Bulb Fixtures?
The choice between integrated LED and replaceable bulb fixtures is a classic engineering trade-off: prioritize long-term, maintenance-free operation or retain control over serviceability and aesthetic updates.
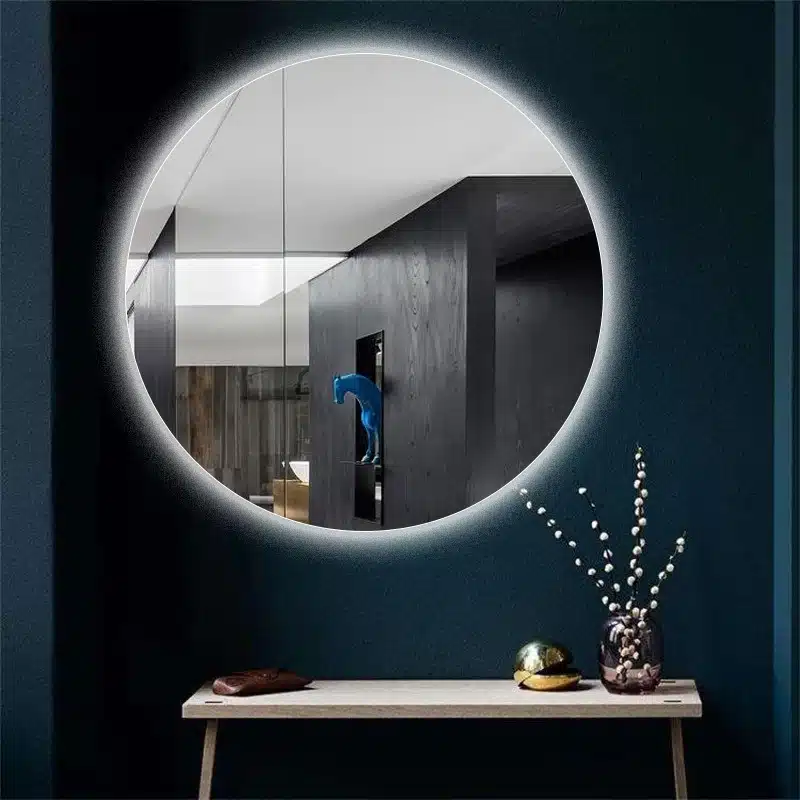
Lifespan and Maintenance
Integrated LED fixtures offer a significantly longer operational life, often lasting for years without intervention. This set-it-and-forget-it approach is a major advantage. The trade-off is that a failure in the LED array typically requires replacing the entire fixture, not just a component. Bulb-based fixtures, on the other hand, allow for simple, tool-free replacement, giving end-users direct control over maintenance and future upgrades.
- Integrated systems are built for longevity, making them a default choice for commercial spaces, hospitality projects, or hard-to-reach residential installations where frequent maintenance is impractical.
- Replaceable bulb fixtures prioritize serviceability. They allow users to easily swap bulbs to change brightness or color temperature without calling an electrician.
Cost: Initial Purchase vs. Lifetime Value
Fixtures using replaceable bulbs generally have a lower upfront cost, making them an attractive initial purchase for budget-driven projects. Integrated LED fixtures, while more expensive at first, provide superior long-term value. This value comes from greater energy efficiency and eliminating the recurring cost of replacement bulbs over the fixture’s lifespan.
- Bulb fixtures appeal to projects with tight initial budgets and offer cost control through the user’s choice of bulb technology (e.g., standard LED, smart bulb).
- Integrated LEDs deliver ongoing operational savings on energy bills and completely remove the cost and labor associated with buying and installing replacement bulbs.
Design Flexibility and Technology Integration
The compact nature of integrated LEDs gives designers greater freedom, enabling more streamlined, minimalist, and modern fixture designs that are impossible with bulky sockets. These all-in-one systems also lend themselves better to smart home integration and advanced thermal management. Traditional bulb fixtures offer a different kind of stylistic versatility through the vast selection of bulb shapes, sizes, and filament styles available on the market.
- Integrated fixtures are leading the market in smart features, including IoT connectivity for automation and precisely engineered heat sinks for better performance.
- Replaceable fixtures give users the freedom to alter the aesthetic by choosing different types of bulbs, from vintage Edison styles to modern, oversized globes.
Finish Coordination (Gold, Chrome, Matte Black)?
Coordinated metal finishes are no longer an afterthought but a central strategy for creating intentional, high-value bathroom designs, with specific pairings dictating the overall aesthetic.
Matching or intentionally contrasting the finishes on your vanity lighting, faucets, and hardware has a significant impact on the final look of a bathroom. The market has moved beyond single-finish uniformity and now embraces strategic combinations and layered approaches. Gold, chrome, and matte black remain the primary choices, but how they are used together defines a project’s level of design sophistication.
Pairing Gold with Matte Black for Modern Sophistication
Gold finishes have solidified their place as a timeless design element, especially when used with darker, contrasting tones. Pairing gold with matte black creates a modern, sophisticated look that feels current and avoids looking dated. This combination is effective because it balances warmth and coolness, reflection and absorption.
- The contrast between reflective gold and flat black adds visual depth and a touch of luxury.
- This pairing is versatile and works well across both residential and commercial spaces.
The Role of Two-Tone Finishes in Design Harmony
Using two-tone finishes on a single fixture or across a coordinated collection is a standard industry practice for achieving visual harmony. This technique allows designers and specifiers to blend different metallic elements without creating a clashing, disjointed look. It bridges the gap between different hardware choices made at different stages of a project.
- This approach provides flexibility, making it easier to match lighting with existing hardware and faucets.
- It introduces subtle complexity to the design, preventing a monolithic look.
Using Coordinated Finishes Across Layered Lighting
Current design best practices favor layered lighting schemes where multiple fixture types feature matching metallurgical finishes. This approach creates a cohesive and intentional look throughout the space, reinforcing the planned aesthetic. Instead of a single overhead light, a room might use sconces, a vanity bar, and a central pendant that all share the same finish.
- Applying a consistent finish—such as chrome—to sconces, pendants, and vanity lights unifies the room’s design.
- This technique helps to build visual depth and ensures that all lighting elements contribute to a single, planned aesthetic.
Electrical Rough-In Heights
While the National Electrical Code (NEC) provides flexibility, professional electrical installations follow strict industry standards for switch and outlet heights to ensure usability, consistency, and ADA compliance.
Standard Heights for Switches and Outlets
The NEC doesn’t mandate exact heights for residential wiring, but established industry practices create a clear standard. Following these guidelines ensures a professional, consistent finish and predictable usability throughout a home or commercial project.
- Light Switches: Electricians install switches at 48 inches from the finished floor, measured to the center of the electrical box. This height is ergonomic for most adults.
- General-Use Outlets: These are typically positioned between 12 and 16 inches from the finished floor to the bottom of the box. Many professionals prefer measuring 16 to 18 inches to the box’s centerline for greater precision.
ADA Accessibility Height Requirements
The Americans with Disabilities Act (ADA) sets specific, non-negotiable mandates for electrical controls and outlets. These rules ensure that individuals in wheelchairs can safely and easily access them in both public and private spaces.
- Switches and Controls: The center of the switch or operable part must be no higher than 48 inches from the finished floor.
- Outlets: The lowest operable part, which is typically the bottom slot of the receptacle, must be at least 15 inches above the finished floor.
Key Considerations and Best Practices
Beyond standard measurements, electricians follow key principles for code compliance and quality. Consistency is the most visible indicator of professional work and should be maintained even when codes permit a range of heights.
- NEC Maximum Height: The NEC states that an outlet cannot be installed more than 5.5 feet above the floor to be counted toward the required wall space coverage rules.
- Project Consistency: Maintaining uniform heights for all switches and outlets across an entire project is critical. This creates a clean, intentional aesthetic and is a hallmark of high-quality electrical work.
Conclusion
Choosing the right vanity lighting is about balancing aesthetics with function. Correct placement eliminates shadows for tasks like makeup application, while the right color temperature provides true-to-life reflections. These technical decisions directly impact the daily usability and safety of your bathroom space.
As you plan your next project, consider how your lighting will pair with your vanity design. Our team can help you select vanity materials and finishes that align with your lighting scheme and target budget.
Frequently Asked Questions
How wide should vanity light be?
A vanity light bar should be approximately 75% of the mirror’s width, ensuring it doesn’t extend beyond the mirror’s edges. This proportion provides balanced and ample illumination across the vanity space.
Best light color temperature for makeup?
The best light for makeup application mimics natural daylight. Aim for a color temperature between 3000K and 4000K with a high Color Rendering Index (CRI) of 90+ to ensure colors are rendered accurately and skin tones appear natural.
How high to install vanity lights?
For optimal task lighting, side-mounted sconces should be installed with the center of the fixture at eye level, typically 60-66 inches from the floor. A light bar mounted above the mirror should be positioned 75-80 inches from the floor.
Sconces vs light bar over mirror?
Side-mounted sconces are professionally preferred because they provide even, cross-illumination at eye level, which significantly reduces shadows on the face for tasks like makeup or shaving. A single light bar over the mirror primarily provides downlighting, which can create unflattering shadows.
Do vanity lights need to be damp rated?
Yes, absolutely. Because bathrooms are high-humidity environments, vanity light fixtures must be officially rated for “Damp Locations” to ensure safe operation and compliance with electrical codes. Fixtures installed directly within a shower require a “Wet Location” rating.
Trends in vanity lighting 2026?
Key trends for 2026 focus on layered lighting systems and user control. This includes combining task sconces with ambient ceiling lights, using adjustable fixtures with tunable color temperature and smart dimming, and favoring integrated, minimalist LED designs in matte black and brushed metallic finishes.





0 Comments