

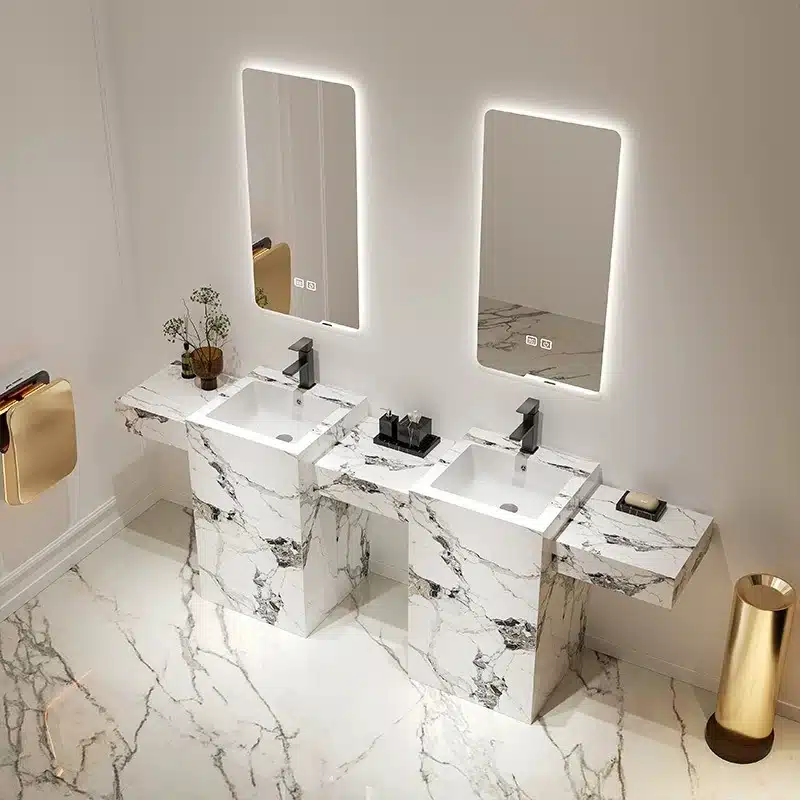
A floating vanity fails in three predictable places: the wall was never verified, the brackets were under-rated, or the load was never added up. For contractors, installers, and engineering buyers, those failures surface after installation, when a loaded 60-inch double-basin unit starts pulling away from tile. This floating vanity installation wall mount guide covers the full decision chain before you order: how to assess wall structure behind tile, how bracket systems and anchors are rated, how to calculate what a sintered stone vanity weighs in service, a step-by-step wall-mount installation sequence, and the specs to write into your purchase order so the factory builds the mounting provisions into the cabinet. Product references use MFBATH floating sintered stone vanities from 600–1800mm (24–71 inches) in single or double basin configurations.
Key Takeaways
- Wall type decides everything: wood or metal stud walls and masonry can carry a floating vanity; drywall alone cannot. Verify the substrate behind tile before you order, not after the unit arrives.
- MFBATH floating sintered stone vanities span 600–1800mm (24–71 inches), with standard widths of 24–60 inches and depths of 18–24 inches in single and double basin layouts.
- Load math must include the cabinet body, sintered stone countertop, basin and held water, daily contents, and momentary lean loads, plus an operating margin. Never size brackets to the empty cabinet.
- Hidden metal hangers and a reinforced back panel turn a cabinet into a structural assembly; specify the bracket rated load to cover the full loaded condition and verify each anchor bites into real substrate.
- Write wall conditions and mounting requirements into the purchase order so the factory pre-drills back panels and bracket positions to match your stud layout.
- MOQ (Minimum Order Quantity) is 15 sets per model, color, and size with mixed-container loading; samples ship in 10 working days, production takes 20–30 days, and total delivery to the US, Canada, or Mexico runs 4–6 weeks.
- Payment terms are a 30% deposit at order with the balance within a week of the draft BL (draft bill of lading); the cabinet carries a 2-year warranty and each unit passes 5 QC (quality control) checks before packing.
In This Guide
- Step 1: Assess the Wall Before You Order
- Bracket Systems and Hardware Ratings
- Load Math: What a Floating Vanity Really Weighs
- Step-by-Step Wall-Mount Installation
- Specs to Put in Your Purchase Order
- Frequently Asked Questions
Step 1: Assess the Wall Before You Order
A wall-mounted vanity transfers its entire weight to the wall; the floor carries nothing. That makes the wall the structural member, and the bracket system is only as strong as what it bites into. In practice, the wall is the variable contractors cannot see — tile covers it, and the framing behind it stays unknown until you probe. Run the assessment before you order so the width, back-panel reinforcement, and bracket positions are decided against the real substrate, not against a drawing.

Three wall families cover almost every bathroom. Wood stud walls (2×4 or 2×6 framing on 16 or 24-inch centers) are the easiest to work with: structural screws into stud centers through a reinforced back panel carry the unit. Metal stud walls (light-gauge steel) need anchors approved for steel framing, and installers commonly add plywood backing across the studs before tiling. Masonry — concrete block, brick, or poured concrete — takes expansion anchors or chemical anchors set into the substrate. Drywall over a hollow cavity is the one case with no direct fixing; it requires full-height blocking or plywood between studs before tile goes up, or the vanity stays on legs.
| Wall type | Recommended fixing | Floating vanity suitability | Installation notes |
|---|---|---|---|
| Wood stud, 16 or 24 in centers | Structural screws into stud centers through reinforced back panel | Yes | Confirm stud spacing matches the hanger layout; keep clear of plumbing lines |
| Metal stud (light-gauge steel) | Anchors rated for steel framing; plywood or steel backing across studs | Yes, with backing | Verify the stud gauge and install backing before tiling |
| Masonry (block, brick, concrete) | Expansion or chemical anchors set into the substrate | Yes | Add anchor depth for tile and mortar; drill through tile with a diamond bit |
| Drywall over hollow cavity | No direct fixing | No | Add blocking or plywood between studs before tiling, or choose a floor-standing unit |
| Tile over wood or metal studs | Probe grout lines to find studs; screws into stud centers | Yes, with preparation | Locate studs first; a diamond bit limits tile damage and re-tiling cost |
Probing methods matter because tile hides the structure. A stud finder works through tile in many cases, but the more reliable route is reading the grout lines: tapping sounds change over studs, and a strong magnet finds the screws holding steel studs. When in doubt, drill a small pilot hole in a grout joint at a low position and inspect what comes back — tile dust with clean wood shavings tells you what you need to know. Mark stud centers in pencil at future bracket height, then check them against the cabinet’s hanger layout; a 60-inch unit with two hangers needs both ends to land on solid material, not just one.
The assessment feeds the order. MFBATH floating sintered stone vanities come in 600–1800mm (24–71 inches) with standard widths of 24–60 inches and depths of 18–24 inches, and the factory can reinforce the back panel and set mounting provisions to match your measured stud spacing. That handoff — your wall data in, pre-drilled mounting out — is what separates a flat installation from a field retrofit with shims, extra anchors, and callbacks.
Commercial jobs have an advantage retrofits do not: structural drawings. If the project has framing plans, check the stud gauge, spacing, and any fire-rated assemblies before the tile crew starts. Fire-rated walls change what you can anchor and where, and penetration details matter. When drawings are missing, assume nothing — the probe is the document, and a wall assessed late is a wall assessed twice.
Bracket Systems and Hardware Ratings
Hidden metal hangers are the standard for wall-mounted vanities: a steel suspension rail or hanger bolts to the wall, and the cabinet hangs onto it so no bracket shows below the unit. The interface that actually takes the load is the cabinet back panel, which is why a floating vanity needs a structural back, not a thin cosmetic sheet. Specify back-panel reinforcement in the build, and for humid markets ask for BWR (boiling-water-resistant) plywood or marine-grade material as the carcass option.
Ratings are where installers get burned. A hanger described as heavy duty in a catalog has no engineering value; the number that matters is the rated capacity of the bracket system and its anchors at your substrate. Your specification should state that the rated load must cover the full loaded condition — cabinet, sintered stone top, basins, contents, and margin — even if the factory brochure quotes an empty-cabinet figure. If the manufacturer cannot provide a rated capacity for the loaded case, treat the hanger as unverified and add support points or a stronger system.
Bracket layout follows width. A 24-inch single-basin unit can ride on two hangers; a 60-inch double-basin unit spreads the load across three or more support points, with hangers positioned to land on studs rather than evenly across the wall. Ask the factory for the hanger layout drawing before production so you can compare it with your stud marks — moving a hanger a few inches on paper costs nothing, moving it on tile costs a re-drill and a patch. On delivery, verify the mounting hardware count against that drawing before the cabinet leaves the crate.
Anchors follow the substrate. Wood studs take structural screws into stud centers. Metal studs need anchors approved for steel framing, or a plywood or steel backing plate fixed across the studs. Masonry takes expansion anchors or chemical anchors; chemical (epoxy) anchors hold better near edges or in cracked substrate, where expansion anchors lose grip. In every case the anchor must engage the structural member — a screw that stops in tile or plaster is not a fixing, it is a pull-out waiting for the first leaning load. Where local rules apply, check the International Code Council model codes and your jurisdiction’s adoption before signing off on the mounting.
Hardware quality compounds with humidity. Drawer runners and hinges share the load path of daily use, and moisture shortens their life: MFBATH’s own 100K-cycle hardware test found door hinges failed at 45,000 cycles in a humid environment, which is why the floating line ships with soft-close drawer hardware that is cycle-tested and why each unit passes 5 QC checks before packing. If you are buying against an open spec, ask for the cycle-test data in bathroom conditions, not the dry lab number. For the full picture of how MFBATH builds the mounting into the cabinet, see engineered floating vanity wall mounts.
Load Math: What a Floating Vanity Really Weighs
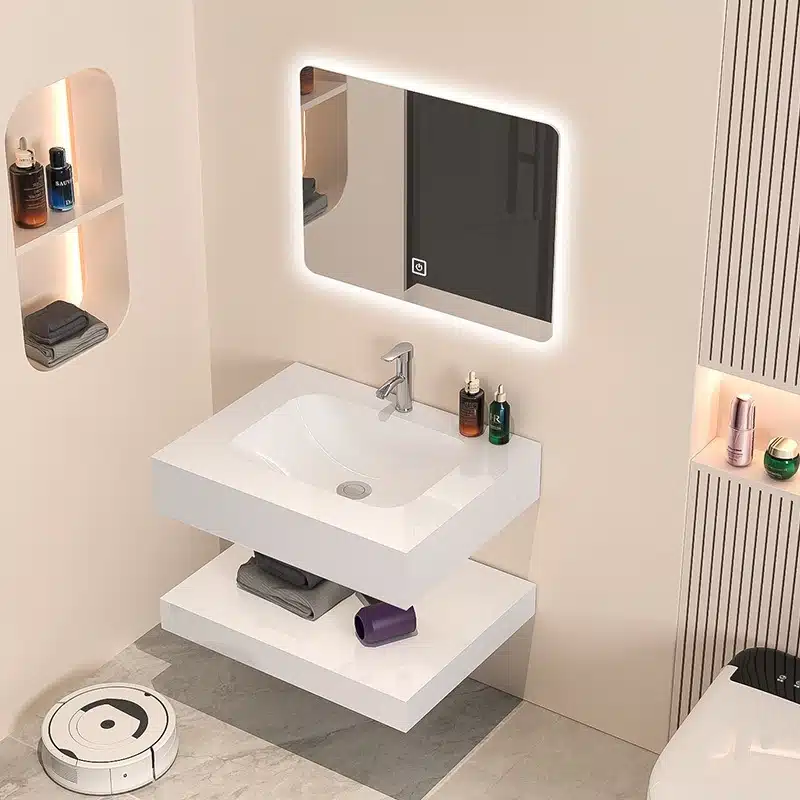
The mistake is sizing hardware to the catalog weight. A wall-mounted vanity in service carries the cabinet body, the countertop, the basin and the water in it, everything stored in the drawers, and people leaning on the front edge. Sintered stone makes the countertop the densest single item — the material runs 7–8 on the Mohs hardness scale, resists heat to 300°C, and its weight is easy to underestimate on a wide double-basin top. Count every item, add the operating margin, and choose the bracket rated capacity against that number, not the empty unit.
| Load item | What you are counting | Include it? |
|---|---|---|
| Cabinet body | Carcass, drawers, runners, back panel | Yes — the baseline |
| Sintered stone countertop | Slab, cutouts, edge profiles | Yes — the densest item |
| Basin(s) and water | Integrated basin, standing water, splash load | Yes — a double basin means two of each |
| Faucets and fittings | Mixers, drains, supply valves | Yes — small but fixed |
| Daily contents | Towels, toiletries, hair appliances | Yes — routinely underestimated |
| People leaning | Momentary point load on the front edge | Yes — cover it with the margin |
Single-basin and double-basin units differ by more than the basin count. A double-basin top is wider — standard widths run to 60 inches — the countertop weighs more, two basins hold more water, and the plumbing stack is heavier. The same bracket system that clears a single-basin load can sit at its limit with a double-basin unit, so calculate per SKU, not per product family.
Estimate contents conservatively, not ideally. A household vanity accumulates full-size towels, a hair dryer, a bin of toiletries, and cleaning supplies. For hotel or STR (short-term rental) projects, guests lean and children climb — the momentary load exceeds anything the drawers hold. If the project is commercial, treat the lean load as a design input, not an afterthought, and confirm the bracket system is rated for it before the PO goes out.
Use the sum, apply the margin, and then check deflection after loading: the unit should sit flush to the wall with no sag at the bottom edge and no gap at the top. If the loaded check shows movement, the answer is more support points or a higher rated system, not a thicker bead of silicone. Keep the loaded weight math in the project file; it is the document your anchor and bracket choice will be judged against in a failure review.
Floating Sintered Stone Vanities Built for Wall Mounting
Browse this product, solution, or service page to explore relevant offerings.
Step-by-Step Wall-Mount Installation
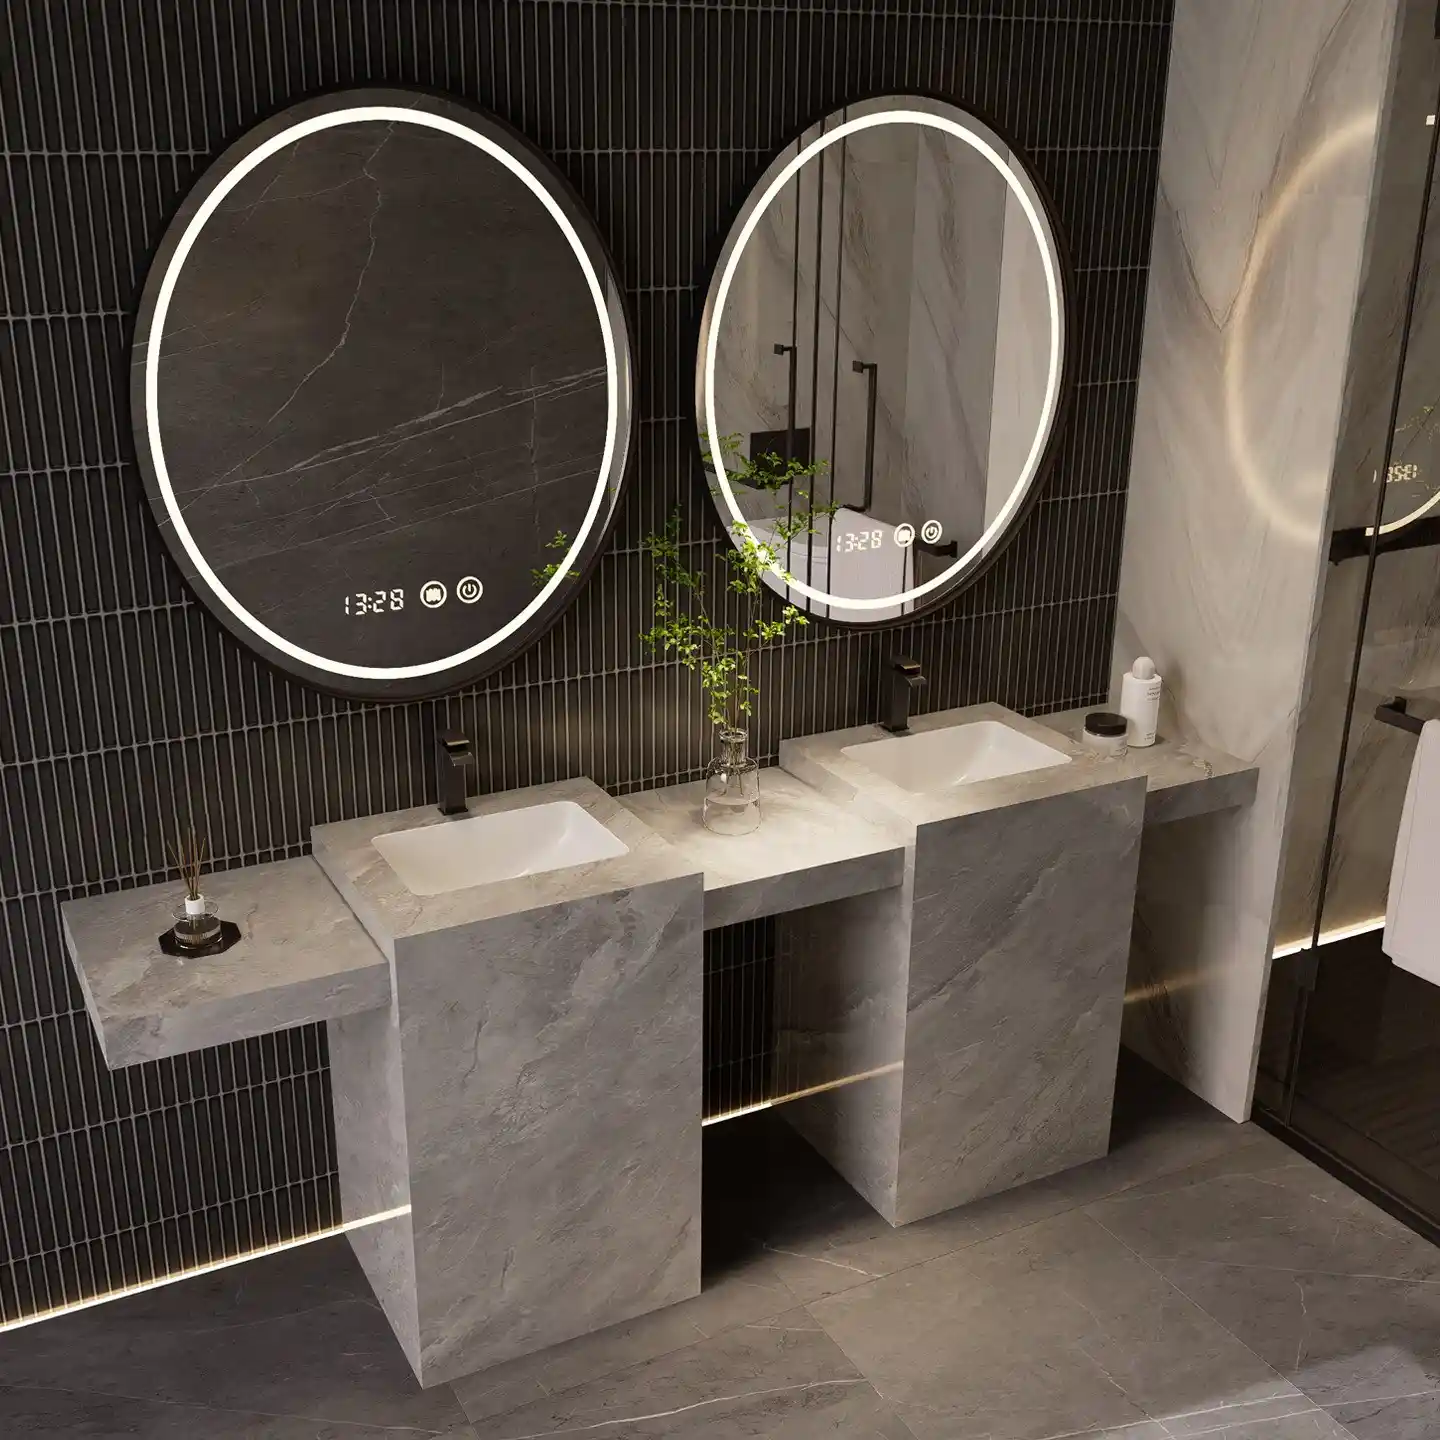
The sequence below assumes the wall assessment is done, the bracket system is rated for the loaded weight, and the cabinet arrived with a reinforced back panel and mounting provisions. On site, work in this order and do not skip the two verification points: substrate confirmation before loading, and a loaded level check before sealing.
Step 1: Layout and locate studs
Mark the finished height and centerline with a laser level. Transfer the stud positions you found in the assessment onto the tile at bracket height, and confirm the drain and supply rough-in positions against the unit’s cutouts — off-center plumbing is a common cause of field rework, and the vanity rough-in plumbing guide covers the measurements to check before anything is drilled.
Step 2: Reinforce before tiling where possible
If the wall is open, install plywood or blocking between studs at bracket height and add backing for metal studs. Retrofit walls skip this step only when the assessment confirmed the framing; otherwise, treat the wall as unverified and re-probe.
Step 3: Install the bracket system
Set the hangers on the level line, shim each one flat against the wall, and drive the anchors into the structural members with the specified torque. Test engagement by hand before lifting the cabinet — a hanger that moves under your palm will move under a loaded vanity.
Step 4: Hang and level the cabinet
Lift the unit with two people and engage the hangers. Check level front-to-back and side-to-side, adjust shims behind the back panel, and confirm drawers and doors align before the sealant goes on. Alignment fixes are cheap now and expensive after the silicone cures.
Step 5: Secure and install the basin
Drive the additional top and side fixings into the blocking, seal the perimeter, then mount the basin. Sintered stone basins need clean, even bedding; the sintered stone basin installation guide covers the bedding and sealing details that prevent hairline cracks at the rim.
Step 6: Connect plumbing
Run the supplies and drain, open the stops, and test every joint before closing the access. Code compliance matters here: follow the IAPMO plumbing codes adopted in your jurisdiction and keep the shutoffs reachable behind the cabinet.
Common Failure Modes and How to Avoid Them
- Pull-out: anchors that stopped in tile or plaster instead of the stud or masonry. Prevent it by verifying the substrate and testing hanger engagement before loading.
- Sagging: brackets rated for the empty cabinet. Prevent it with the load math above and a reinforced back panel.
- Gaps at the wall: an uneven wall masked with a thick bead of silicone. Prevent it by shimming the hangers level before the cabinet goes on.
- Pipe interference: rough-in that misses the unit’s cutouts. Prevent it by confirming rough-in dimensions before ordering.
Each of these has a documented history in the field; the floating vanity installation mistakes article walks through real cases and the specific errors behind them.
Specs to Put in Your Purchase Order
A purchase order that names the wall and the mounting system moves wall prep from the jobsite to the factory. The factory can reinforce the back panel, pre-drill hanger holes, and position mounting plates when it knows the stud spacing and the substrate — none of that is possible once the unit is packed. Put the following items in the PO so the delivered cabinet matches the wall you measured.
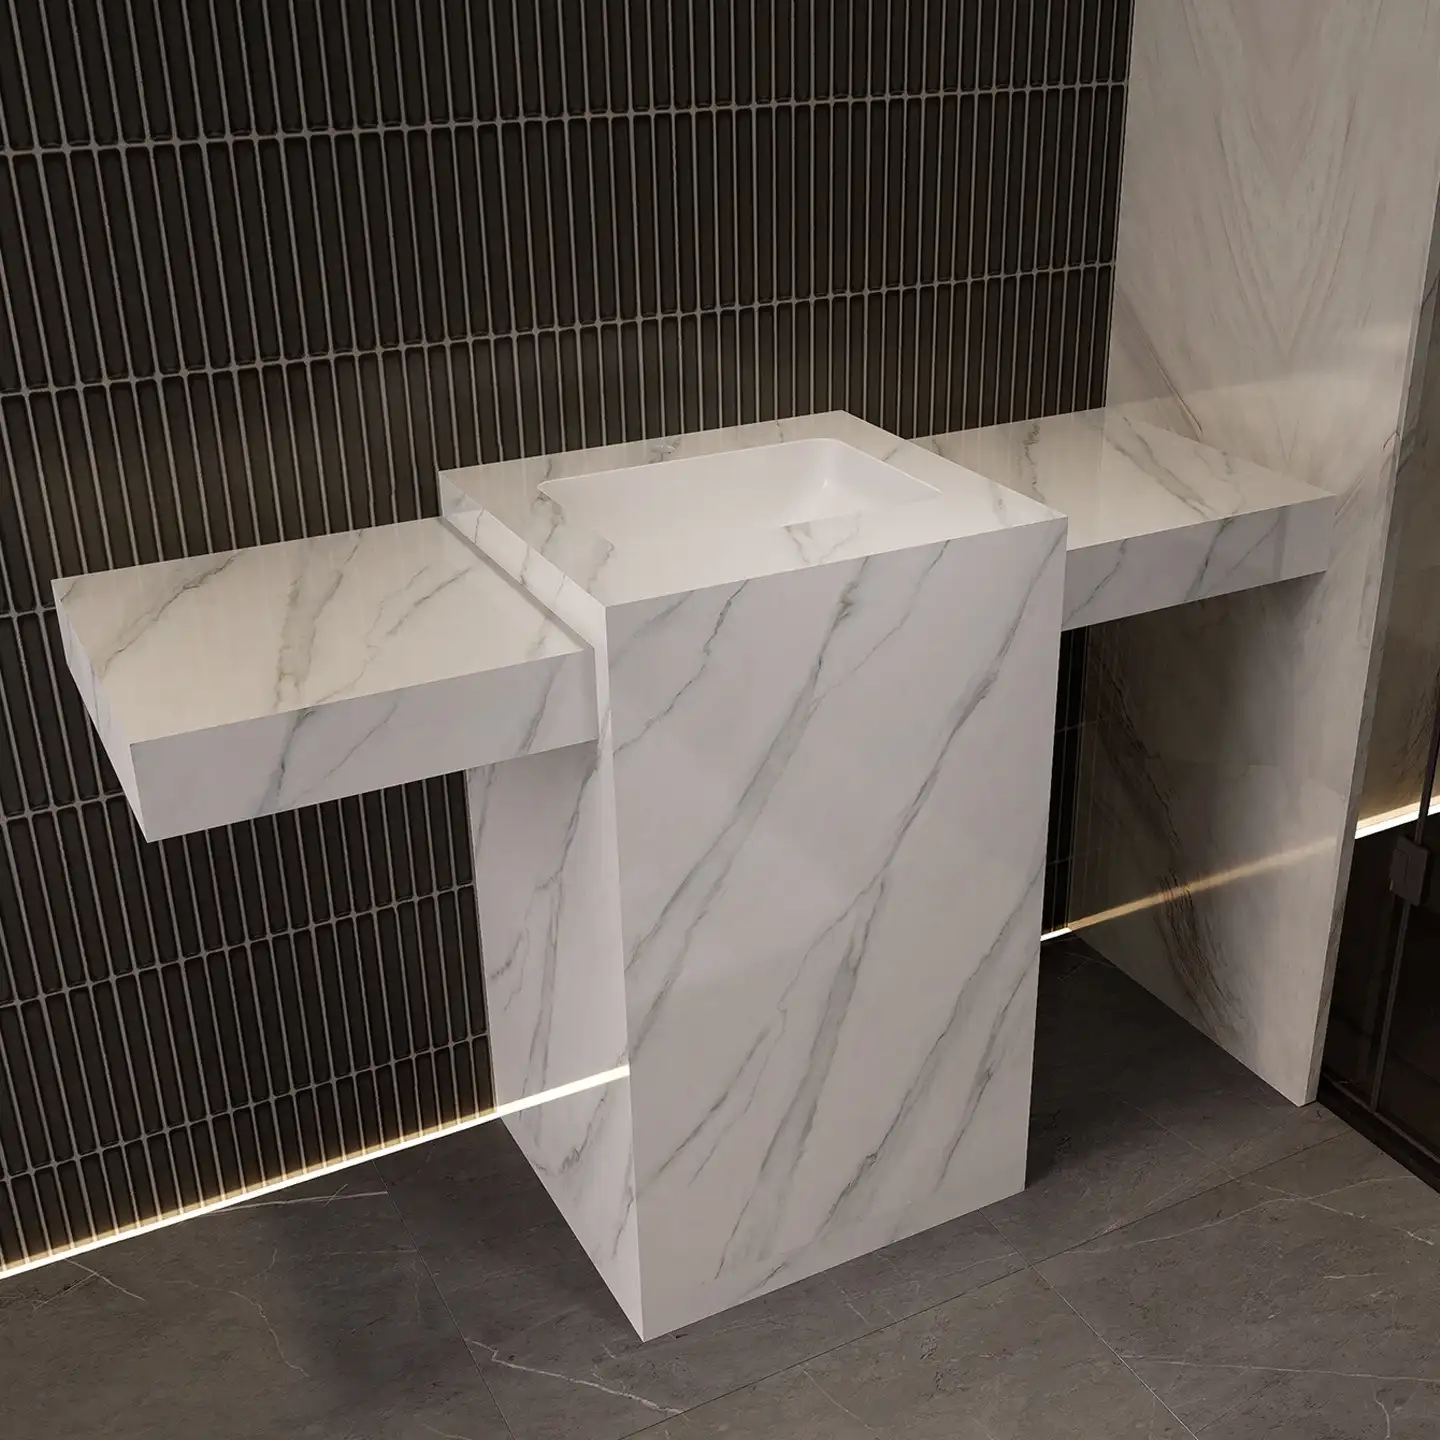
- Dimensions and basin count: width 24–60 inches, depth 18–24 inches, single or double basin; the floating line covers 600–1800mm (24–71 inches).
- Wall conditions: stud type and spacing, substrate (wood, steel, masonry), tile or bare wall — the factory uses this to set back-panel reinforcement and hanger positions.
- Mounting system: hidden metal hangers whose rated capacity covers the full loaded condition, a reinforced back panel, and pre-drilled holes or a mounting plate per your layout.
- Materials: BWR (boiling-water-resistant) plywood for humid bathrooms, marine grade optional; soft-close drawer hardware.
- Compliance: E1 formaldehyde at ≤0.1 ppm, CARB Phase 2, and TSCA Title VI; FSC-certified material optional; low-VOC finishes.
- QC and inspection: 5 QC checks per unit, with third-party inspection (SGS, TÜV) scheduled in advance when your buyer requires it.
- Logistics: MOQ 15 sets per model, color, and size with mixed-container loading; samples in 10 working days; production 20–30 days; delivery to the US, Canada, or Mexico in 4–6 weeks; FOB (Free On Board) Qingdao; 30% deposit at order and balance within a week of the draft BL.
Two more documents close the loop. Review the mounting and dimension data in your BIM workflow before production — the vanity Revit evaluation checklist lists what to verify in the model, including back-panel and hanger details. And if you are buying against an inspection contract, the bathroom vanity QC guide explains the five-point check and how to align third-party inspection with the 2-year warranty. Get the back-panel reinforcement and hanger positions into the model before production locks; changes after cutting are rework at your cost.
Frequently Asked Questions
Which wall types can support a floating bathroom vanity?
Wood stud walls, metal stud walls with backing, and masonry (block, brick, concrete) can carry a wall-mounted vanity when the anchors engage the structural member. Drywall over a hollow cavity cannot; it needs blocking or plywood between studs before tiling. MFBATH floating sintered stone vanities span 600–1800mm (24–71 inches), and the factory can reinforce the back panel when the wall conditions are written into the order.
How do I calculate the load a floating vanity bracket must handle?
Add the cabinet body, the sintered stone countertop (a dense material at 7–8 Mohs hardness, heat-resistant to 300°C), the basin and held water, faucets and fittings, daily contents, and people leaning on the front edge, then apply an operating margin. Double-basin units up to 60 inches wide add a second basin and more countertop. The bracket rated capacity must cover the loaded sum, so size to the loaded condition, never the empty cabinet.
What mounting details should go into the purchase order?
Width and depth (24–60 inches by 18–24 inches), single or double basin, wall substrate and stud spacing, hidden hangers rated for the loaded condition, a reinforced back panel, and pre-drilled mounting positions. Add logistics: MOQ (Minimum Order Quantity) 15 sets per model, color, and size; samples in 10 working days; production 20–30 days; US, Canada, or Mexico delivery in 4–6 weeks; FOB (Free On Board) Qingdao; 30% deposit with balance within a week of the draft BL (draft bill of lading); and a 2-year warranty.
The Bottom Line
A floating vanity lasts when three decisions are made before the unit ships: the wall is verified, the bracket system is rated for the loaded weight, and the mounting details are written into the purchase order. Send the wall data with the order so the back panel and hanger positions are factory-built to match, and validate with samples — 10 working days — before the 20–30 day production run commits.





0 Comments