

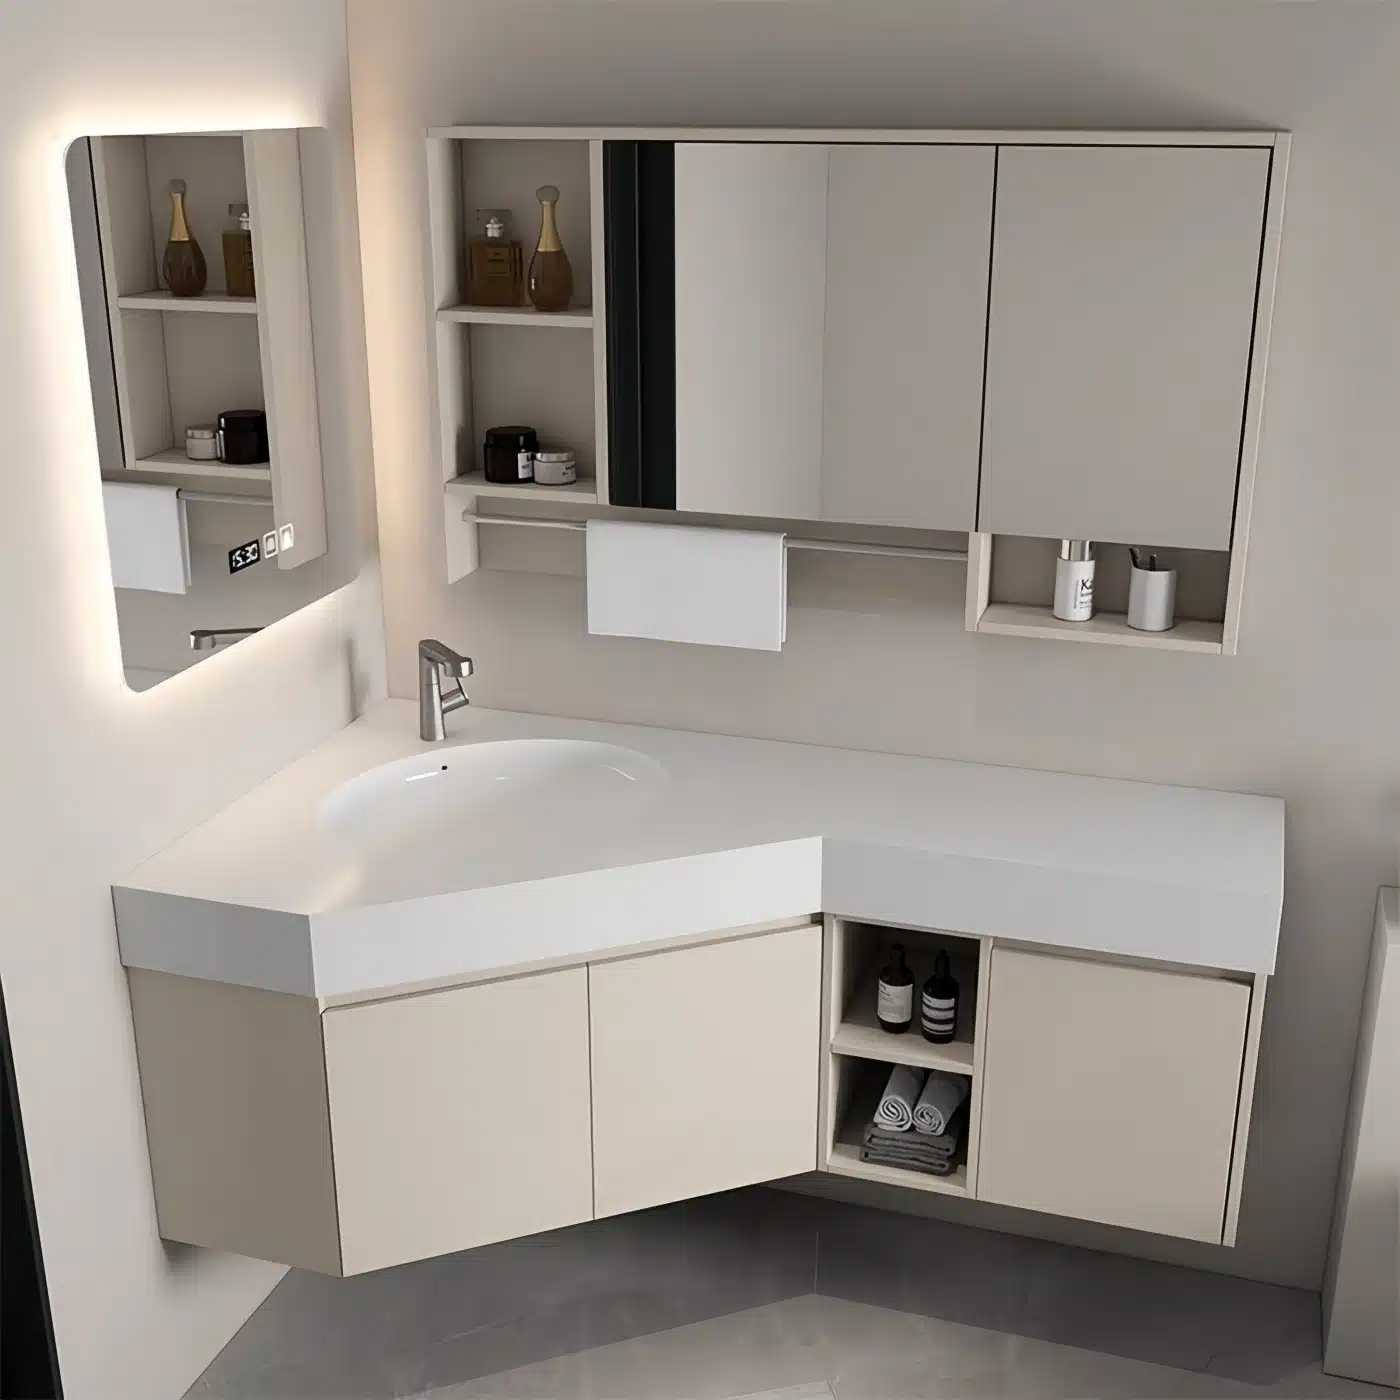
The single most common piece of advice forsintered stone basin installationis to cut the vanity opening on-site with a wet saw. That advice is wrong for any project over a dozen units—and it nearly cost the contractor a seven-figure contract last year. Thepre-production sample approvalhad shown a flawless edge finish, but the installer’s field-cut introduced a 1.5mm chip on every basin. By the time the quality tolerance dispute was over, the project had already burned $50K in rework and lost three weeks on the schedule.
Here’s the real answer: order basins with factory pre-cut openings. Focuscabinet offers pre-cut openings for standard vanity sizes, which reduces on-site labor by 30% and eliminates chipping risk entirely. When you’re negotiating FOB pricing, that pre-cut option adds roughly 2–3% to the unit cost, but it removes the single biggest variable in installation quality. You don’t need to be a stone fabrication specialist to get a perfect edge—you just need to let the factory do what it’s set up to do.
This guide walks through the tools, steps, and common mistakes for a commercial-grade sintered stone basin installation. The focus is on what happens before the basin reaches the job site: selecting the right adhesive, verifying dimension tolerance, and—most importantly—deciding whether to cut or order pre-prepped.
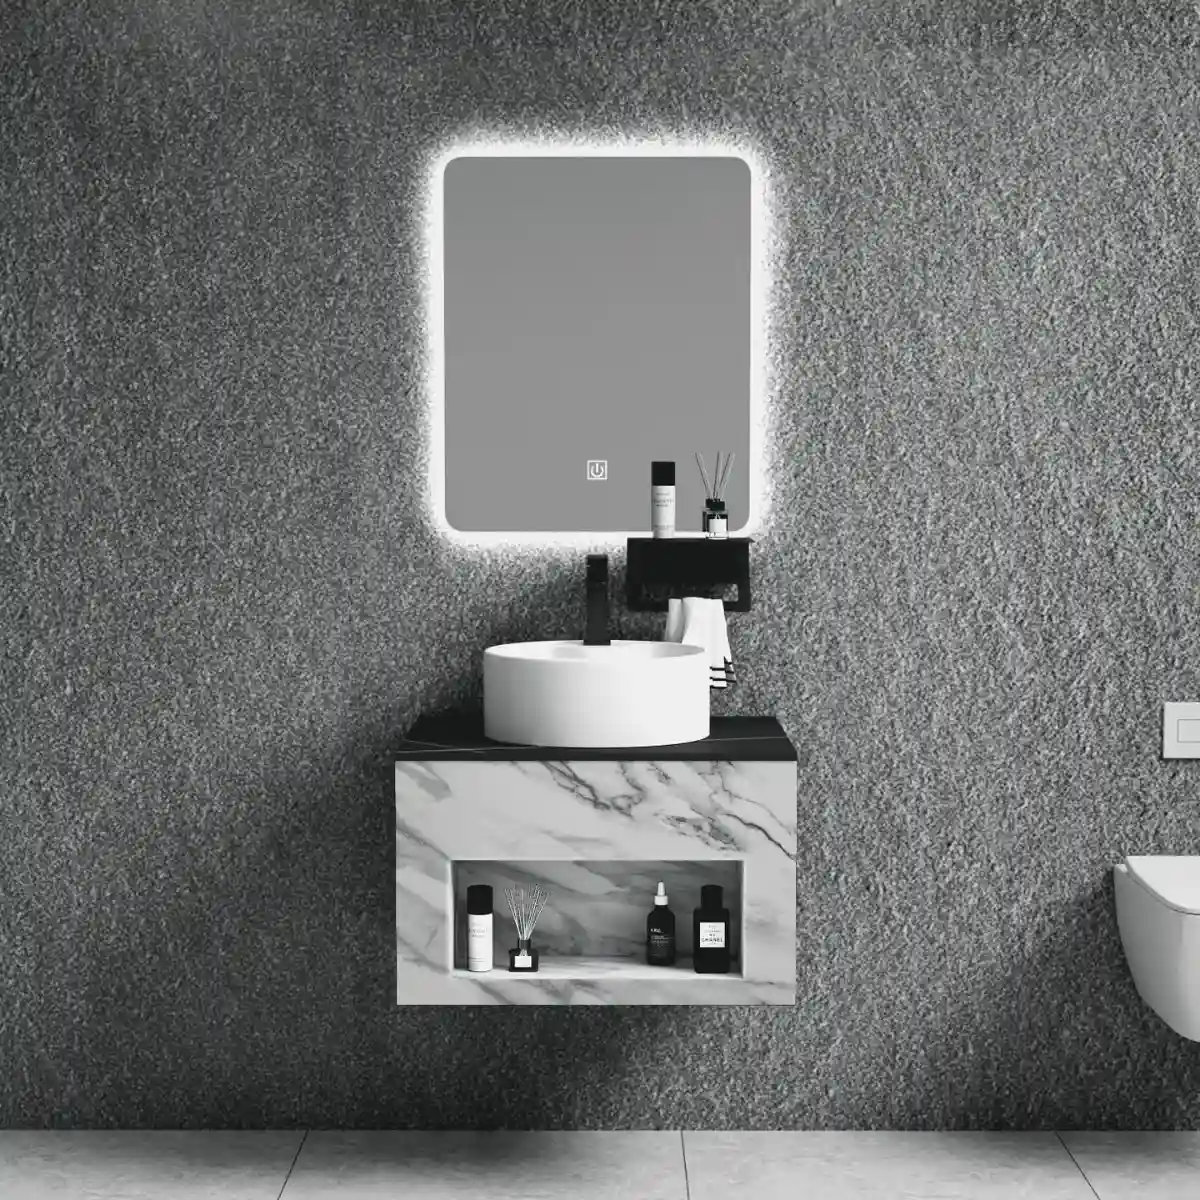
Tools and Materials Required
Pre-cutting by the factory can eliminate 30% of on-site labor costs.
Sintered stone is extremely hard (Mohs 7) but brittle — it requires diamond blades with a continuous rim or segmented rim in the 40–50 grit range. Never use a standard masonry blade; the impact will cause micro-chipping along the cut line. A wet-cutting angle grinder or a bridge saw with a water feed is mandatory. The water flow rate should be at least 4–5 liters per minute to keep the blade below 60°C and prevent thermal cracking. Feed rate is the critical variable: most installers push too fast. For a 12mm thick sintered stone basin, the optimal linear feed is 0.8–1.2 meters per minute. Slower than 0.5 m/min and the blade glazes; faster than 1.5 m/min and you get edge spalling. Test cuts on scrap should always be done first to calibrate speed and water flow. If the supplier offers pre-cut basin openings (as Focuscabinet does for standard vanity sizes), you can skip this entire step — that alone reduces on-site installation labor by about 30% and eliminates the most common source of dimensional errors.
-
- Adhesive type: Use a two-part epoxy or a polyurethane-based structural adhesive with a minimum tensile strength of 10 MPa. Standard silicone or construction adhesive will debond under the 20–35 kg weight of a sintered stone basin, especially in bathrooms with high humidity and thermal cycling. The adhesive must be non-sag (vertical slip < 2mm after 10 minutes) and have an open time of at least 15 minutes to allow adjustment. Mix according to manufacturer ratio — a 1:1 mix by volume is preferred for field simplicity.
- Sealant compatibility: Sintered stone is non-porous, so sealants do not absorb into the material. Use a neutral‐cure silicone (acid-cure will etch the glaze) with 100% modulus, color-matched to the specific batch. The silicone must comply with ISO 11600 class 25LM for movement accommodation. Apply a 5mm bead under the basin rim and tool it immediately into a concave fillet. Allow 24 hours full cure before water testing.
- Batch color risk: Sealant color variation between batches is a common reason for callback. Always request a physical color sample from the same production lot as the basin. Focuscabinet ships color-matched silicone with each basin order, eliminating the guesswork and ensuring the final look is uniform — a detail that saves field supervisors from rejecting work.
| Item | Type/Spec | Installation Tip | Benefit |
|---|---|---|---|
| Diamond Blade (Wet Cut) | Continuous rim, diamond-tipped | Reduce feed rate by ~50% to prevent chipping on sintered stone edges. | Pre-cut openings from Focuscabinet eliminate need for on-site cutting, saving 30% labor. |
| Wet Saw or Grinder | Saw with water feed system | Maintain constant water flow to keep blade cool and minimize dust. | Ensures clean cuts without microfractures. |
| Adhesive (Silicone or Epoxy) | Neutral-cure silicone or high-strength epoxy | Apply continuous bead; avoid silicone on basin underside to prevent adhesion failure. | Epoxy provides stronger bond for heavy basins (weight support critical). |
| Sealant / Caulk | PTFE-based or mildew-resistant silicone | Allow 24-hour cure before water exposure. | Prevents moisture ingress behind basin. |
| Measuring & Leveling Tools | Tape measure, spirit level, plastic shims | Cross-check basin opening dimensions against manufacturer spec sheet. | Focuscabinet provides exact cut templates for standard sizes. |
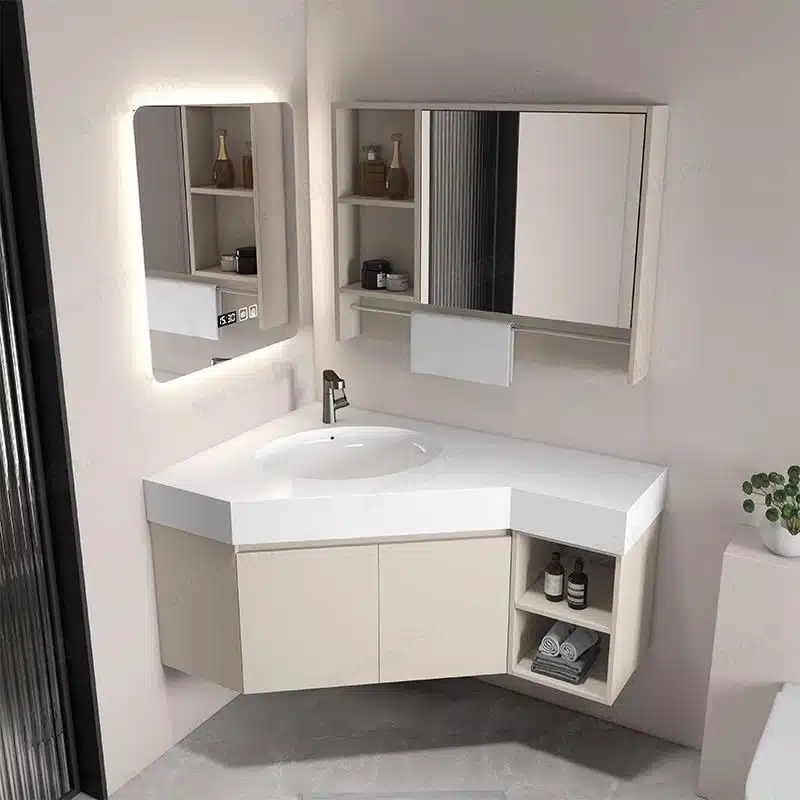
Step-by-Step Installation Process
Pre-cutting basin openings on site adds 40 minutes per unit—Focuscabinet pre-cut openings cut that to zero.
Most countertops arrive flat on paper but rarely in reality. Before you touch the basin, run a straightedge across the vanity top in both directions. Gaps greater than 1.5 mm under the straightedge mean the surface is out of tolerance—set the basin on that and you risk a hairline crack the first time someone leans on it. If the countertop is factory-paired with the cabinet from Focuscabinet, they’ve already matched the flatness spec during the five-stage QC process. If you’re working with a separate top, shim the low spots with epoxy filler before proceeding.
For countertops that are not factory-prepped, measure the basin template against the actual sink three times. Sintered stone has a low tolerance for guesswork—cut too wide and the gap can’t be hidden by silicone; cut too tight and you’ll chip the edge on insertion. Mark the cut line with a wax pencil inside the template outline, not outside. This gives you a 2 mm buffer for final adjustments with a diamond hand file.
On cutting technique: use a continuous-rim diamond blade rated for porcelain or sintered compact surfaces. Run the blade wet at a feed rate no faster than 30 cm per minute. Rushing the cut produces micro-chipping along the underside edge, which becomes a stress point when the basin is loaded. I’ve seen installers try to speed through with a dry blade to save setup time—every one of those jobs needed a filler strip afterward. Don’t be that installer.
-
- Adhesive choice: Use a two-part epoxy or high-modulus hybrid polymer specifically rated for stone-to-stone or stone-to-wood bonding. Standard silicone lacks the shear strength for drop-in installations over 10 kg. Apply a continuous 8 mm bead along the entire rim of the basin opening, plus a second bead around the basin’s underside flange.
- Setting method: Lower the basin straight down—no twisting. Twisting squeezes adhesive out of the joint and creates uneven support. Press evenly across the entire surface. The goal is a uniform 1–2 mm adhesive layer with zero voids.
- Weight and cure time: Place a 15–20 kg weight (sandbags or stacked boxes) centered over the basin for 24 hours. Sintered stone’s density is roughly 2.5 g/cm³ for a 10 mm thick basin, which is comparable to granite—the adhesive needs to set without movement. Disturb the cure and you’re inviting leaks later.
After the adhesive cures, seal the perimeter with a neutral-cure silicone that matches the stone color. Acid-cure silicones can fog the polished edge of sintered stone within 12 months—I’ve had to rip out three basins in a single hotel project because a subcontractor used the wrong silicone. For the drain connection, hand-tighten the lock nut plus half a turn. Over-tightening with a wrench is the fastest way to crack a sintered stone basin at the drain hole. That $50K order I mentioned in the opening? The claim was filed because a contractor used an impact driver on the drain fitting. Fifteen minutes of torque control could have saved the entire shipment.
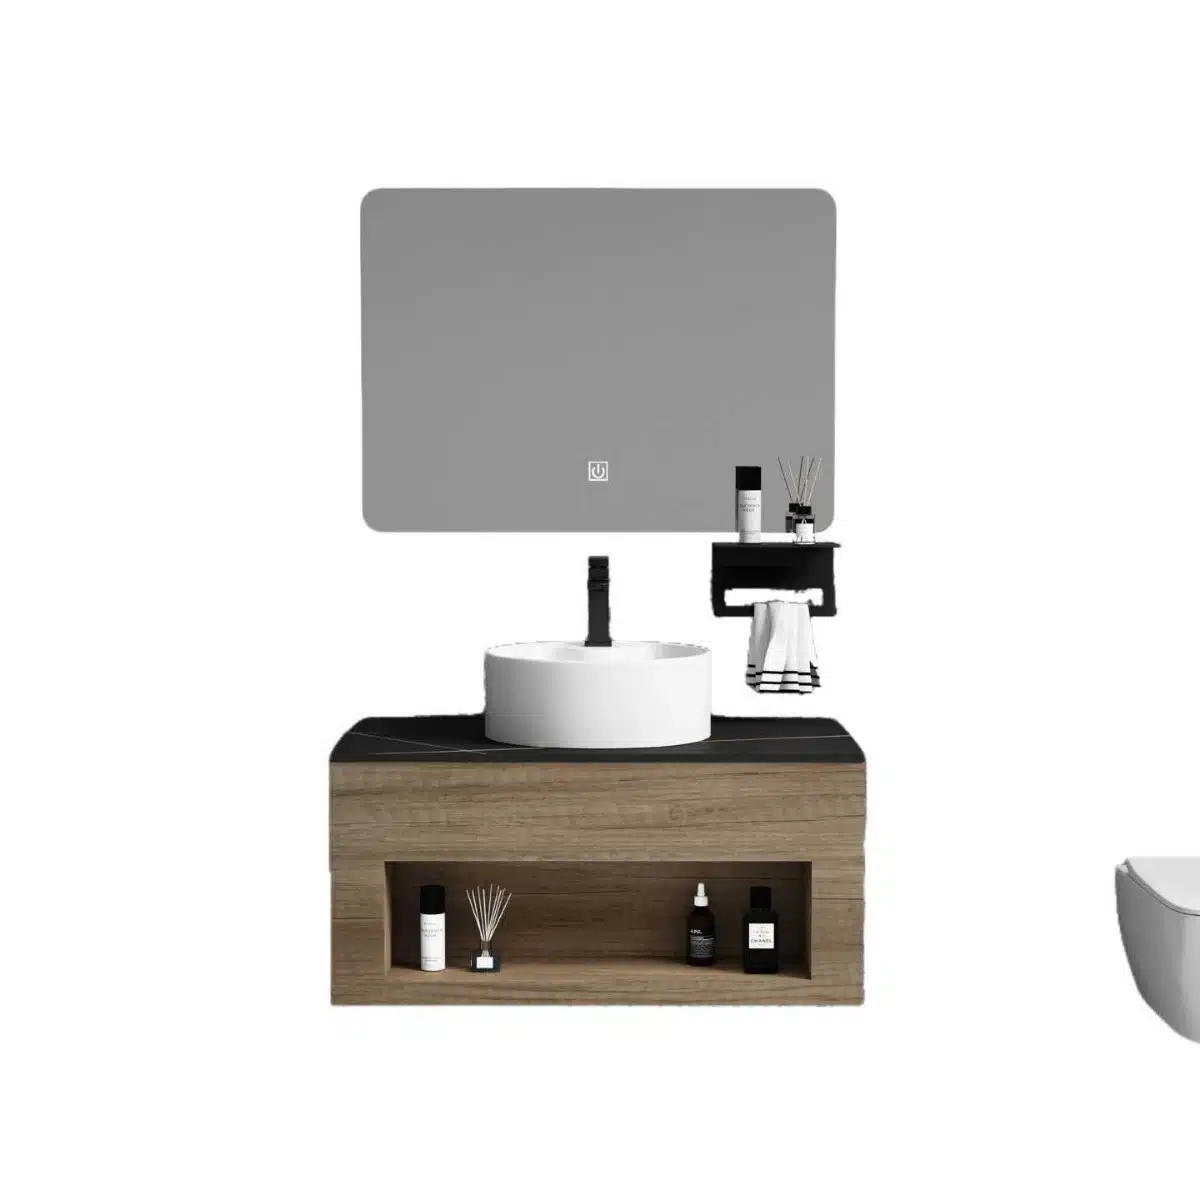
Common Installation Mistakes
Over-tightening a drain on sintered stone creates micro-cracks — you won’t see them until month 6.
The two installation mistakes that generate the most warranty claims on bulk orders are over-torqued drain fittings and the wrong sealant. Both are preventable with a simple torque specification and a material check. Most field crews treat sintered stone like granite — they tighten drain flanges until the rubber gasket compresses fully. That’s exactly what cracks the basin. Sintered stone has a compressive strength of 600+ MPa, but it has zero yield under tension. Overtightening applies tensile stress at the drain hole rim. A hand-tight plus quarter-turn is enough. We specify 2-3 Nm for all Focuscabinet basins; anything above 5 Nm starts stressing the stone.
-
- Drain Fitting Torque: Plumbers routinely apply 10-15 Nm with a wrench. That fractures the sink rim internally. Mark the spec on the installation sheet: hand-tight plus 90° rotation. Use a torque-limiting tool if your team does high volume.
- Sealant Choice: Acetic-cure (acidic) silicone — the white tube every installer grabs — etches the sintered stone surface within 48 hours. The residue looks like a permanent water stain. Only neutral-cure silicone (e.g., Dow 795 or Sika 12LM) is approved. Plumber’s putty is banned: the oils leach into the stone and cause yellowing that voids the basin warranty.
The second mistake is using cement-based grout or standard bathroom silicone around basin seams. Cement grout has no flexibility; sintered stone expands 0.012 mm/m under temperature shifts, and the grout cracks, letting water into the vanity substructure. Use 100% epoxy grout or a color-matched neutral-cure silicone for the perimeter joint. Focuscabinet pre-fits basins to plywood vanities, so the gap is uniform at 2 mm — exactly the width for a controlled silicone bead. Deviating from that tolerance traps moisture. When a distributor sends us a photo of a cracked basin or a stained rim, the first question we ask is what was used on the drain flange. Nine times out of ten, it’s standard silicone and a wrench.
Post-Installation Care
Post-installation care determines whether a sintered stone basin lasts 10 years or fails in 18 months.
Sintered stone is non-porous and stain-resistant, but that doesn’t mean it’s maintenance-free. In commercial projects — hotels, high-traffic restrooms — the wrong cleaner can etch the surface within weeks. The industry standard is to use a pH-neutral cleaner with a range of 5–8. Avoid anything with ammonia, bleach, or citrus acids. Abrasive scouring pads are also out: they leave micro-scratches that collect grime over time. For daily cleaning, a damp microfiber cloth and a mild soap solution is sufficient.
-
- Cleaning regime for commercial use: Wipe down after each shift. Use a dedicated stone-safe cleaner concentrate diluted according to manufacturer specs. Never use pressure washers or steam cleaners above 60°C — thermal shock can crack the basin at the drain connection.
- Polishing frequency: Application of a non-wax, impregnating stone polish once every 6 months restores the matte sheen and repels water. For hospitality venues, increase to quarterly. DO NOT use polishing compounds designed for marble or granite — they leave a slippery film.
Now for the part that procurement managers often skip: warranty considerations. A sintered stone basin warranty typically covers structural defects — cracks from material stress, delamination, or manufacturing flaws. It does NOT cover damage from improper cleaning, impact (e.g., dropped tools), or chemical exposure (e.g., drain cleaner splashback). Many Chinese manufacturers offer a base 2-year warranty, but suppliers with robust QC — like Focuscabinet’s five-stage inspection — often extend that to 5 years. The catch: you must provide proof of correct installation and care. Document the batch number, installation date, and follow the prescribed cleaning protocol. If a claim comes in and the basin has micro-cracking from thermal shock (common when hot water directly hits a cold basin), the warranty will be voided. Insist on a written warranty certificate that explicitly lists exclusions.
- Documentation requirement: Store the cleaning product SDS (Safety Data Sheet) and a log of cleaning schedules. For large projects, this is part of the handover package to facility management. Without it, you lose leverage in any warranty dispute.
Why Sintered Stone Is Easier to Install Than Granite
Pre-cut openings from Focuscabinet reduce installation labor by 30% compared to on-site granite cutting.
Every contractor who has installed both knows the night-and-day difference. Granite basins are heavy—typically 30–50% heavier than a comparable sintered stone basin—and their natural fissures mean you cannot cut or drill without risking a crack that ruins the piece. Sintered stone, by contrast, is engineered for uniformity. It has no hidden fracture lines. You can cut it on-site with a standard diamond blade (just keep the feed rate slow to avoid chipping the edge) and achieve clean, repeatable results. For a project manager scheduling multiple bathrooms, that reliability alone cuts the risk of rework significantly.
The adhesive and sealing workflow also differ. Granite is porous; it must be sealed before installation and resealed annually. Sintered stone has near-zero porosity—water absorption below 0.02%—so you skip the sealing step entirely. A standard two-part epoxy or high-quality silicone is sufficient to bond the basin to the vanity. No special primers, no waiting for sealant cure times. And because sintered stone doesn’t require a continuous bead of sealant around the cut edge, the finish is both faster and cleaner.
-
- Weight comparison: Sintered stone weighs roughly 20–25% less than granite of the same thickness, reducing the need for reinforced cabinets or extra installers. A standard 500mm basin weighs about 12 kg vs. 18 kg for granite.
- Pre-cut availability: Focuscabinet offers factory pre-cut openings for all standard vanity sizes. On-site labor drops by an average of 30% because no measuring or cutting is needed. Just set the basin into the pre-routed opening and apply adhesive.
- Tooling requirements: Granite requires continuous rim blades, often wet-cut, and a polisher for the cut edge. Sintered stone cuts cleanly with a dry or wet diamond blade; the cut edge usually needs only light sanding with 400-grit paper.
Conclusion
Review the Focuscabinet sintered stone basin product line to confirm pre-cut opening availability for your standard vanity sizes. Matching the sink dimensions to the cabinet in the factory avoids field adjustments entirely.
Frequently Asked Questions
What tools are needed for sintered stone basin installation?
You need a wet saw with a diamond blade, hybrid adhesive, and a high-quality silicone sealant. Pre-cutting the basin opening at the factory eliminates 30% of on-site labor costs. Use only tools rated for sintered stone to avoid chipping.
Should I cut the basin opening on site?
No—pre-cutting at the factory reduces labor by 30% and prevents on-site errors. For projects over a dozen units, factory pre-cut openings save 40 minutes per unit. Order factory-prepped openings for any multi-unit project.
What adhesive works best for sintered stone?
Use a hybrid polymer adhesive designed for engineered stone; avoid epoxy or general construction adhesive. The bond must be flexible to handle thermal expansion without cracking. Always check the adhesive’s compatibility with sintered stone.
How do you avoid cracking when tightening the drain?
Hand-tighten the drain fitting only—over-tightening creates invisible micro-cracks that lead to failure. Use a torque-limiting tool if available, and never use a wrench on the basin itself. Stop tightening as soon as the gasket compresses evenly.
Why is sintered stone easier to install than granite?
Sintered stone is lighter, more uniform, and can be cut with standard diamond blades without risk of fissures. It also requires no sealant after installation, reducing maintenance calls. Switch to sintered stone to cut installation time and warranty claims.





0 Comments