
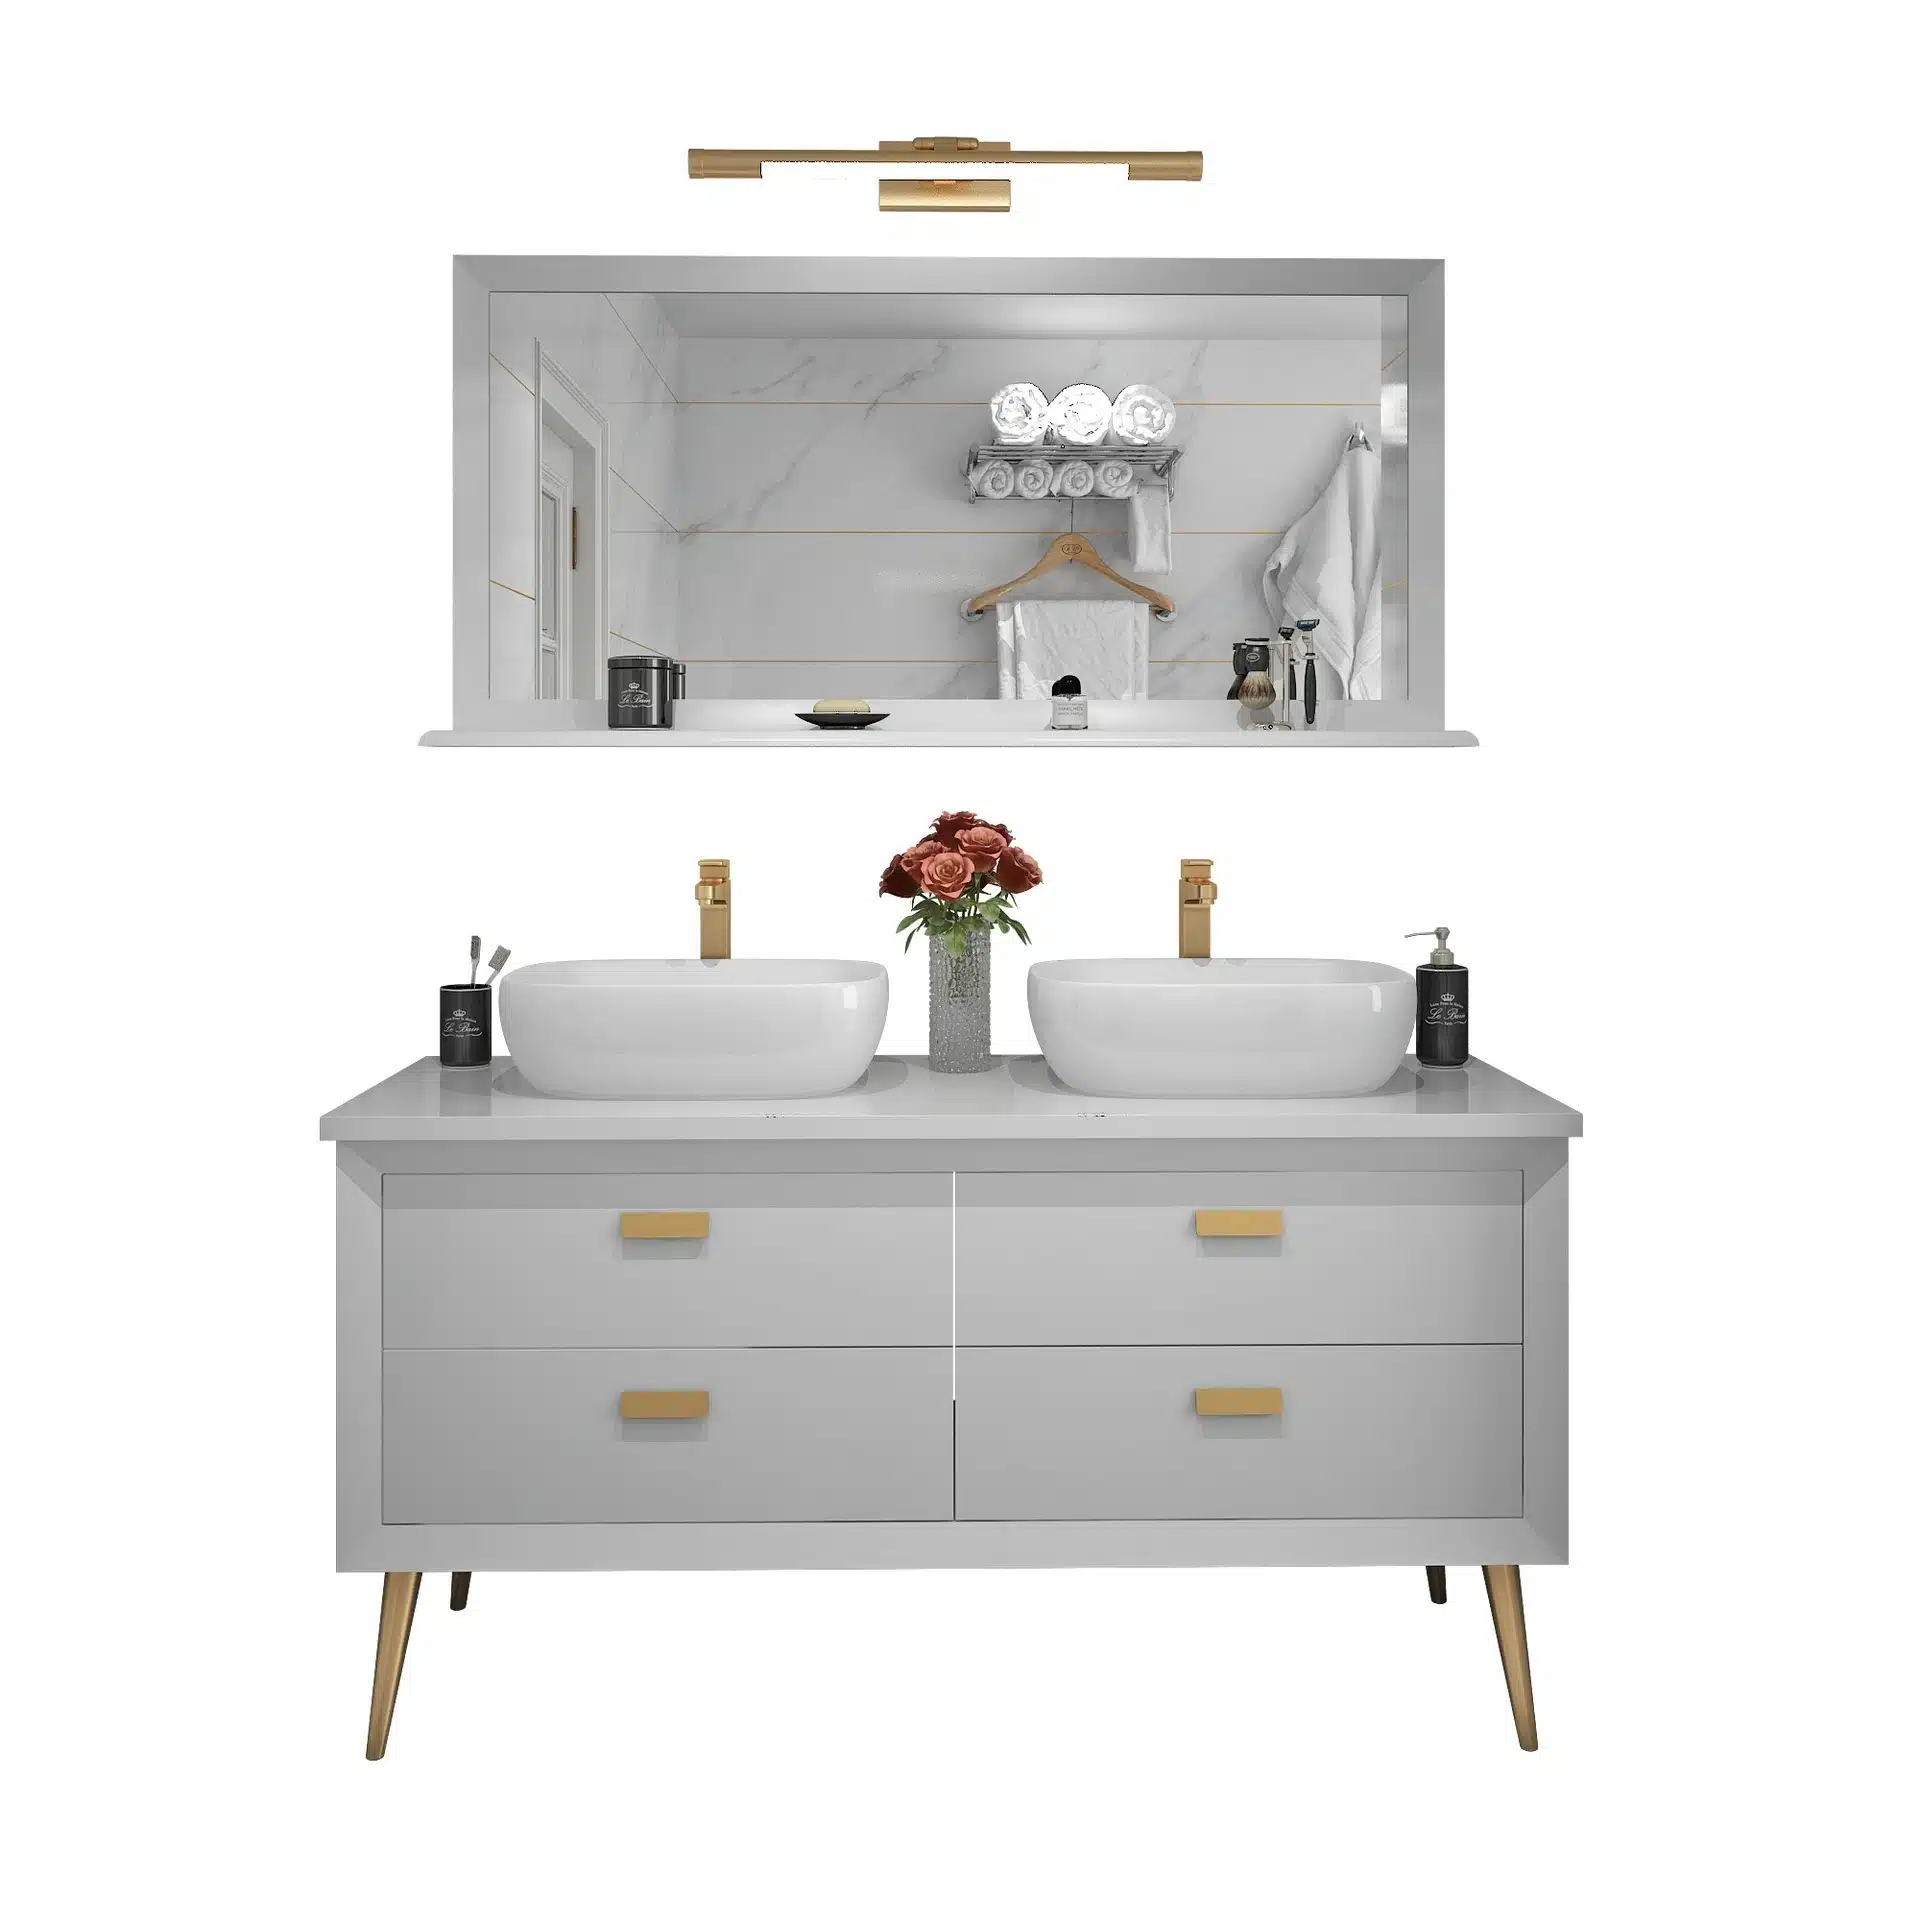
A ready-to-assemble (RTA) bathroom vanity arrives on a job site as a stack of cartons, not a finished cabinet. Installers who skip the packing-list check mount a box with missing hardware, and crews that anchor before leveling spend another round chasing shims. This rta vanity installation checklist gives job-site installers, project managers, and contractors a 12-step sequence from the first carton to an accepted install: unbox and inventory, stage tools, check the site, pre-assemble the box, level, anchor, adjust doors and drawers, fit the top and basin, fine-tune hardware, hand off plumbing, clean and accept, then photograph and log. Plumbing work itself stays out of scope, so the checklist hands that off to the rough-in guide instead of repeating it.
Unbox, Inventory, and Prep the Job Site
The first hour on site sets the tone for the whole install. RTA units arrive as multiple cartons per vanity, and the components inside become a cabinet only after you verify, sort, and stage them. Run these three steps before any panel leaves its carton.

Unbox Every Carton and Match the Packing List
Open every carton, not just the one marked fragile. Lay out the panels, hardware bags, and any pre-hung door or drawer units, then match each item against the packing list before you tighten a single fastener. Confirm the model and finish match the order. MFBATH bathroom vanities come in standard widths from 24 to 60 inches and depths from 18 to 24 inches, so a quick tape check catches a mis-picked unit before it is hauled into a finished room. Look for transit damage on edges, door fronts, and drawer faces, and photograph anything questionable on the spot; freight claims live or die on unboxing records. The factory runs five quality control (QC) checks on every piece before shipment, so a damaged unit should be the exception, but the check still takes two minutes. If the finish does not match the approved sample, flag it before the caulk line goes in, using the same sample approval checklist you worked from at order time.
Stage Tools and Fasteners Before Opening
A second trip to the truck for one missing bit costs more than the bit. Stage a cordless driver with the right hex and Phillips bits, a level at least two feet long, a stud finder, a tape measure, a pencil, a rubber mallet, shims, and a socket set for cam locks where the cabinet uses them. Keep the assembly zone clear and the walkways open so panels and hardware stay off the traffic path. Count the fastener bags first and confirm the soft-close hinges and drawer slides are present before you begin; a missing slide is easier to order before the box is assembled than after.
Check the Rough-In and Floor Condition
Measure the opening against the cabinet footprint before the box moves into place. Confirm the wall width accepts the unit, and the 18 to 24 inch depth leaves aisle clearance. For wall-hung units, map the studs first, typically on 16-inch centers, so the anchor plan is set before the box is lifted. Check the floor for slope and lippage across the full footprint, not just at the front edge, because a dip under the back corner shows up later as a door gap. Then verify the supply and drain rough-in against the cabinet cutout positions and mark any mismatch for the plumber; a drain that lands outside the sink cutout is a countertop problem, not a plumbing one. Also confirm the door swing works in the finished room; a handle that clears the adjacent wall at the shop may clip a towel bar on site. Where the project spec calls for accessible design, plan mounting heights designed to meet the Americans with Disabilities Act (ADA) accessibility guidance rather than guessing at standard heights.
Assemble, Level, and Anchor the Box
The cabinet box is the load-bearing part of the system. Get it square, get it level, and get it anchored, and the doors and drawers behave; skip any of those, and every later adjustment fights the box.

Pre-Assemble the Box on a Soft Surface
Assemble on the flattened cartons, not directly on the floor, so panel edges do not pick up scuffs before the unit leaves the room. Fit the panels in the sequence the hardware kit dictates, seat the back panel fully, and confirm the side panels align with the pre-drilled holes. Before you lock the cam locks, square the box by measuring both diagonals; equal diagonals mean the corners sit at 90 degrees, and unequal ones predict racked doors later. Tighten cam locks in a loose-then-snug pattern so the box pulls together evenly, and stop if a screw will not seat; forcing a fastener into a misaligned hole splits the panel face. Cabinet box joint construction matters here, so check how the corners are joined before you crank down the hardware.
Level Front to Back and Side to Side
Place the assembled box in position and read the level across both axes. Side-to-side level gets the countertop seam right; front-to-back level keeps the doors from drifting and the drawers from riding the slides. Shim under the base where the floor dips, and adjust any leveling feet on floor-mounted units before you finalize the position. Watch the transition where tile meets the cabinet line; a thick mud-set floor can lift the box on one corner, and that corner reads as a door gap later. Check the toe kick, and confirm the doors swing clear of the adjacent wall, towel bar, or cabinet. A racked box shows up first as uneven door gaps and binding soft-close hardware, so this is the step where a few minutes of shimming saves a redo after the top is set.
Anchor to Studs or Floor Structure
Anchoring is where RTA installs fail on the job site. For wall-hung units, transfer the stud locations onto the back panel, pilot-drill, and drive fasteners into the studs; drywall alone does not carry a vanity, and the back panel and any mounting bracket work only when they bite structure. For floor-mounted units, secure the back rail to the studs as anti-tip protection and, where the floor allows, drive through the bottom into the subfloor. Tighten to the hardware manufacturer’s specification, not by feel. Re-check level after anchoring, because pulling the fasteners down can shift the box a few millimeters; re-shim behind the anchor points if it does. A second person makes this step faster and safer, especially on wall-hung cabinets.
Align Doors, Drawers, and the Countertop
Once the box is square and anchored, the adjustment phase begins. Doors, drawers, and the top each get their own alignment pass, and each one goes faster when the box underneath is true.

Hang Doors and Set the Gaps
Install the doors with the hinge hardware that shipped in the kit, and set the overlay so gaps read even across the top, bottom, and hinge side of each door. On double-door units, the center gap should match the outer gaps; if the doors ride or rub, check the hinge seating before you start adjusting. Most RTA cabinets use adjustable hinges, and the adjustment sequence matters: set the gaps first, then the reveal, then test the swing. Soft-close hinges should ease the door to a stop, and a door that slams or bounces means the hinge is not seated or the box is out of square. The service path differs for clip-on versus screw-on hinge types, and knowing which one you are working with saves time on later adjustments.
Set Drawers and Test the Slides
Drawer slides go in on the pre-drilled holes, and the drawer fronts get shimmed for a flush face with even reveals between drawers. Seat each slide fully before driving the screws, because a slide racked even a few millimeters makes the drawer bind on one side. Test every drawer through its full travel; soft-close slides should pull the drawer home gently without bounce-back, and a drawer that bounces is a slide alignment problem, not a drawer problem. Match each drawer front to its panel batch as you go, since a mixed finish shows immediately across the cabinet face. Confirm the installed slides match the drawer slide load ratings specified for the cabinet line, especially when the drawer will carry heavier supplies.
Dry-Fit the Countertop and Basin
Set the top in place without adhesive and treat it as a dry fit first. The overhang should read even across the front and sides, the top should sit flat with no rocking, and the basin or sink cutout should line up with the drain rough-in below. A rocking top means the box is not level or the top is warped, and both are cheaper to fix before sealant. Polyvinyl chloride (PVC) tops are light and easy to maneuver but scratch-prone, so keep hardware off the surface; sintered stone tops are heavier and need two people plus protected edges. On moisture-prone projects, remember that PVC vanities are 100% waterproof, so a sealed seam stays stable where a wood-based unit would need extra attention. Confirm the faucet holes align with the supply rough-in, then remove the top, run the sealant, and set it once in final position. Wipe the squeeze-out clean while it is still wet.
Finish, Hand Off, and Document the Install
The last three steps turn an assembled cabinet into a completed, accepted installation. They are short, but they are the ones that show up in the punch list when skipped.
Hand Off Plumbing and Electrical Checks
This checklist does not cover plumbing work, because supply and drain placement belongs in the rough-in phase; our vanity rough-in plumbing guide covers that in detail. The installer’s job here is the handoff: confirm the cabinet cutout and basin align with the roughed-in supply and drain, and flag any mismatch before the final caulk line goes in. Mark the shutoff valve locations, and confirm the access panel or cutout stays clear so the plumber can reach them without pulling the cabinet. If the spec includes an LED mirror, confirm the electrical rough-in lines up with the mirror’s power entry. Leave the plumbing connections to the licensed plumber, and keep the punch list clean by documenting the alignment check.
Clean, Caulk, and Run the Acceptance Check
Remove stickers and packing dust, wipe the interior and exterior, and clean the slide tracks so the hardware runs smooth from day one. Run the acceptance pass against the full 12-step list: doors open and close without rubbing, drawers soft-close and stay aligned, the top sits flat and sealed, the unit is anchored, and the gaps read even. Caulk the top-to-wall junction with a clean silicone bead and smooth it while wet. MFBATH backs full-container orders with a two-year warranty, so note the unit’s carton number alongside the pass or fail result and keep the record in the project file.
Photograph the Install and Log Deviations
Photograph the finished install from the front, then close up on the door gaps, drawer reveals, top seam, and anchor points. Log anything that deviated from plan: shim stacks, rough-in offsets, wall condition, hardware swaps. Those photos and notes serve three purposes: they close the freight-claim loop that opened at unboxing, they give the factory a clear record if a warranty issue appears under the two-year coverage, and they make the next identical unit faster because the crew already knows the quirks of that room. On multi-room projects, order the units under the standard minimum order quantity (MOQ) of 15 sets per model, color, and size, so hardware kits and panel batches stay consistent across every phase and the photo log stays uniform from unit one to unit fifteen. Hand the photo set and deviation notes to the project manager with the closeout package; a documented install answers the first question in any follow-up call.
RTA Vanity Units for Job-Site Efficiency
Browse this product, solution, or service page to explore relevant offerings.

RTA Installation Quick Reference Table
Print this table and keep it with the cartons. It condenses this rta vanity installation checklist into the checkpoint and the mistake that costs the most time at each step, and it works for any RTA bathroom vanity program, including the units in the MFBATH catalog.
The RTA Vanity Installation Checklist at a Glance
| Step | Checkpoint | Common Mistake |
|---|---|---|
| 1. Unbox and inventory | Match every item to the packing list; log damage | Mounting a box with missing hardware |
| 2. Stage tools | Bits, level, stud finder, and shims on hand | Wrong driver bit strips the cam locks |
| 3. Check rough-in | Opening vs 24–60 inch widths; drain location | Anchoring before measuring the opening |
| 4. Pre-assemble box | Diagonals equal; back panel fully seated | Over-torquing cam locks splits panels |
| 5. Level cabinet | Level side to side and front to back | Anchoring a box that is not level |
| 6. Anchor unit | Studs for wall-hung; subfloor for floor-mount | Drywall anchors under a wall-hung vanity |
| 7. Hang doors | Even gaps; soft-close function tested | Adjusting hinges on a racked box |
| 8. Set drawers | Flush fronts; slides seated to full depth | Slides binding from a misaligned mount |
| 9. Dry-fit top | Even overhang; basin aligns with the drain | Sealing before the dry-fit check |
| 10. Plumbing handoff | Cutout aligns with rough-in; mismatches marked | Caulking before the plumber’s check |
| 11. Clean and accept | Full checklist pass; clean sealant bead | Skipping the acceptance run-through |
| 12. Photograph and log | Front view, gaps, anchors, deviations logged | No record for warranty or freight claims |
What This Means for Your Job Site
Twelve steps sounds like a lot until you group them: verify the shipment, build a true box, anchor it to structure, align the moving parts, and hand off a documented install. Most RTA rework on site comes from three shortcuts: skipping the inventory, leveling after anchoring, and adjusting hinges on a box that is not square. Run the checklist in order and the rework disappears.
- Measure first. Standard MFBATH widths run 24 to 60 inches with depths of 18 to 24 inches; the tape check takes seconds and prevents hauling a mis-picked unit into a finished room.
- Test soft-close at acceptance. Soft-close drawers and hinges are available across MFBATH vanity lines, so each unit should close gently in front of the client, not just in the shop.
- Order by the batch. The standard MOQ of 15 sets per model, color, and size keeps hardware kits and panel batches consistent across project phases.
- Document for the warranty. Full-container orders carry a two-year warranty, and photo logs make warranty and freight claims straightforward.
When you spec the next project, ask for the RTA program and the packing list before the container ships. Free samples ship in 10 working days, and production runs 20 to 30 days, so the verification loop closes before the install crew ever sees a carton.
Frequently Asked Questions
How long does an RTA vanity install take?
Most crews budget a few hours per unit when the plumbing is roughed in and the room is prepped. The first unit runs longest because the inventory and rough-in checks happen there; follow-on units in the same project move faster as the crew repeats the sequence.
Can one installer handle a wall-mounted RTA vanity?
Yes, with the right prep: locate the studs, pilot-drill, and use a temporary cleat or a helper to hold the box while the fasteners go in. Never anchor a wall-hung vanity to drywall alone, and re-check level after the fasteners are tightened.
Do RTA vanities hold up as well as pre-assembled units?
An RTA box that is assembled square, leveled, and anchored performs like a pre-assembled unit because the joints are the same construction. The real difference is labor: you trade factory assembly time for crew time, which is why job-site teams choose RTA programs with consistent hardware kits.
Print the quick-reference table, tape it to the first carton, and run the steps in order. Your next install will be faster than the last.




0 Comments