

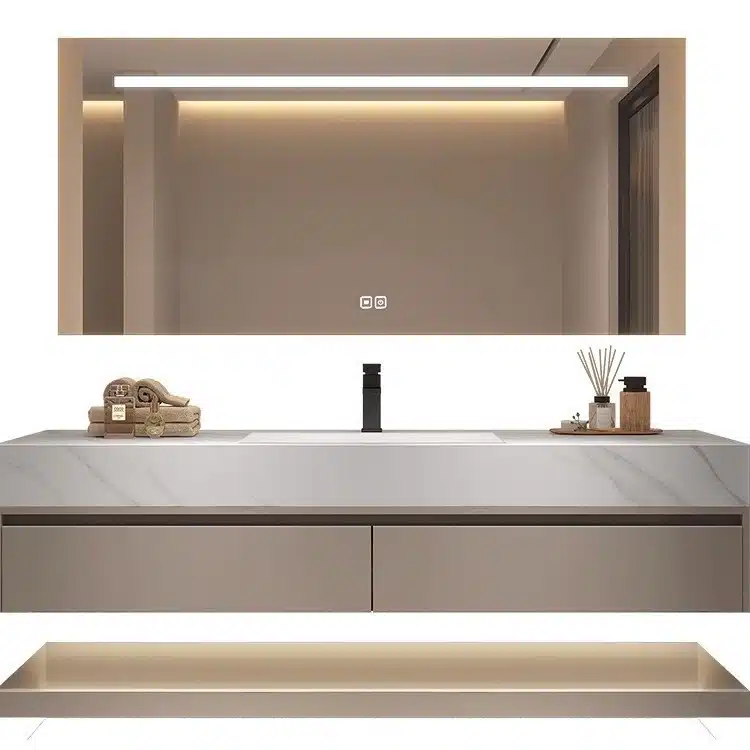
A hotel renovation stalls the week the vanities arrive: drain stubs sit inches off the cabinet centers, units go back on the truck, and plumbers reopen finished walls. Most bathroom vanity rough in plumbing failures happen before anyone signs a purchase order, not during installation. Rough-in dimensions — supply stub heights, drain centerlines, P-trap clearance — belong to the construction site, while every cabinet is built to a factory drawing.
Whoever closes that gap owns the risk. This guide walks through supply line placement, drain offsets, wall versus floor waste, back-panel cutouts, and the verification checklist procurement teams should complete before confirming a vanity order.
What Rough-In Verification Means Before Ordering Vanities
Rough-in describes the stage when water supply lines and drain pipes terminate at fixed stub positions, before any fixture gets mounted. The plumbing system in a commercial bathroom runs inside walls and slabs for months before the first cabinet arrives. Vanity installation then consumes those stubs: each unit assumes water and drainage appear at predictable locations, in a fixed band of heights.
Factories build to drawings with tight tolerances; construction sites drift. Stud placement shifts, tile adds thickness, and two trades rarely measure from the same reference line. A mismatch surfaces only at installation, when cabinets already line the corridor and the schedule has no slack left. Getting bathroom vanity rough in plumbing data onto paper early is the only control point that exists.
Three escape routes exist once a clash appears, and none are cheap: cut the cabinet and compromise its waterproofing, reopen the wall and destroy finished tile, or accept cramped maintenance access forever. Treating rough-in data as part of the product specification — reviewed, written down, and signed off like a finish schedule — removes the failure at its source.
The Survey That Prevents the Argument
What should a rough-in survey actually record? One row per bathroom unit: drain centerline distances from two finished walls, supply stub heights for hot and cold, the spacing between them, waste direction, and the finished-floor elevation used as the datum. Attach a photo of each wall with a tape measure in frame. That single page replaces weeks of email arguments about what was built versus what was drawn.
Timing decides whether the survey is worth anything. Run it after the plumbing rough-in inspection passes, and run it again after the finished floor is installed, because tile and underlayment shift every vertical number upward. The mechanical contractor produces the figures, the general contractor verifies a sample, and the buyer forwards the signed sheet with the request for quotation. Three signatures on one page: that is the entire control system.
Why the Buyer Owns This Step
Project managers often assume the installer resolves site dimensions on the day. That assumption transfers engineering risk to the least prepared person in the chain. Procurement controls the one moment when changes are still free: before production starts. A factory can move a back-panel cutout at zero cost on a drawing, and only at real cost once panels are pressed and sealed.
Supply Line Heights, Spacing, and Shutoff Access
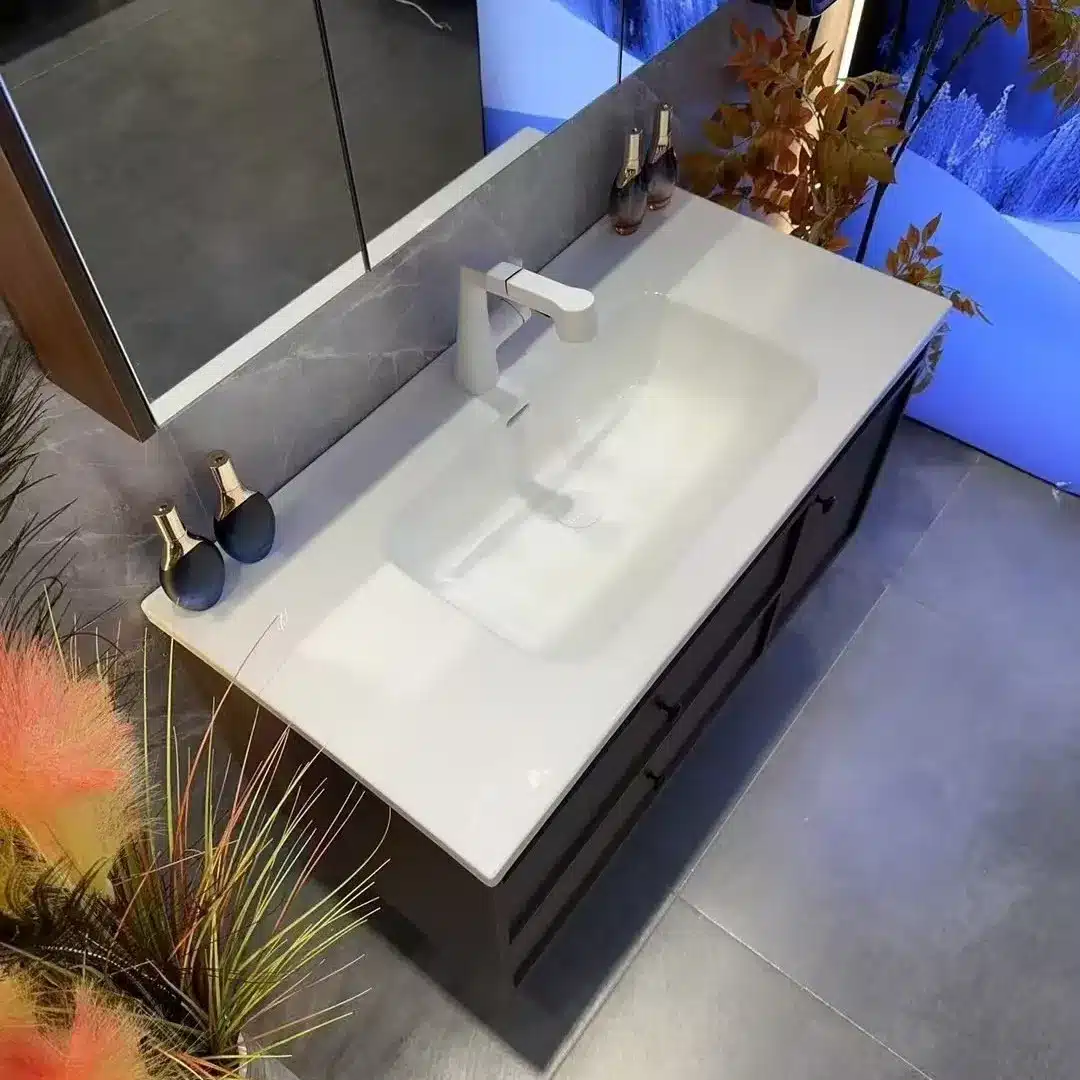
Supply stubs are the forgiving half of the rough-in. Flexible connector lines absorb small offsets, so a stub one inch off position rarely stops an install. The critical questions are height, spacing between hot and cold, and whether shutoff valves stay reachable after the cabinet hangs. For floor-standing units, stubs commonly terminate at a nominal 18–24 inches above the finished floor, inside the cabinet zone.
Height and Spacing Rules Worth Writing Down
Measure stub height from the finished floor, never from the slab — tile and underlayment add thickness (a nominal 1–2 inches) that drawings miss. Keep hot and cold stubs symmetrical around the drain centerline and confirm the spacing against the cabinet’s back-panel drawing. Single-hole, centerset, and widespread faucets all connect through flexible lines, so faucet choice rarely changes stub positions; the cabinet interior does.
Keep Angle Stops Serviceable
Every supply line needs a shutoff valve — usually an angle stop — that remains operable for the life of the building. If a stop lands behind a drawer box, each future service call means pulling the drawer and working blind. Position stubs in the open zone beside the sink base, or spec an access opening into the panel. Hotels learn this lesson in year two, when the first faucet cartridge fails.
Projects specifying low-flow fixtures should finalize faucet models before cutouts get drawn. Programs such as EPA WaterSense label faucets that reduce flow, and fixture datasheets define the hole pattern and supply reach that the cabinet must accommodate. Lock the fixture schedule first; cut the panel second.
Flush and Test Before the Cabinet Covers the Wall
One site habit saves repeated service calls: with the cabinet still in its crate, open each angle stop and flush the supply lines into a bucket, then pressure-test the joints. Construction debris inside a new line — solder beads, tape fragments, grit — travels straight into faucet cartridges if nobody flushes first. Confirming a leak-free joint before the cabinet covers the wall keeps the fix at five minutes; finding the same leak a month later means pulling the unit off the wall.
Connector choice deserves one line in the specification too. Braided flexible lines forgive minor misalignment and install fast; rigid chrome risers look sharper under open-bottom wall-hung units but demand exact stub positions. Where the rough-in survey shows offsets beyond a few millimeters, braided lines are the pragmatic default.
Drain Centers, P-Trap Clearance, and Waste Direction
The drain stub is the least forgiving dimension in the room. Supply lines bend; drainage depends on fixed slopes and sealed joints inside the drain-waste-vent system. A stub sitting two inches off the cabinet centerline — a worked example seen regularly in renovation projects — forces one of three bad choices: shift the pipe in the wall, cut the cabinet, or live with a visible offset.
Measuring Drain Centers Correctly
Record the distance from the finished wall to the drain centerline for every unit, to the millimeter, and repeat the measurement after the finished floor goes in. Double vanities carry two drains, and each one needs its own reading referenced to the same wall. Photographs with a tape measure in frame cost nothing and settle disputes about what was actually built.
Vents and Double-Vanity Symmetry
Drainage also depends on venting, and vent problems often surface only when water actually flows. A drain that lost its vent connection during a redesign can siphon the P-trap dry, letting sewer gas into the room even though every visible joint is sealed. If the flush test produces gurgling or slow drainage at any stub, escalate it before a single cabinet goes in.
Double vanities double the symmetry problem. Both drain centers must align not just with the cabinet’s overall centerline but with the two basin positions, which sit either side of a central divider or drawer stack. Measure each drain against its own basin centerline — worked example: on a nominal 1200 mm double unit, each basin centerline typically lands around a quarter of the width in from either edge. If the site drains miss those points, no countertop adjustment rescues the layout.
Reserving Space for the P-Trap
The P-trap — the U-shaped bend that holds a water seal against sewer gas — needs vertical drop plus a horizontal arm inside or behind the cabinet. Floor waste places the trap low, near the cabinet floor; wall waste places it higher, tied to the drain elevation in the wall. Drawer boxes, tilt-out trays, and false fronts all compete for that volume, so the shop drawing should show trap clearance as a reserved zone rather than an afterthought.
Wall Waste Versus Floor Waste
Wall waste hides pipework inside the wall and frees the cabinet interior, but it demands precise elevation control before the wallboard closes. Floor waste tolerates more vertical error and keeps every joint accessible, at the price of consuming cabinet-bottom space. For new-build hotels with wall-hung units, wall waste usually earns its difficulty. For retrofits around floor-standing cabinets, floor waste stays the pragmatic route.
Wall-Hung Versus Floor-Standing Rough-In Differences
The two vanity formats impose opposite rough-in logic. A wall-hung cabinet floats at a set elevation, so every stub must arrive at a defined height — nothing hides below the unit. A floor-standing cabinet absorbs positional drift because its body conceals stubs, trap, and valves behind doors. The sintered stone line shows the range clearly: floating units run 600–1800 mm (24–71 inches) wide, floor-standing units 800–2000 mm (31–79 inches).

Wall-hung installations also shift structural load onto the wall, which means blocking or backing must exist before the board closes — the same coordination point as the pipework. Our guide to wall-mounted vanity installation and structural specs covers the fixing side in detail, and the companion piece on floating vanity wall mounts walks through anchor selection. Countertop choices change the vertical math too: a vessel sink adds height above the deck, which pulls the comfortable counter elevation down and takes stub heights with it.
Elevation coordination runs the whole stack, not just the cabinet. Worked example: a floating cabinet whose bottom edge sits a nominal 400 mm above the finished floor, with a 450 mm tall body and a thin sintered stone top, lands the work surface near 860 mm — inside the normal counter band. Lower the mounting height for an accessible unit and every stub height drops with it; raise it and they climb. Mirror cabinets and sconces key off the same elevation. Fix the cabinet mounting height first, in writing, and derive the pipework from it.
Rough-in comparison: wall-hung versus floor-standing vanities
| Rough-In Item | Wall-Hung Vanity | Floor-Standing Vanity |
|---|---|---|
| Drain connection | Wall waste preferred, fixed elevation | Floor or wall waste, more tolerance |
| Supply stub height | Tied to cabinet mounting elevation | Nominal 18–24 inches above finished floor |
| P-trap location | Wall chase or tight cabinet zone | Cabinet bottom zone |
| Shutoff access | Planned access panel or adjacent cabinet | Inside cabinet, behind doors |
| Positional tolerance | Low, millimeter-level | Moderate, body conceals stubs |
| Wall preparation | Structural blocking before board closes | Minimal |
Neither format is wrong; they price risk differently. Wall-hung moves cost into pre-construction coordination — surveys, blocking, elevation drawings — and pays it back in faster installs with zero visible pipework. Floor-standing moves cost toward install day and tolerates older buildings. For a large new build, specify wall-hung only where the rough-in survey is complete; for renovations of existing cores, floor-standing units protect the schedule.
Get a Dimensioned Shop Drawing Before You Order
MFBATH builds wall-hung and floor-standing vanities from 600 mm to 2000 mm wide, with factory cutouts matched to your supply and drain layout. MOQ starts at 15 sets per model, color, and size.
Back Panels, Cutouts, and Factory Modifications
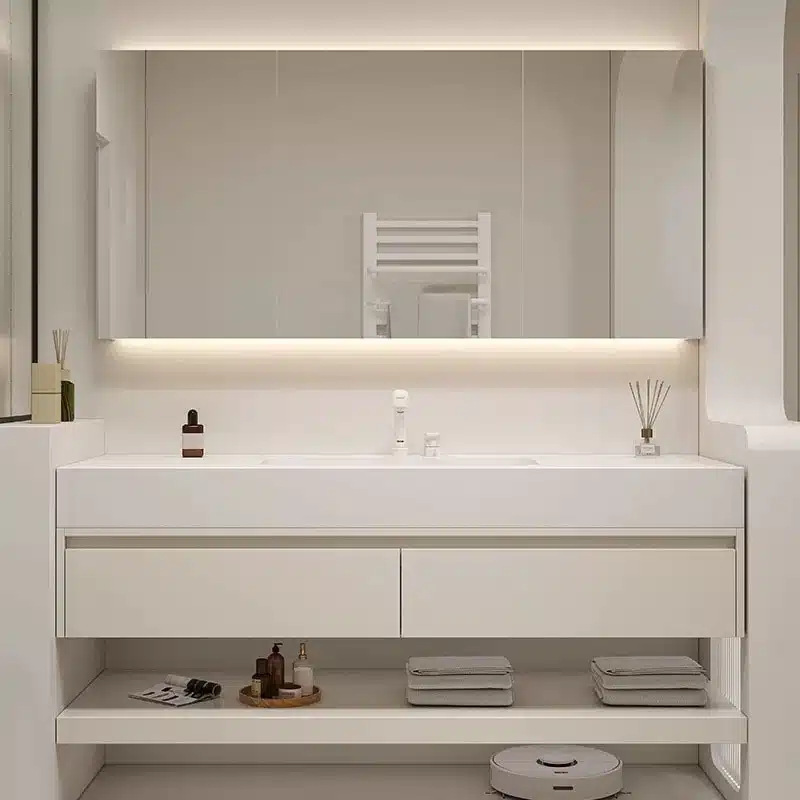
Once rough-in data is fixed, one decision remains: who cuts the openings. Site drilling with a hole saw works for a single unit, but it chips laminates, tears veneer edges, and leaves raw panel exposed to humid cabinet air. A factory CNC cutout replicates the same opening — with sealed edges — across every unit in a full order.

Material choice changes how much a cutout matters. PVC cabinets are 100% waterproof, so an opened edge carries little swelling risk. Plywood cabinets rely on edge banding and waterproof sealing, which is exactly what a factory-applied finish restores around a cut opening. Ordering the cutout from the factory keeps the waterproofing system intact instead of improvising it on site with silicone.
MFBATH treats cutouts as part of customization: modified dimensions and panel openings start at 15 sets per size, within a catalog of more than 40,000 possible combinations. The workflow runs one way. Buyers send drain centers, stub heights, and waste direction; the factory returns a dimensioned shop drawing for approval before any panel gets cut. That sign-off is the last free change available.
How Factories Dimension Cutouts
Cutout positions should be dimensioned from fixed panel edges — the cabinet’s left stile, the floor of the unit — never from a notional centerline that shifts with each installation. Factories work from the same convention, which is why a drawing that gives every opening as X and Y offsets from two reference edges translates directly into machine programs with no interpretation left over. If your rough-in sheet uses different references, convert them once, on paper, before sending.
The same logic applies to access panels. Where wall waste places valves or cleanouts behind the cabinet, specify a removable access door in the back panel or the side, sized to fit a hand and a wrench. Openings like these run through the same customization process as pipe cutouts — one line on the shop drawing, from the same 15-set minimum.
The Pre-Order Checklist Every Buyer Should Sign Off
The checklist below condenses the failure modes above into one sign-off. It takes an afternoon to complete and prevents the most expensive category of bathroom vanity rough in plumbing rework.
- Measure every drain center from the finished wall, after the finished floor is in, referencing all units to the same datum.
- Record supply stub heights for hot and cold on each wall, plus the spacing between them, measured from the finished floor.
- Note waste direction — wall or floor — for each unit, because it fixes trap elevation and cutout position.
- Confirm shutoff valve positions stay reachable once drawers and doors close.
- For wall-hung units, confirm structural blocking locations and cabinet mounting elevation before the wallboard closes.
- Match the rough-in sheet to the shop drawing line by line and sign both documents.
- Flag accessible-design units early: projects designed to meet ADA (Americans with Disabilities Act) height and reach requirements change stub elevations, so target heights must reach the factory before production.
- Book a sample early enough to dry-fit it against a live rough-in before releasing production.
For hotel and multifamily projects, the checklist earns its keep in the mockup room. Build one representative bathroom first, install the sample unit against its live rough-in, and run every drawer against the trap clearance before approving the full quantity. Samples ship in 10 working days, which leaves room inside a normal project timeline for exactly this test. Sign off on the mockup, then release production — that sequence converts the whole order into a repeat of an already-solved problem.
The order itself follows the same discipline. MFBATH’s MOQ (minimum order quantity) starts at 15 sets per model, color, and size, with mixed-container loading that lets a project combine widths from 24 to 60 inches in one shipment. Production runs 20–30 days, and total delivery to the US, Canada, and Mexico lands in 4–6 weeks under FOB (Free On Board) Qingdao terms. Every unit passes five inspections, and third-party inspection by SGS or TÜV is welcome before shipment. A 2-year whole-cabinet warranty paired with a return rate below 1% shows what disciplined pre-order verification does for outcomes.
More installation-side engineering guides sit in the installation tech specs category — worth reading before the next spec meeting.
Frequently Asked Questions
What height should supply stubs sit at for a bathroom vanity?
No single universal height exists. Floor-standing units commonly use a nominal 18–24 inches above finished floor, while wall-hung units tie stub height to the cabinet mounting elevation. Lock the number on the shop drawing before production starts.
Can the factory pre-cut back-panel openings for our plumbing layout?
Yes. MFBATH cuts openings to your rough-in drawing, and modified dimensions start at 15 sets per size. Send drain centers and supply positions; the factory returns a dimensioned shop drawing for approval before cutting begins.
What if the drain stub misses the vanity centerline on site?
Three options remain: shift the drain in the wall, cut the cabinet and risk its waterproofing, or select a unit whose layout absorbs the offset. Verifying offsets before ordering beats all three on cost and schedule.
Measure Twice, Place the Vanity Order Once
Rough-in verification is cheap insurance: an afternoon of measuring and one signed drawing beat weeks of on-site rework. Supply lines forgive small errors; drains do not, and wall-hung formats forgive nothing at all.
- Drain stubs are the least forgiving dimension — record centers to the millimeter after the finished floor goes in.
- Wall-hung units need millimeter-level elevations and wall blocking; floor-standing units absorb more site drift.
- Factory cutouts start at 15 sets per size and keep waterproof edges intact across the whole order.
- Samples ship in 10 working days and production runs 20–30 days, leaving room for a dry-fit before the full order.
Send your rough-in sheet with the next request for quotation, or ask for the free 2025 catalog — more than 100 pages of vanity options — and let the factory answer with a dimensioned drawing.





0 Comments