

Most vessel sink vanity installation failures show up in the first month: the rim sits too high, the faucet sprays the countertop, and the drain weeps into the cabinet. Each one traces back to a decision made before the basin shipped, not to a bad part. Height, spout clearance, and drain alignment get settled on paper first.
A vessel basin adds 5–8 in (12–20 cm) on top of a standard 34–36 in (86–91 cm) countertop, putting the finished rim near 40–44 in. Verifying those three numbers against the basin datasheet before ordering prevents the two classic site surprises: a stretch-height rim and a spout that cannot clear it. This guide covers the height decisions, faucet and drain selection, installation steps, and the sourcing checklist that keeps the stack consistent. Related decisions live in floating vanity installation mistakes to avoid, plus the rough-in, wall mounting, and CAD checks covered later in this guide.
Key Takeaways
- Height stack: Vessel basins add 5–8 in (12–20 cm) to a 34–36 in (86–91 cm) countertop; the finished rim lands near 40–44 in.
- Spout rule: The faucet outlet must clear the basin rim by at least 7 in, or the deck gets sprayed.
- Drain rule: Basin outlet, countertop hole, and cabinet trap must align before drilling; deck drains cover the extra depth.
- Material delta: Sintered stone (Mohs hardness 7–8, 300°C rating) and ceramic differ in weight, drilling, and sealing behavior.
- Factory checks: MFBATH runs 5 inspection checks per piece and holds ISO (International Organization for Standardization) 9001 and 14001 certificates, issued 2017 and confirmed valid 2025.
- Trade terms: MOQ (Minimum Order Quantity) is 15 sets per model, color, and size; samples in 10 working days; bulk in 20–30 days; FOB (Free On Board) Qingdao Port.
In This Guide
- Three Height Decisions Before You Mount
- Faucet and Drain Selection
- Step-by-Step Vessel Basin Installation
- Sintered Stone vs Ceramic Basins
- Sourcing Spec Checklist for Vessel Basins
- Frequently Asked Questions
Three Height Decisions Before You Mount
Treat the vanity, basin, and faucet as one height stack instead of three separate products. The math is simple: countertop at 34–36 in (86–91 cm), basin adds 5–8 in (12–20 cm), and the finished rim lands near 40–44 in. Buyers who spec the stack on paper skip the field callbacks that vessel projects are known for.

Cabinet Height Sets the Base
Countertop height is the fixed floor of the stack. Standard residential and hospitality vanities sit at 34–36 in (86–91 cm) from the finished floor. Measure floor to countertop after leveling, because a drift in cabinet leveling shifts every later measurement. MFBATH floor-standing vanities run 800–2000 mm (31–79 in) wide and floating units 600–1800 mm (24–71 in), so cabinet width rarely limits the basin choice.
Floating vanities add a second variable: mounting height gets fixed at install, not at the factory. Decide the target rim height first, then work backward to where the wall mount lands. Anchor capacity must match the basin and water load, so confirm the wall mount rating before the basin order.
Match the basin footprint to the vanity top before you buy. The 600–2000 mm basin range covers single and double layouts, but the basin base must sit fully on the countertop, not hang over the front edge. Overhang looks deliberate on some designs, yet it shifts the weight forward and stresses the seal line. Specify the vanity width and the basin width on the same line of the order form.
Basin Depth Adds Five to Eight Inches
Basin depth is the number buyers skip because it hides in the datasheet. A vessel basin adds 5–8 in (12–20 cm) to the stack, which puts the rim at 40–44 in over a standard countertop. Verify the actual depth of the ordered basin instead of assuming a catalog average. MFBATH sintered stone basins run 600–2000 mm wide in single and double versions, and depth changes by model.
Order the basin with the drain outlet position marked on the drawing, because the outlet offset decides where the countertop hole goes. Most vessel basins place the outlet toward the back, and the offset differs between single and double models. A double basin shifts the math: each bowl carries its own offset, and the trap must reach both outlets. Confirming these offsets on the datasheet keeps the cutout to one pass.
Projects bound by the Americans with Disabilities Act (ADA) need a separate conversation. A 40–44 in rim typically fails accessible reach ranges, so rework the mounting and basin choice against the ADA design standards before ordering. For standard bathrooms, keep the rim at or below the 44 in ceiling and confirm it with a tape measure at the dry-fit.
Faucet Spout Clears the Rim
The faucet decision is really a spout-height decision. A vessel basin lifts the rim 5–8 in above the countertop, so an ordinary deck faucet cannot clear it. Trade rule of thumb: the spout outlet must sit at least 7 in above the basin rim. Measure spout height from the mounting surface, not the countertop, because basin depth changes the effective clearance.
Buy the faucet with the basin, not after it. A high-arc deck faucet with a fixed spout clears a 5–8 in basin only when the spout height number comes off the datasheet. Ask for both dimensions in the same quote. Wall-mount models sidestep the reach problem but add a supply-line decision that lands in the rough-in phase. Keep the pair together in one order, and the height math stays in one place.
The three-height stack: what to specify, what it produces, and what fails.
| Component | Standard Spec | Stack Result | Failure Mode |
|---|---|---|---|
| Countertop height | 34–36 in (86–91 cm) from finished floor | Base of the stack | Hunch or stretch at the mirror |
| Vessel basin depth | 5–8 in (12–20 cm) added | 40–44 in finished rim | Rim too high for daily use |
| Faucet spout | At least 7 in above basin rim | Splash-free deck | Spray across the countertop |
| Drain alignment | Basin outlet lines up with cabinet trap | Leak-free connection | Weeping under the cabinet |
Faucet and Drain Selection
Faucet and drain choices split vessel sink projects into smooth and messy. The basin depth drives both: the spout must clear the rim, and the drain tailpiece must reach through basin, countertop hole, and trap. Match those two components to the basin model, not to the vanity catalog photo.
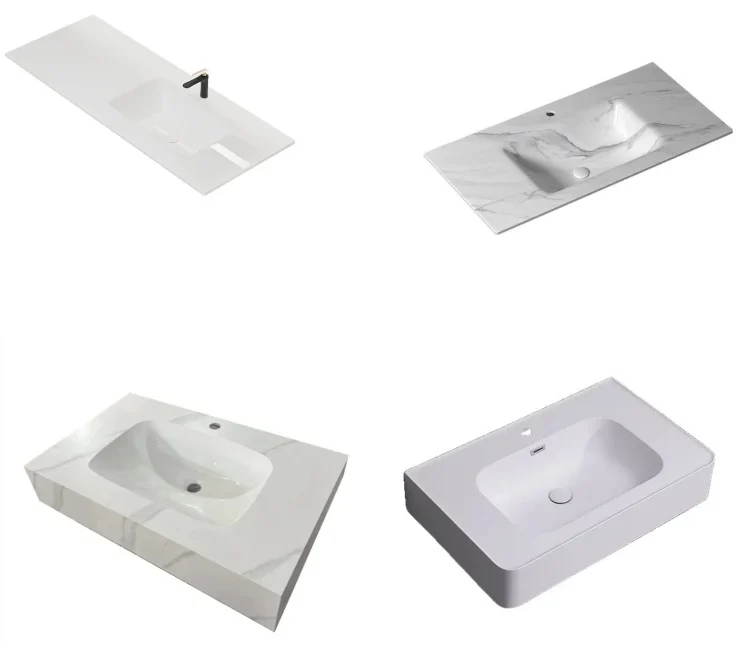
Wall-Mount or Deck-Mount
Wall-mount faucets anchor in the wall and give the cleanest look on floating vanities. They need supply lines roughed into the wall before the finish goes on, so the rough-in phase decides whether this option exists. Deck-mount high-arc models work when the countertop has room and the spout clears the rim by at least 7 in. For a floating vanity, choose wall-mount supply when the rough-in allows; otherwise pick the deck version and verify reach against basin depth.
Deck Drain and Overflow Matching
A vessel basin sits 5–8 in above the countertop, so a standard pop-up drain often comes up short. Deck drains, also called extended drains, bridge the extra depth and replace the pop-up on many vessel basins. Check the overflow hole before buying: a basin with an overflow port needs a drain with a matching overflow inlet, otherwise the rim weeps or gurgles. Silicone sealant bonds the basin base to the countertop, and the drain gasket seals the outlet from below.
Verify the rough-in before the basin ships, because retrofitting supply lines after the finish costs more than the faucet. The drain position in the cabinet dictates where the basin outlet must land, and that pair of numbers belongs on the shop drawing. Give the field crew the supplier’s reference points for the supply lines and the trap, then let them measure twice against the marks. The vanity rough-in guide walks through supply line and drain placement in sequence.
Faucet and drain options: what to check on each.
| Option | Spec to Check | Typical Fit | Common Failure |
|---|---|---|---|
| Wall-mount faucet | Spout at least 7 in above rim | Floating vanity with wall rough-in | Supply lines missing from wall |
| Deck-mount high-arc | Spout height and reach vs basin depth | 34–36 in countertop with room | Short spout sprays the deck |
| Deck drain | Extended length for 5–8 in depth | Deep vessel basins | Standard drain comes up short |
| Overflow-matched drain | Overflow inlet matches basin port | Basins with overflow holes | Weeping or gurgling rim |
Step-by-Step Vessel Basin Installation
Installation is a sequence of verification steps, not a single placement event. Each step exists to catch a mismatch before it becomes a leak or a rework call. Budget a full dry-fit pass before any sealant goes down.
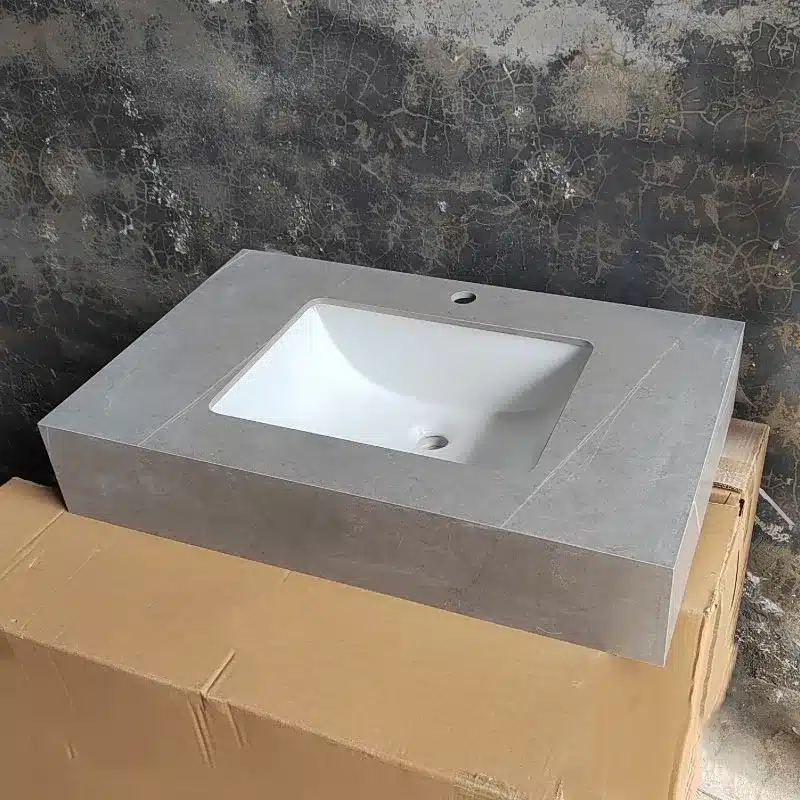
Prep the site before the basin arrives. Shut off the water supply, confirm the countertop is level, and check that the trap position matches the marked cutout. Collect the silicone sealant, the deck drain, and the manufacturer’s datasheet in one tray so the crew works from one set of numbers. A clean prep pass shortens install time and keeps the seal line dry.
- Dry-fit the basin on the leveled countertop. Confirm the rim height, spout clearance, and drain alignment before touching a drill. Mark the basin outline lightly with tape.
- Transfer the drain hole position. Measure the basin outlet against the cabinet trap center and mark the countertop cut. A hole drilled off-center forces a kinked drain line.
- Cut the countertop opening for the drain tailpiece. Match the opening to the basin outlet size and keep the cut edge clean for the gasket.
- Apply a continuous bead of silicone sealant around the basin base. Seat the basin once, press evenly, and wipe excess before it skins.
- Connect the drain tailpiece, trap, and supply lines. Hand-tighten fittings, then finish with a wrench; check gaskets on both sides of the connection.
- Run the water test. Fill the basin, watch the seal line and the cabinet floor, run hot and cold, and confirm the overflow drains. Let the silicone cure before heavy use.
Two rules apply to every step. Never force the basin into position, because a stressed sealant line leaks before the plumbing does. Keep the countertop hole slightly generous rather than tight, since sintered stone and ceramic both chip at the edge when the drain collar binds. Drain and trap connections follow the Uniform Plumbing Code (UPC) published by IAPMO, and local inspectors check against it.
Sealant curing belongs in the schedule, not in the margins. Most silicone needs a full cure before the basin carries water, so plan the water test for the next visit if the crew is on a tight day. Caulk the basin-to-countertop seam after the silicone sets, and wipe any squeeze-out from the interior edge. These finishing passes decide whether the install looks like a production job or a field experiment.
Sintered Stone Basins for Vanity Projects
Browse this product, solution, or service page to explore relevant offerings.
Sintered Stone vs Ceramic Basins
Material choice changes the install math even when the dimensions match. Sintered stone and ceramic look similar on a spec sheet, but weight, drilling behavior, and sealing differ enough to affect mounting and timeline.
Weight and Mounting Load
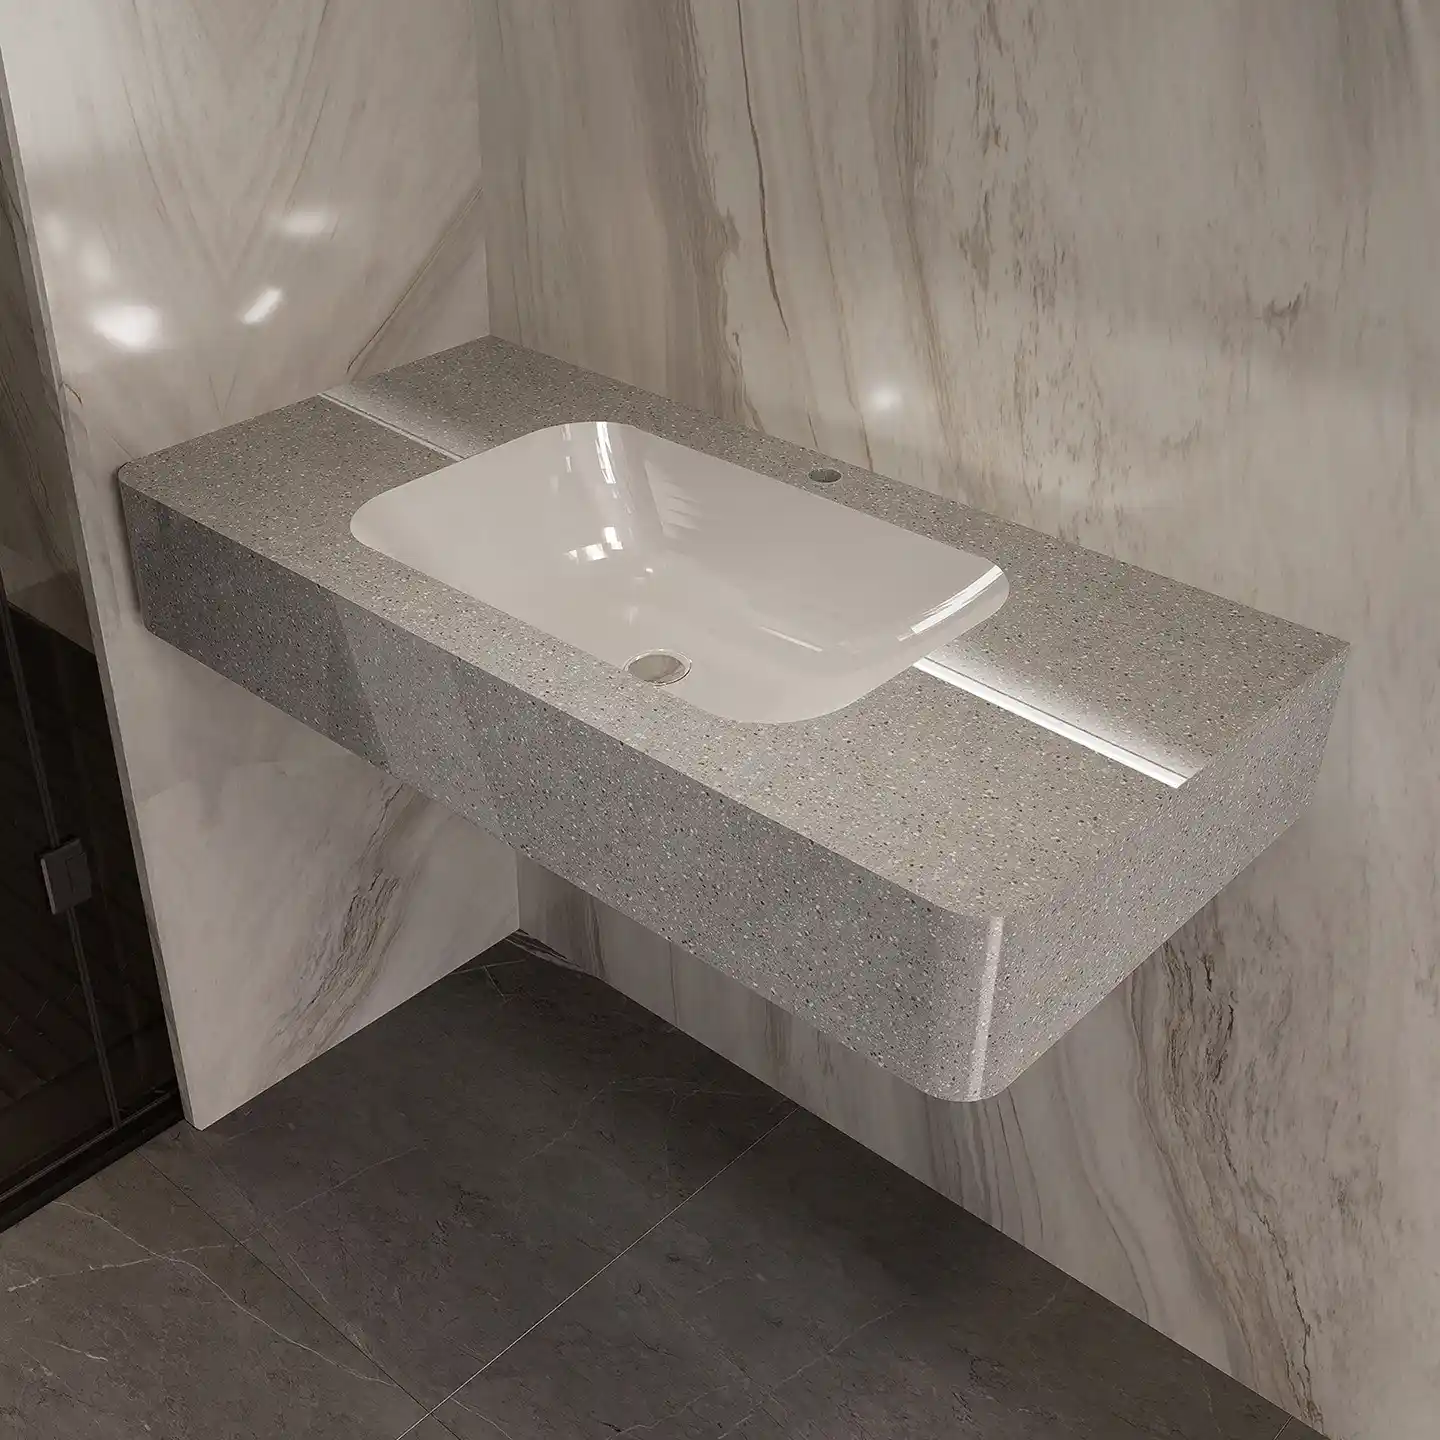
Sintered stone starts with natural minerals: quartz, feldspar, and silica, pressed at high temperature and pressure with no resin binder. The result runs Mohs hardness 7–8, tolerates 300°C heat, resists stains on a non-porous surface, holds color under UV, and carries antibacterial properties. Density brings weight, and the basin plus water load lands on the same anchors as the vanity. A floating cabinet needs its mounting capacity verified before install, and the floating vanity wall mount guide lists four engineered fixes.
Surface finish affects long-term maintenance more than install. MFBATH sintered stone basins come in marble, granite, cement, and plain textures with matte, satin, or polished finishes, and the texture choice changes how water spots show. Polished surfaces wipe clean but display scale in hard-water regions; matte hides streaks but needs a different cleaner. Pick the finish against the project’s water quality, not the mood board.
Drilling and Sealing Differences
Ceramic basins accept standard carbide bits and seal cleanly with silicone, but the glaze chips if the drill walks. Sintered stone needs diamond tooling for field modification, so order the drain hole position right the first time. Both seal with silicone at the base; the difference is the surface, since non-porous sintered stone holds a mechanical bead while ceramic depends on glaze integrity. MFBATH offers ceramic basins as a custom option beside its sintered stone line, and the sintered stone basin installation guide covers the mounting details. Ask which ASTM International test method backs the hardness, heat, and stain claims in the datasheet.
Cabinet material completes the water story. MFBATH builds PVC (polyvinyl chloride) cabinets that are 100% waterproof for wet areas, and solid wood cabinets with a multi-layer polyurethane waterproof coating where the spec calls for wood. Pair the basin seal with a waterproof cabinet, and the under-sink area survives the drips that every basin install produces. A leak that reaches the cabinet floor matters less when the cabinet itself resists water.
Sourcing Spec Checklist for Vessel Basins
Buyers who lock the spec sheet before the purchase order skip most site rework. Five items decide whether the basin installs cleanly: width, depth, drain hole position, overflow configuration, and weight. Add MOQ and lead time to the same sheet, and the order becomes an execution plan instead of a surprise.
Specs to lock with the supplier, and why each one matters.
| Spec to Lock | Verification Point | Reason |
|---|---|---|
| Basin width | 600–2000 mm, single or double | Must suit vanity top and spout reach |
| Basin depth | Adds 5–8 in to the stack | Sets the 40–44 in finished rim |
| Drain hole position | Aligns with cabinet trap center | Off-center hole forces a kinked drain |
| Overflow hole | Present or absent | Dictates the deck drain match |
| Basin weight | Wall-mount load capacity | Floating vanities need engineered anchors |
| MOQ and lead time | 15 sets per model, color, size | Sample 10 working days; bulk 20–30 days |
Trade terms belong on the same checklist. MFBATH quotes FOB (Free On Board) Qingdao Port with 30% deposit up front and the balance due within a week of bill of lading (B/L) presentation. Samples leave in 10 working days, bulk production runs 20–30 days, and full-container orders carry a 2-year warranty. Every piece passes 5 inspection checks before packing.
The supplier’s track record shows up in the reliability of the spec sheet. Main Focus Cabinet (MFBATH) started production in Changge, Henan in 2015 and now runs a 10,000 sqm factory with 95 employees and monthly capacity of 5,000 sets. More than 1,000 dealers across 20+ countries order against the same documentation, which keeps the datasheet honest. Ask for the plant’s inspection record format before you commit to a price.
Ask the supplier for the basin datasheet with drain hole position and weight before placing the order. A supplier that cannot produce those two numbers on paper will not produce them on the crate. Request bathroom vanity CAD drawings when the countertop needs a custom cutout, because drawing-level verification costs less than a countertop repair.
Treat the MOQ as a negotiation input, not a wall. MFBATH runs a 15-set minimum per model, color, and size, so consolidate finishes to meet the minimum instead of paying for exceptions. Ask for the sample piece first, measure the drain hole position against your trap location, then scale the order.
Check the shipment against the same spec sheet on arrival. Match the basin count to the packing list, verify the drain hole position on a sample unit, and weigh one basin against the datasheet before installers open the crates. Factory inspection checks reduce the odds of a bad piece, but a quick site check catches the rare exception.
Frequently Asked Questions
What is the right height for a vessel sink on a vanity?
Target a 40–44 in finished rim. A standard 34–36 in (86–91 cm) countertop plus the basin’s 5–8 in (12–20 cm) depth lands in that range. Confirm the actual basin depth from the datasheet and measure again at the dry-fit.
Do vessel sinks need a special faucet and drain?
Yes. The spout must clear the basin rim by at least 7 in, so choose a wall-mount or tall high-arc deck faucet. Use a deck drain long enough for the added depth and match the overflow port if the basin has one.
Can a vessel basin go on a floating vanity?
Yes, when the wall mount carries the combined load of cabinet, basin, and water. Verify the basin weight against the mounting capacity and use engineered fixings rated for the full load.
The Bottom Line
Lock the three heights, match the drain to the basin, and verify the spec sheet before the order; those three moves prevent the classic vessel sink failures. Send the basin width, depth, and drain position to MFBATH with your vanity model, and the quote comes back with the install-relevant specs attached. Factory capacity, inspection record, and trade terms sit on paper before the container leaves Qingdao.




0 Comments