
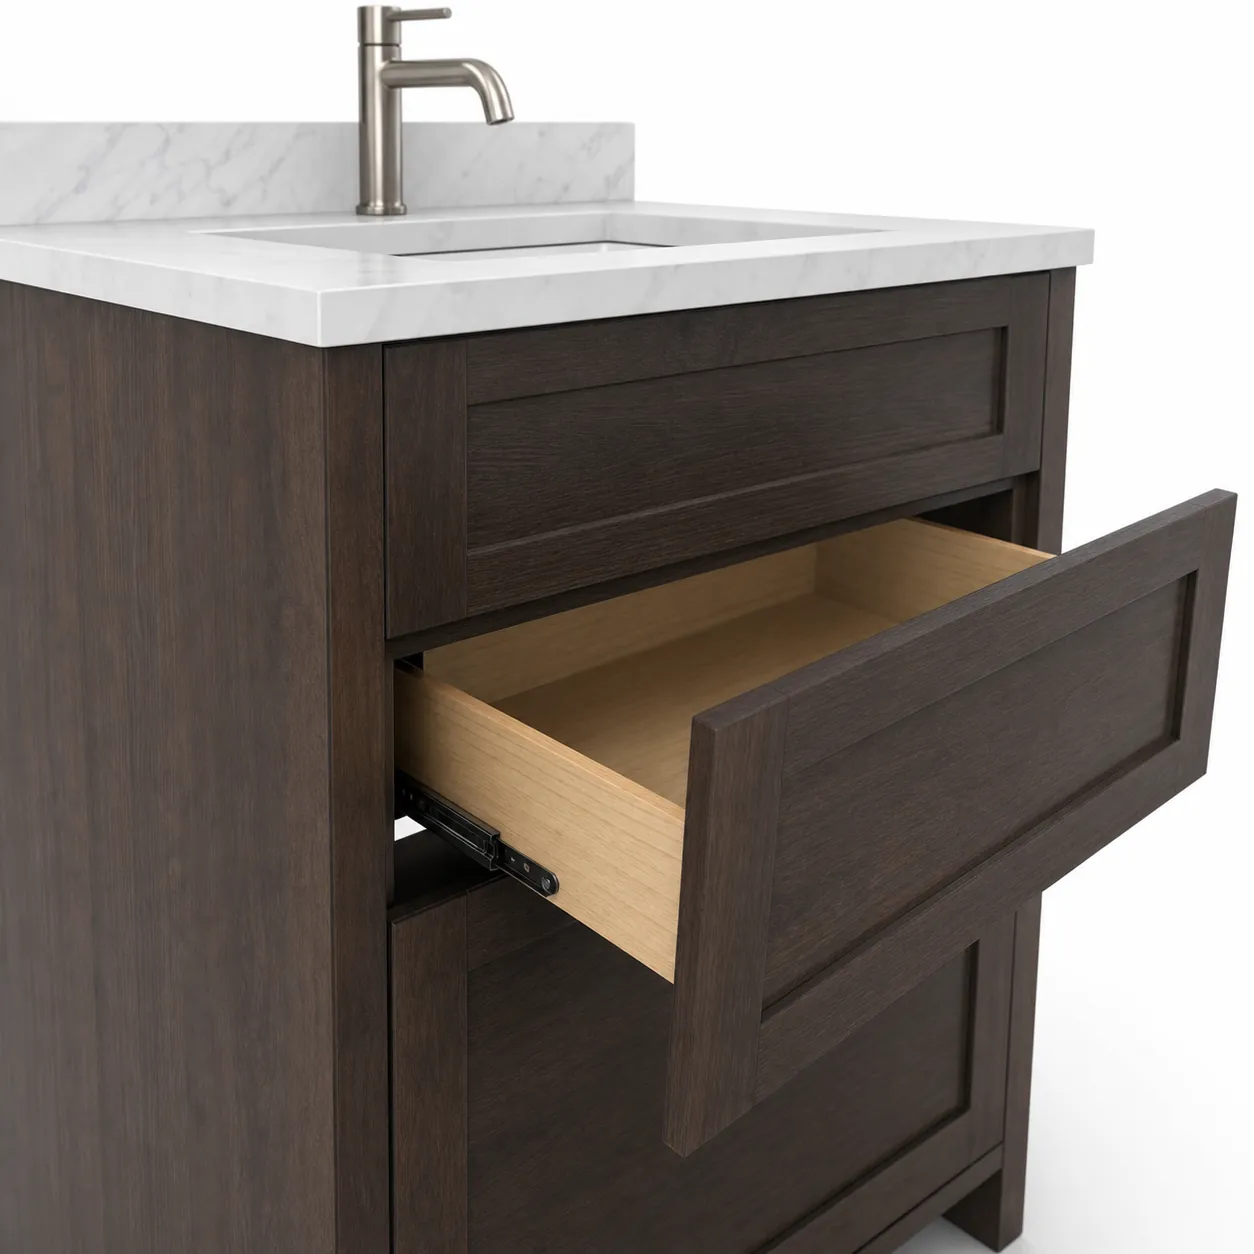
Every bathroom vanity order has a seam nobody checks at the factory: the gap between the countertop and the wall behind it. The wall is rarely flat, the top is cut square to a cabinet that can sit a fraction off level, and water from a vessel sink, a wet countertop, or condensation runs straight down that junction. Leave it open and moisture works behind the cabinet and into the wall, where swollen edges, darkened panels, and a musty smell surface only after many wet-dry cycles. This article treats that failure as a specification problem with a fixable answer: how to measure the joint, choose between silicone and a factory-made backsplash panel, sequence the site work, and put the plan into a purchase order. The running example throughout is Main Focus Cabinet (MFBATH), a bathroom vanity manufacturer founded in 2015 in Changge, Henan.
The reader who needs this most is not the end user; it is the importer, wholesaler, or project buyer whose installer blames the cabinet, whose factory blames the site, and whose customer blames both. Bathroom vanity backsplash gap sealing sits exactly on that boundary, so it belongs in the specification before it reaches the bathroom. The sections below walk the joint in the order a spec gets written: geometry, measurement, material, application, the panel alternative, then the contract lines that make the method enforceable. MFBATH’s quality system checks every cabinet at five points before packing, yet the seam at the wall is decided after the container arrives, which is why the buyer needs this playbook.
Key Takeaways
- Treat the top-to-wall seam as a wet-area joint: unsealed, splash and condensation water works behind the cabinet, where swelling, edge damage, and odor appear long after installation day.
- Measure the gap before choosing a product; a uniform hairline seam and a wide, tapering gap are different problems, and only the site measurement tells you which one you have.
- In wet zones, specify silicone sealant in a neutral-cure, mildew-resistant grade; paintable acrylic is for dry joints, and factory panels are for geometry that no bead can fix.
- When the wall is far out of plumb or the room gets aggressive cleaning, specify a backsplash panel or stone upstand ordered with the vanity, so color and cut list come from one factory.
- Write the joint into the purchase spec: drawing callouts, sealant type, cure time before water testing, and a written line between factory warranty and installer responsibility.
Table of Contents
- What the Backsplash Gap Is and Why It Opens
- Measure the Gap and Prep the Surfaces First
- Sealant Options: Silicone and the Specs That Matter
- Sealing the Gap Step by Step
- When the Gap Needs a Panel Instead of Caulk
- Putting the Joint Into Your Purchase Spec
- Frequently Asked Questions
- The Bottom Line
What the Backsplash Gap Is and Why It Opens
The backsplash gap is the seam where the countertop meets the wall, and it opens for reasons that have nothing to do with careless installers. Tolerances stack: a wall that drifts a fraction over its length, a top cut to nominal dimensions, a cabinet that settles slightly once the basin is filled. Where the top touches the wall the joint may look closed, while further along the same run it shows a visible slot, because drywall is rarely dead flat and corners are rarely square. None of this means the cabinet is defective; it means the joint between two building elements has to be designed, not assumed.

What happens inside an unsealed seam is worse than what you see outside. Water runs down the wall face, wicks into the gap by capillary action, and collects behind the cabinet against drywall with no evaporation path. Cabinet panels take up moisture slowly, so the first signs are delayed: a swollen back panel, a peeling edge, or a smell that survives every cleaning product. The U.S. Environmental Protection Agency (EPA) has published its EPA mold guidance on exactly this failure path: persistent moisture behind a surface is the condition that supports mold growth.
Invisible means fine is the most expensive assumption in this trade. A seam that looks closed at eye level often has an opening at the back corner where the caulk gun never reached, or the top was set before the tile behind it was finished. Treat the seam as an inspection item on every vanity, in a showroom or a hotel installation, and photograph it before the room goes into service. The steps around the joint, from wall prep to final hookup, live in our vanity installation guides; this guide covers the seam itself and how to turn it into a contract line.
Measure the Gap and Prep the Surfaces First
Before you choose a product, measure the seam the way an inspector would. Run the back edge of the top and note where the gap is uniform, where it tapers, and where it disappears; walls drift, and one number cannot describe a joint. A thin blade gauge or a feeler gauge set is enough: slide it along the seam at both ends and the middle of each run, and record the widest reading, not the average. Check the side gaps against a wall or shower surround too, because water does not respect the plan view of the vanity.
The measurement decides the method, not the other way around. A close, uniform line across the full run is a sealing job. A gap that tapers to nothing, or one wide enough to take a backing rod and filler strip, is a geometry problem; no bead thickness makes a sloped joint look clean or stay bonded, because the sealant would have to bridge a moving span. Between those cases, look hardest at the ends of the run and behind the top, where access is poor and failures start first.
Preparation decides whether the bead lasts. Both faces of the joint must be clean, dry, and free of dust, soap residue, and old sealant; silicone does not bond to a film or a damp substrate, no matter how well the tube performs. Cut old beads out with a razor, wipe the faces with a cleaner that leaves no oily residue, and let the joint dry before the gun comes out. If the top was cut or drilled on site, sweep the dust out of the seam and seal any raw edge first, because dust between the bead and the stone is the fastest route to a bond that lifts.
The joint also inherits the behavior of the top itself. A thin top on wide spans flexes under load, and every flex works the seam at the wall line, so the thickness decision is part of the joint decision. If you are still choosing the slab, our comparison of 12mm vs. 15mm vanity countertop thickness explains how deflection and edge support change what happens at the back of the top.
Sealant Options: Silicone and the Specs That Matter
Once the measurement says seal it, the material decision is narrower than the shelf at a hardware store suggests. For a wet bathroom the working answer is silicone. Silicone sealant stays flexible, resists water, and adheres to tile, stone, and finished surfaces, which is why it dominates wet-area joints. Two specifications matter once you are past the brand: cure chemistry and additives. Neutral-cure formulas are the safe default against stone and metal, acid-cure types skin faster but can react with sensitive materials, and mildew inhibitors help in splash zones even though the additive loses strength with age and cleaning chemicals.
| Option | Water Resistance | Flexibility and Paint | Where It Usually Fits | Most Common Weakness |
|---|---|---|---|---|
| Standard silicone sealant | High; forms a waterproof, flexible membrane across the joint | Stays elastic with movement; not paintable | Default wet-area choice for top-to-wall seams and back corners | Shows mildew in constantly wet splash zones if it lacks a fungicide |
| Mildew-resistant silicone | Same waterproofing with a fungicide package for damp joints | Additive weakens over time; surface still needs cleaning | Basin splash zones and seams where mold is the first complaint | Fungicide loses strength with age and aggressive cleaners |
| Acrylic latex caulk | Lower; degrades under constant water contact | Paints easily but loses elasticity once cured | Dry seams that will be painted and rarely see standing water | Cracks or softens where water sits on the seam |
| Backsplash panel or stone upstand | Highest when installed over a properly sealed substrate | Rigid, not paintable; color matched at the factory | Wide or tapering gaps, out-of-plumb walls, high-use commercial baths | Requires factory lead time and exact wall measurements |
Write the material as a product specification, not as the word caulk. A defensible line reads: neutral-cure, mildew-resistant silicone sealant, applied to clean, dry surfaces, tooled smooth, and cured before water testing. Keep acrylic latex out of the wet seam; it paints easily and serves dry joints well, but it lacks the water resistance and flexibility a sink-side joint sees daily. Color belongs in the spec too: for stone tops, a translucent or color-matched bead disappears where a bright white one stands out, so order the sealant color with the samples.
Know when sealant is the wrong answer: on joints wider than a reasonable bead, on walls so far out of plumb that the bead would have to be wedge-shaped, or in commercial bathrooms where daily chemical cleaning attacks every organic joint. Silicone fails eventually, not because it is a poor product but because every bead is a maintenance item in a high-use room. That combination, plus the labor of resealing at every room turn, is the argument for the factory-made backsplash panel covered later.
Sealing the Gap Step by Step
Application order matters more than most installers think, because the bead is only as good as the sequence around it. Do the seam in a dry window: no wet grout nearby, no freshly painted wall, and no humidity that will condense into the joint before the skin forms. Mask both faces with painter’s tape set slightly back from the seam so the tooled bead lands in a crisp channel, then cut the nozzle at an angle that matches the gap and load the gun.
Run the bead in one continuous pass from one end of the run to the other, pushing the nozzle so the sealant fills the root of the joint instead of skimming over it. Tool it immediately with a wet fingertip or a profiling tool, moving in one direction, then remove the tape while the bead is still soft; tape pulled after skinning tears the edge. Aim for a smooth concave profile: it leaves a thinner center that flexes with movement, while a thick, proud bead collects dirt and separates from one face when the wall moves.
When the gap is too wide for a bead, install a backing rod first. A compressible rod pushed to a uniform depth gives the sealant a back surface to bond to, controls bead depth, and stops material from flowing into the wall cavity; the sealant then goes on top as a finish layer. After tooling, leave the joint undisturbed for the full cure time stated on the product and keep water off the seam during that window. A water test run too early is the classic cause of a bead that later whitens or lifts.
Cure time is when the handover happens. Walk the seam before the room goes back into service: check both ends, the back corners, and the run under the basin area where access is worst, then run water and watch the junction for drips finding a path behind the bead. Photograph the finished run. The wider site choreography, including leveling the cabinet so the top sits flat against the wall in the first place, is covered in our 12-step RTA vanity installation checklist, because most top-to-wall complaints start with a cabinet that was never level.
Source Vanities With Sintered Stone Tops and Clear Joint Specs
Browse this product, solution, or service page to explore relevant offerings.
When the Gap Needs a Panel Instead of Caulk
A bead is a maintenance item; a backsplash panel is a finished surface. When the wall is far out of plumb, the seam is wide enough to need a filler, or the room gets chemical cleaning with short turnaround times, specify a factory-made backsplash panel or stone upstand instead of asking a caulk gun to solve geometry. The panel carries the joint: it covers the transition, gives cleaning crews a flush surface to wipe, and removes the visible seam that silicone inevitably shows as it ages. The trade-off is planning, because the panel must be fabricated, shipped, and installed with the top.
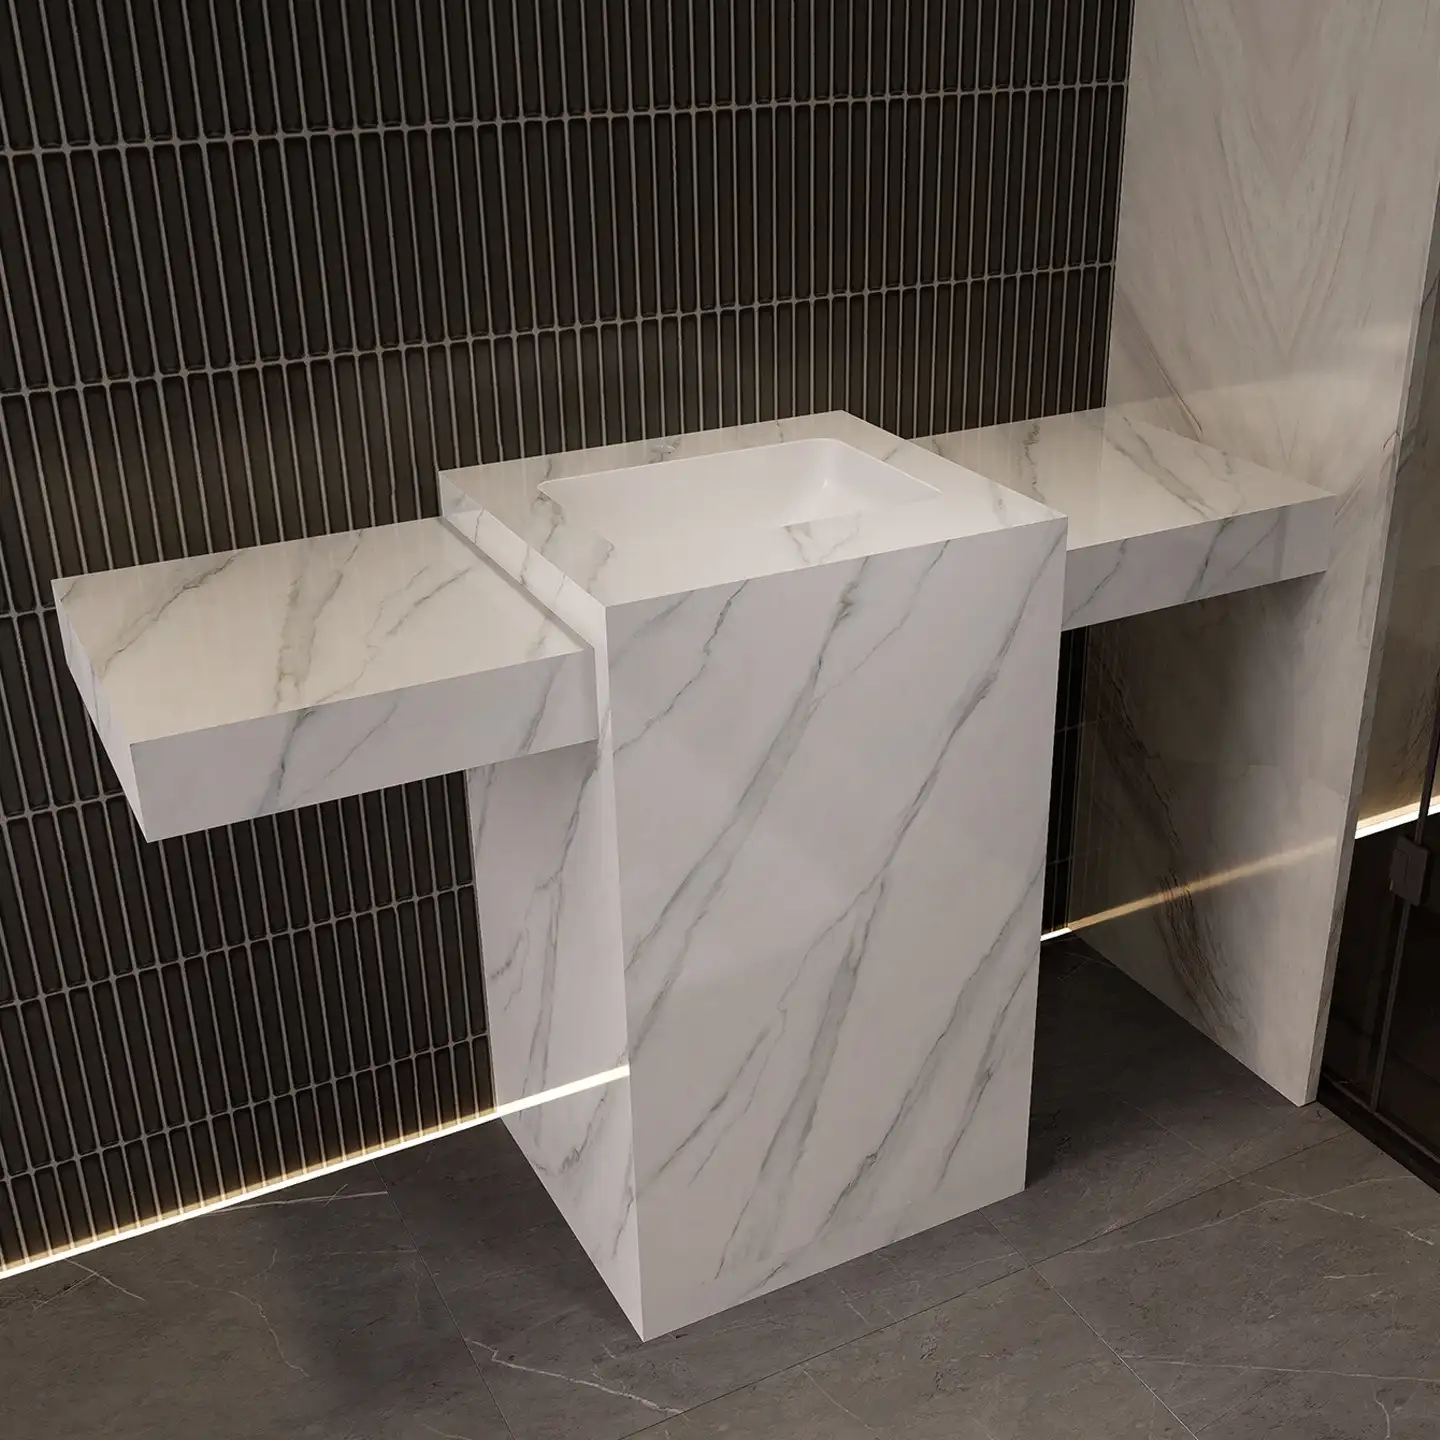
The cleanest version of this approach is an upstand turned up from the same material as the top. Sintered stone is cut from large slabs, and fabricators can return the back edge upward so the countertop and the wall strip are one piece, with one seam at the top of the upstand instead of a bead at the countertop line. That configuration plays to the material’s strengths: nonporous, easy to disinfect, and stable in a warm, humid room. It also changes the purchase conversation, because the upstand must be ordered with the top and cut to the actual wall condition.
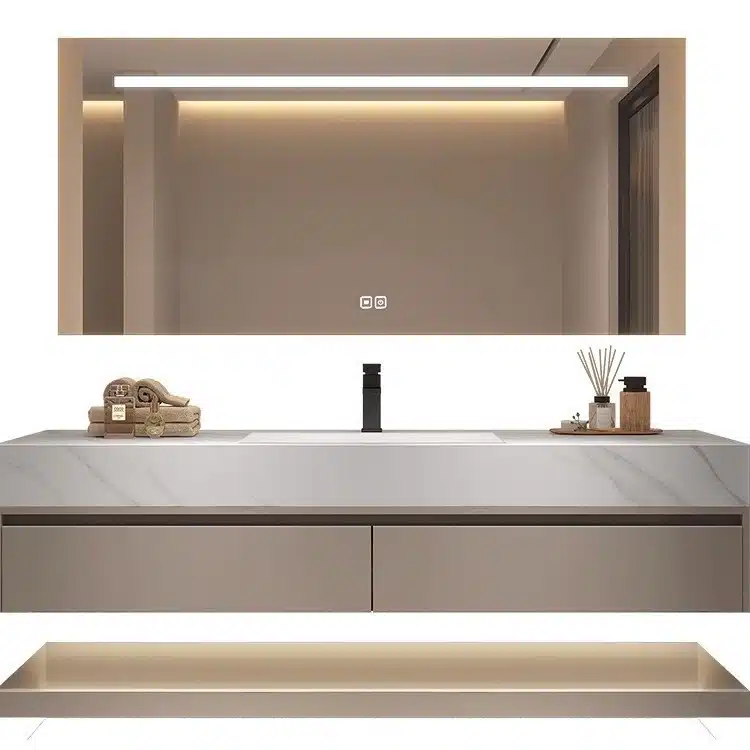
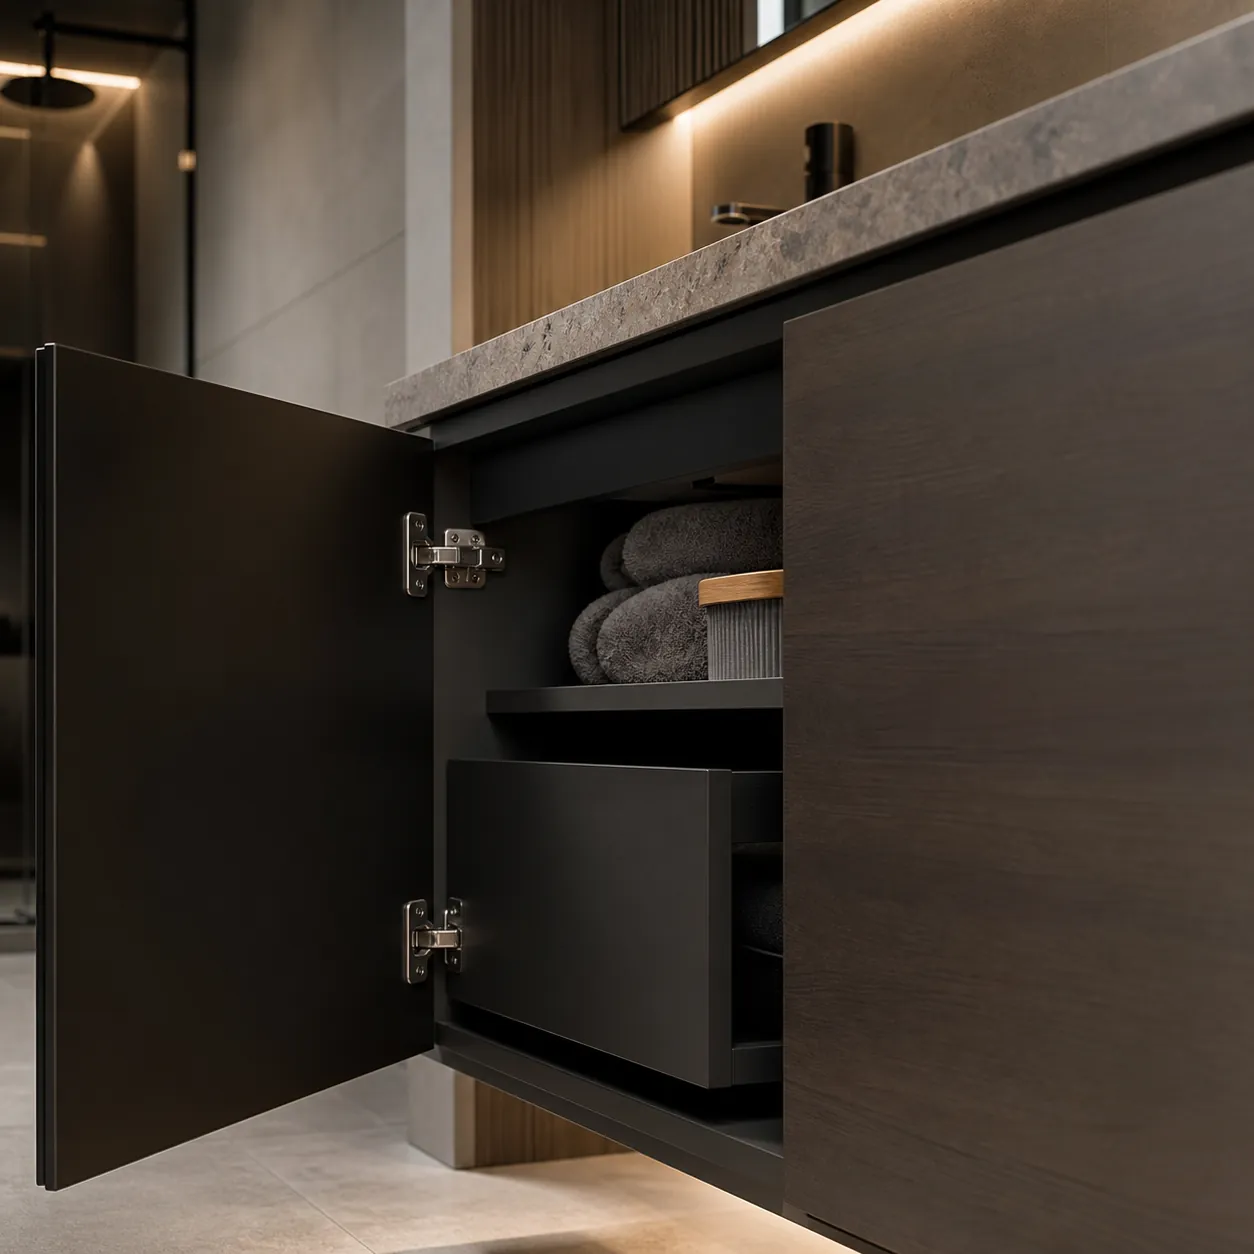
Buying the panel or upstand from the same factory as the vanity is a specification advantage, not a convenience. One supplier controls the color relationship between the top, the panel, and the cabinet finish; the cut list can be coordinated with real wall measurements before production; and one party stays responsible if the pieces do not align at installation. MFBATH’s sintered stone bathroom vanity range pairs cabinet and stone top in one product line, the practical way to make the joint a factory deliverable instead of an on-site surprise.
Choose the surface material before you finalize the joint detail, because the two decisions lock together. Stone, quartz, and solid surface each behave differently at a wall line, with different edge and seam options, and the trade-offs are laid out in our comparison of sintered stone vs. quartz vanity tops. If the wall is reasonably straight and the room sees normal use, sealing remains the cost-effective answer; if the geometry is bad or the cleaning is aggressive, specify the panel once and stop paying for resealing.
Putting the Joint Into Your Purchase Spec
Everything above collapses into one habit: state the joint treatment on the drawing and in the purchase order before the price is agreed. The factory drawing of the vanity should show the top’s back edge, any upstand or panel, and the note that the installer seals the top-to-wall seam with the specified product. A purchase order that names the joint closes the loophole in which the factory assumes the installer will handle it and the installer assumes the factory already did.
Pair the spec with a written acceptance step. The handover checklist should include: seam measured and gap recorded before sealing, specified sealant used and cure time respected, bead continuous and tooled, no voids at the back corners, and a water test passed after cure. Put the checklist in the contract appendix when the installer is your subcontractor, and in the handover documents when the installer belongs to the buyer. Photographs of each seam before and after water testing turn a later dispute into a file review.
The second contract line is responsibility. A factory warranty covers manufacturing: the cabinet structure, hinges, doors, finish, and the top as delivered. Sealing a seam in a building is installation work, and the two must not blur in the warranty clause. MFBATH’s 2-year whole-cabinet warranty covers the cabinet as shipped, and the same logic applies to any supplier; ask in writing whose scope the backsplash joint falls under. If you want proof before the container sails, third-party inspection by firms such as SGS or TÜV can be arranged in advance, and the visit is the moment to confirm the delivered top matches the joint plan.
The most efficient test of the whole theory is a small order with one demanding installation. MFBATH’s minimum order quantity (MOQ) of 15 sets per model, color, and size keeps a trial container honest, and free sample support gets you samples within 10 working days so the top edge, finish, and joint profile are checked before bulk production of 20-30 days begins; total lead time to the United States, Canada, or Mexico is 4-6 weeks including ocean transit. Photograph the first installed unit against the checklist, feed the findings back into the spec, and the second order ships with the joint already decided.
Frequently Asked Questions
Does the gap between the vanity top and the wall always need sealing?
In a bathroom, yes: treat it as a sealed joint. Left open, splash and condensation water runs behind the cabinet and into the wall cavity, where it can swell panels, darken edges, and support mold in the drywall. The product can be simple, but the decision should be deliberate and written down. The exception is a design where a factory-made backsplash panel or upstand covers the transition entirely, in which case the seam at the top of the panel is still sealed.
How often does bathroom silicone sealant need to be replaced?
There is no universal interval, because the answer depends on water exposure, cleaning chemistry, humidity, and joint movement. Use a visual check instead of a calendar: when the bead shrinks, cracks, peels, or develops mildew stains that will not clean off, remove the old material and reseal. In heavy-use commercial bathrooms that review happens at every room turn; in a light-use powder room the same bead can look serviceable for a long stretch. Treat resealing as a maintenance line item, not a warranty event.
The wall is out of plumb and the gap is too wide for caulk. What should we do?
Stop asking a bead to bridge bad geometry. Measure the gap along the full run, and if it is wide or tapering, use a backing rod with sealant over it, or move up to a factory-made backsplash panel or stone upstand that covers the transition. A sintered stone top can be fabricated with the back edge turned up into an integral upstand, turning the problem seam into a clean finished surface. Order the panel with the vanity so the color and the cut list come from one source.
How do I write the gap treatment into a vanity purchase agreement?
Four lines cover it. One: the drawing marks the top-to-wall seam and names the treatment, sealant or panel. Two: the purchase order specifies the sealant grade and the cure-before-water-test requirement, or the panel and upstand dimensions. Three: the acceptance checklist includes a joint inspection and water test after cure. Four: the contract states that sealing is the installer’s scope and confirms what the factory warranty covers. Sourcing the top from the same factory as the cabinet keeps the joint under one supplier’s control.
The Bottom Line
Treat the backsplash gap as a designed joint: measure it, choose silicone or a panel on the basis of the measurement, seal it in the right sequence, and photograph the result before the room goes back into service. Write the treatment into the purchase order and installer handover, and keep the line clear between factory warranty and site work. MFBATH pairs cabinets with sintered stone tops in one product line, backs the cabinet with a 2-year whole-cabinet warranty, and supports free samples and third-party inspection; any supplier you consider should answer the same questions about the joint in writing before you commit the deposit.




0 Comments