

The day a vanity arrives is not the day the fit is decided. It is the day you find out whether the P-trap clears the drawer, whether the supply lines land behind the cabinet, and whether the drain outlet sits where the drawer box needs to travel. That is settled weeks earlier, in the empty bathroom, with a tape measure. Bathroom vanity rough-in measurements are the quiet difference between a clean install and a reorder, and they matter most before you commit to production with Main Focus Cabinet (MFBATH).
This guide is written for importers, contractors, and project buyers who must capture accurate site numbers before ordering vanities. It covers what to measure, how to record it, and what to send the factory so the build matches the wall. You will not find invented code numbers here. You will find the discipline to measure and record, the factory ranges MFBATH builds to, and a checklist you can hand to whoever holds the tape measure on site.
Key Takeaways
The numbers that matter before you measure, in one place.
- Standard MFBATH vanity widths run 24–60 inches, with depths of 18–24 inches, and custom sizes start from 15 sets per size.
- Sintered stone floating vanities cover 600–1800mm (24–71 inches), while floor-standing units cover 800–2000mm (31–79 inches), in single or double basin.
- Free samples ship within 10 working days, so verify your measurements against a real sample before bulk production starts.
- Bulk production takes 20–30 days, and total lead time to the US, Canada, and Mexico runs 4–6 weeks.
- Every product passes 5 inspection checks under an ISO 9001 quality system obtained in 2017 and confirmed valid in 2025.
- MFBATH offers 40,000+ customization combinations with Pantone color matching, on a 30% deposit to order with the balance due within one week of the draft bill of lading, FOB (free on board) Qingdao Port.
Table of Contents
Skip to the section you need.
- What Rough-In Means for Vanity Orders
- Key Measurements to Take Before You Order
- Turning Measurements into a Factory Spec
- Common Rough-In Mistakes and How to Avoid Them
- Frequently Asked Questions
- The Bottom Line
What Rough-In Means for Vanity Orders
In cabinet terms, the rough-in is the work hidden inside the walls and below the floor — supply lines, drain, and structure — that the finish covers later. The finish is what you see and touch: the cabinet, the top, the basin, the hardware. The two layers have to agree, and the only place they agree is on the measurement sheet. A vanity sized for the finished room, with plumbing that lines up inside the cabinet, is the whole task — skip one number and the agreement breaks.
The factory builds to numbers, not to hopes. When a production order reaches MFBATH in Changge, Henan, China, the cutting line follows the dimensions written on the work order, and those dimensions come from your site. That is why the factory needs measurements before production, not after. Once the 15-set MOQ (minimum order quantity) commits the run, the sizes are locked, and a change means new materials and new time. The measurement sheet costs nothing and protects everything.
The range the factory builds to is straightforward: standard vanity widths run 24–60 inches and standard depths run 18–24 inches. Anything outside that band is a custom size, and custom sizes are available from 15 sets per size. That threshold keeps the line efficient while staying realistic for importers who buy in quantity, not one-off pieces.
In practice, bathroom vanity rough-in measurements come down to six numbers, one drawing, and a set of photos. They are not hard to capture; they are hard to remember. If you are new to specifying vanities for import, the installation and tech specs library collects this guide and the rest of the series in one place, so the whole spec chain stays consistent across orders.
The measurements also decide the interior layout: basin count, drawer positions, and where the door swing lands. A floating unit and a floor-standing unit read the same dimensions differently, which is why the same sheet feeds both the factory and the installer. Capture it once, use it twice.
The same numbers do double duty. The width and depth you record for the factory are the same values your installer checks against the floor plan, and the supply line positions you photograph are the ones the plumber works back from when the cabinet arrives. One site sheet, two crews, zero translation loss.
Key Measurements to Take Before You Order
Bathroom vanity rough-in measurements start with six fields: alcove width, cabinet depth, supply line height, drain center offset, wall condition, and clearance. Take them in that order, record them on one sheet, and photograph each one with the tape in frame. Width and depth set the cabinet size; the plumbing sets the interior layout; wall condition and clearance set what the cabinet can actually do in the room. If you need the full picture on cabinet height before you measure, the vanity height guide covers that side of the spec.
Width and Depth
Width is the distance between the finished surfaces at the alcove opening. Measure it at the floor, at counter height, and at the top of the cabinet, and record the narrowest reading — that is the number the cabinet must clear. Depth is the distance from the finished wall to the front edge the room can tolerate. Hold it against the 18–24 inch standard range, and if the room pushes beyond that band, note it as a custom size with the 15-set minimum in mind.
Supply Lines and Drain Position
Supply line height decides where the plumbing runs behind and inside the cabinet. Measure and record the height of every stub-out above the finished floor, the spread between the left and right supplies, and whether the lines rise from the wall or the floor. Do not assume a standard height; every job is different, and the drawer layout depends on where those lines actually sit. The plumber on the job works to the International Plumbing Code, so the measurement sheet should speak the same language as the code path.
Drain center offset is the horizontal distance from the centerline of the drain opening to a fixed reference point, usually the centerline of the sink or the finished wall. Measure and record it, and photograph the trap arm while you are there. A drawer box that has to dodge an off-center drain is a drawer box that opens into a pipe.
Record everything in the unit system the factory quotes. MFBATH states the standard cabinet widths and depths in inches — 24–60 inches wide, 18–24 inches deep — and quotes the sintered stone families in millimeters: floating units from 600–1800mm and floor-standing units from 800–2000mm. Mixing units on one sheet is the fastest way to create a dimension that means nothing to anyone.
Wall Condition and Clearance
Wall condition means flatness, plumb, and structure. Run a straightedge over the area the cabinet will cover, check that the wall is square where it meets the floor, and note the finish material — drywall, tile, or wainscot — because floating units hang from the wall and the structure behind the finish carries the load. If the room must serve a range of users, the ADA design standards set the clearances and reach ranges to plan around; capture those values on the same sheet.
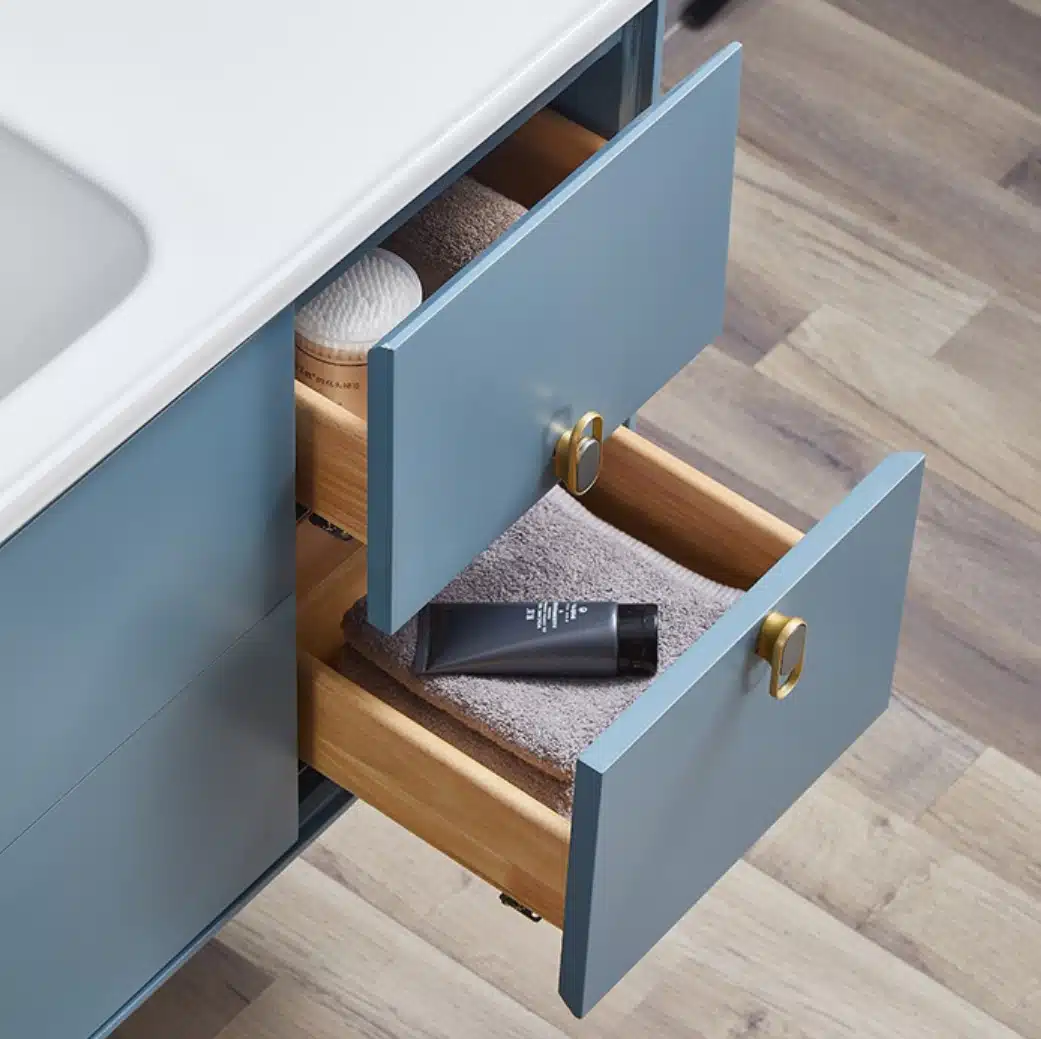
Clearance is the space the vanity does not own: the door swing in front of the drawers, the mirror zone above the top, and the toe space at the floor. Measure the door arc, note the mirror width you plan to hang, and record how high the unit should sit off the floor — that height changes both the toe space and the drawer heights that follow.
The table below is the field sheet in miniature: what to measure, how to measure it, and the mistake that shows up most often on each line.
| Measurement | How to Measure | Typical Mistake |
|---|---|---|
| Alcove width | Measure at floor, counter height, and cabinet top; record the narrowest reading | Measuring one spot and missing a bowed wall or an out-of-square corner |
| Plumbing stub height | Measure and record each stub-out from the finished floor plus the spread between supplies | Assuming a standard height instead of measuring the actual stubs on site |
| Drain offset | Measure and record the drain centerline from the sink centerline and from the wall; photograph the trap arm | Ordering before knowing where the drain lands in the drawer zone |
| Wall squareness | Hold a level or straightedge against the wall, floor, and corners; record any gaps | Trusting that a wall which looks straight is straight under the cabinet |
| Toe-kick clearance | Measure and record the floor-to-cabinet gap you want; confirm the floor is level | Skipping the floor-level check, so the cabinet rocks or the doors bind |
| Mirror zone | Measure and record the space above the top for the mirror and light | Choosing a tall cabinet that hides the mirror behind its silhouette |
Order the Right Fit
Browse this product, solution, or service page to explore relevant offerings.
Turning Measurements into a Factory Spec
A spec sheet is a purchase order written in numbers. Every measurement from the site should appear in the PO the factory sees: width, depth, height, supply line positions, drain center offset, wall condition notes, and clearance requirements. What you leave out is what the factory has to guess, and the factory guesses only when the buyer leaves it no choice. Bathroom vanity rough-in measurements pay off only when they reach the production desk as a clean spec.

Custom sizes follow the same rule. MFBATH builds standard widths of 24–60 inches and depths of 18–24 inches, and any size beyond that band starts at 15 sets per size. Mixed loading is allowed, so those 15 sets can combine models, colors, and sizes on one order instead of forcing you into a full container of a single item. The measurement sheet decides which sizes earn their place in the mix.
Send drawings and photos with the numbers. A dimensioned sketch of the alcove, a photo of the supply stubs with the tape measure in frame, and a top-down photo of the drain cost nothing and remove more ambiguity than any email exchange. Label the photos with the same reference numbers you use on the sheet so the factory can trace every dimension back to a real wall.
The bathroom vanity product lines page is where you start matching your measurements to available units. When the numbers reach the factory, the team flags conflicts — a drain that lands in the drawer zone, a floating unit on a wall that cannot carry it — before the 15-set MOQ commits you to the build.
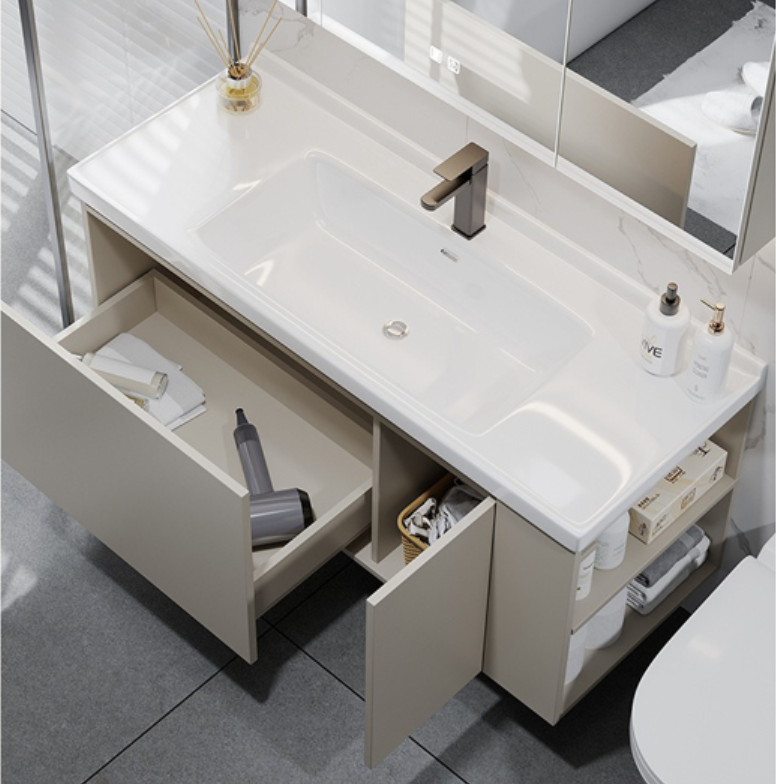
The two build families read the same site differently. Sintered stone floating vanities run 600–1800mm (24–71 inches), come in single or double basin with soft-close drawers, and need a wall structure note because the cabinet hangs from the wall. Floor-standing units run 800–2000mm (31–79 inches), also in single or double basin, and need floor and drain position notes because the unit sits on the ground and the plumbing enters from below. State the family on the PO, and the factory pulls the right drawings for it.
Tops belong in the same spec: sintered stone with marble or granite textures, with ceramic basins customizable to the layout you measured. If the project uses a vessel sink instead of a built-in basin, the vessel sink installation specs cover the extra height and supply considerations before you finalize the PO.
Once the PO is placed, the sheet keeps working. The 30% deposit opens the production slot, the balance falls due within one week of the draft bill of lading, and the shipment leaves FOB Qingdao Port toward the US, Canada, or Mexico inside the 4–6 week window. The only thing that can disturb that calendar is a dimension that was never recorded.
Common Rough-In Mistakes and How to Avoid Them
Most rough-in failures are not exotic. They are the same four errors repeated on job sites in different time zones, and every one of them is preventable once your bathroom vanity rough-in measurements live on a single sheet.
Measuring to the Studs Instead of the Finished Wall
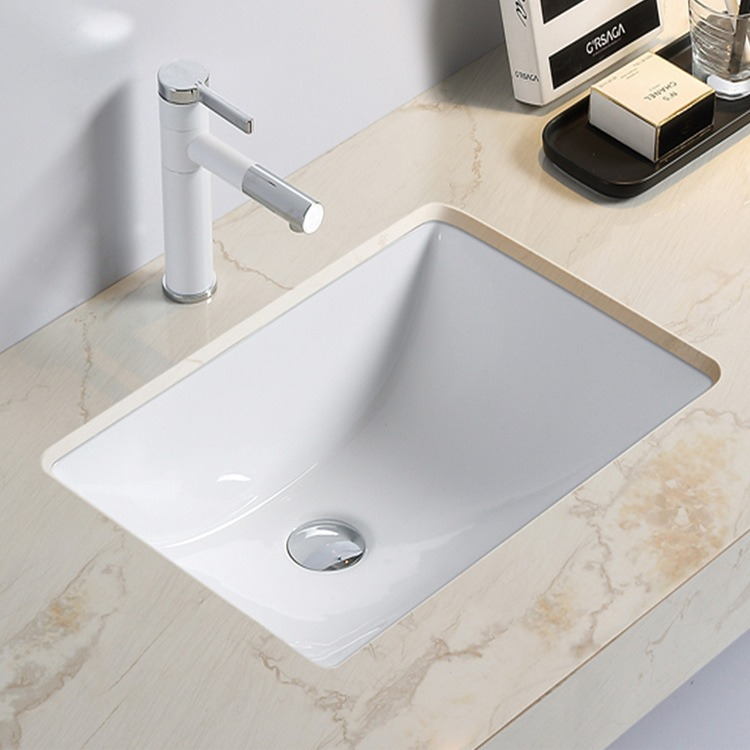
The cabinet meets the drywall, not the framing behind it. Measure against the finished surface — tile, drywall, or wainscot — and record the material, because a floating unit’s mounting also depends on what the finish hides. A dimension that starts at the studs is a dimension the cabinet can never meet.
Recording the Width and Skipping the Plumbing
Supply line height and drain center offset decide the interior drawer layout, so they belong on the sheet at the same moment as the width. Measure and record both while the wall is open. The IPC is the plumber’s reference and your sheet is the factory’s, and the two have to agree before production, not after.
Ignoring Door Swing and Mirror Clearance
A vanity that blocks the bathroom door or hides the mirror behind a tall silhouette is a vanity that generates a callback. Record the door arc and the mirror zone on site, in the same pass as the width and depth. Clearance problems are the easiest to measure and the most expensive to ignore.
Relying on Memory Instead of Photos
Numbers without context get misread; photos with numbers in frame do not. One photograph of each wall, with the tape measure visible and the reference number written on the wall, beats three emails of description. Memory fades between the site and the office; the photo does not.
Verification starts at the factory and ends at the sample. Every product passes 5 inspection checks before it leaves, under an ISO 9001 certified quality system obtained in 2017 and confirmed valid in 2025 — your first confirmation that the dimensions sent are the dimensions cut. The second confirmation is physical: free samples ship within 10 working days, so hold the sample against the site sheet and catch the conflict at the low-cost checkpoint, not in the production run.
Treat the sample window like a site visit. When the free sample arrives, place it in the alcove, open every drawer, and line up the supply stubs against the photo you took on site. If the sample clears the wall, the production run clears the wall; if it does not, the fix happens while the calendar is still yours.
When the cabinets finally reach the job site, the RTA vanity installation checklist walks the crew through the same dimensions in reverse — verifying the unit against the wall before anything is mounted. The sheet that started the order is the sheet that finishes the install.
Frequently Asked Questions
Straight answers to the questions buyers ask most often once the tape measure comes out — covering the factory handoff, the standard depth range, floating versus floor-standing builds, and what happens if the numbers change after ordering.
Which measurements does the factory need before production?
Width, depth, height, supply line positions, drain center offset, and wall condition; send photos with the numbers so the factory can flag conflicts before the 15-set MOQ commits you.
What is the standard depth range for bathroom vanities?
MFBATH builds standard depths of 18–24 inches, with custom sizes from 15 sets per size; confirm the exact depth against your wall and pipe positions before ordering.
Do floating and floor-standing vanities need different measurements?
Yes. Floating sintered stone units range 600–1800mm and need wall structure confirmation, while floor-standing units range 800–2000mm and need floor and drain positions.
Can I adjust measurements after ordering?
After production starts, changes mean new materials and time; the free sample within 10 working days is your last low-cost checkpoint, and the 5 inspection checks per product verify the build against your spec sheet.
The Bottom Line
Bathroom vanity rough-in measurements decide whether the first install is the only install. Measure width, depth, supply lines, drain center offset, wall condition, and clearance; record them on one sheet with photos; and send that sheet with your PO before the 15-set MOQ commits the run. Confirm the fit on the free sample within 10 working days, and the roughest part of the job becomes routine.




0 Comments