
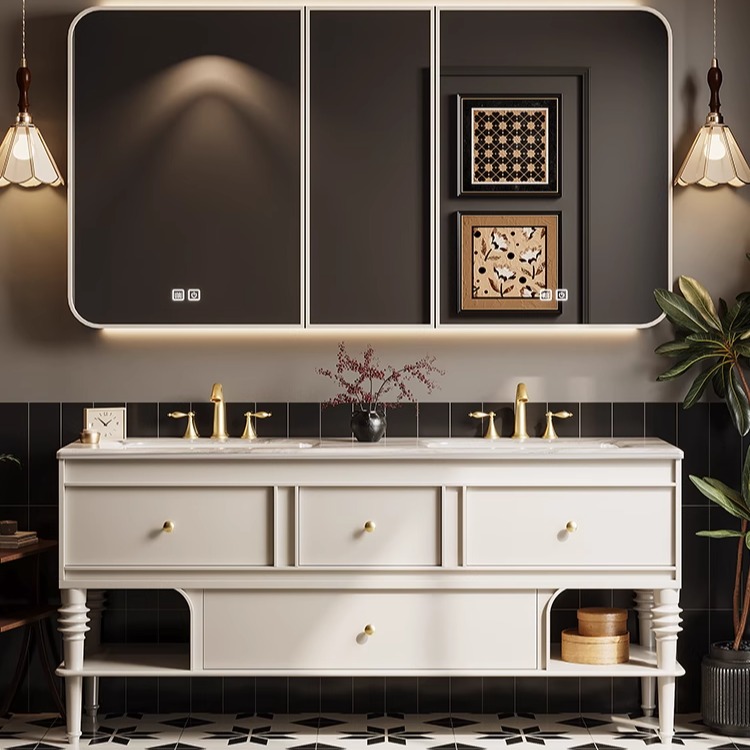
Successfully painting bathroom vanity units without future peeling or delamination depends entirely on the substrate, a technical detail that, when overlooked, leads to costly warranty callbacks and a damaged professional reputation. While solid wood, MDF, and laminate vanities may look similar initially, their core compositions dictate entirely different refinishing protocols. Misidentifying the material and applying the wrong preparation or coating is a frequent source of project failure, turning a seemingly profitable job into a liability that erodes client trust and profit margins.
This guide serves as a technical standard operating procedure for evaluating and refinishing common vanity materials. We will examine why solid wood allows for true restoration through stripping and staining, while MDF is fundamentally limited to surface painting. You will also learn the specific challenges of preparing laminate and thermofoil, the critical differences between sanding and liquid deglossers, and how to select a primer system engineered to withstand constant bathroom humidity, ensuring a durable, long-lasting finish.
What Is the Typical Lifecycle of a Bathroom Vanity?
A bathroom vanity’s expected 10-to-20-year lifespan is not guaranteed; it’s a direct result of material quality, installation integrity, and consistent moisture management.
Average Lifespan and Key Longevity Factors
A bathroom vanity can last between 10 and 20 years, but this range depends entirely on the initial specifications and long-term environment. The final service life is a direct function of material quality, the precision of the installation, and ongoing maintenance. High-quality materials and robust construction provide a strong foundation, but even the best vanities degrade without proper care.
- High-quality materials offer better structural resistance to the constant humidity and temperature shifts found in bathrooms.
- Proper bathroom ventilation and moisture control are non-negotiable for preventing the slow degradation of wood and composite materials.
- A consistent cleaning routine using pH-neutral products preserves surface finishes and prevents chemical damage over time.
Common Causes of Premature Vanity Failure
Vanities often fail prematurely due to preventable issues. Chronic water exposure from faulty plumbing seals or inadequate bathroom humidity control is the primary culprit, leading to mold, water damage, and structural breakdown long before the expected end of life.
- Persistent moisture feeds mold growth within the cabinet structure, compromising both the material and indoor air quality.
- Leaks, spills, or high humidity can cause severe water damage, resulting in warped panels and delaminated surfaces.
- An insecure installation or prolonged dampness can weaken joints and mounting points, causing the entire unit to fail structurally.
How Does Solid Wood Allow for True Restoration (Strip, Sand, and Stain)?
Solid wood is the only vanity material that can endure a complete mechanical and chemical restoration process—stripping, deep sanding, and restaining—because its structural integrity is consistent throughout its entire thickness.
The ability to fully restore a bathroom vanity extends its lifecycle from a typical 10-20 years to multiple generations. Unlike engineered materials with thin surface layers, solid wood offers a workable substrate that can be completely transformed. This process involves three distinct phases: stripping the old finish, sanding the raw wood, and applying a new stain and protective seal.
The Role of Chemical Stripping in Removing Old Finishes
Solid wood’s inherent durability allows it to handle chemical stripping agents that dissolve old paint or varnish without compromising the material itself. This initial step effectively removes the failing surface, preparing the wood for a completely new look. Because it’s a solid block of natural fiber, it won’t delaminate, bubble, or swell when exposed to professional stripping agents. Modern, eco-friendly stripping formulations are now standard in the restoration market, delivering effective results without the harsh chemicals of the past.
Progressive Sanding to Prepare the Wood Surface
After stripping, solid wood can be sanded down to create a perfectly smooth and uniform surface. This mechanical process removes any remaining finish and opens the wood’s pores, ensuring it can evenly absorb the new stain. The material’s thickness allows for the removal of minor scratches and dents, a repair that is impossible on thin veneers or laminates. A standard sanding progression moves from a medium grit (like 120) to remove imperfections to a fine grit (like 220) to achieve a flawless texture ready for finishing.
| Restoration Step | Solid Wood (Oak, Ash, Rubber Wood) | Engineered Materials (MDF, Laminate) |
|---|---|---|
| Chemical Stripping | Tolerates stripping agents without structural damage or delamination. | High risk of bubbling, peeling, or permanent damage to the substrate. |
| Deep Sanding | Can be aggressively sanded to remove dents, scratches, and stains. | Only light scuffing is possible; deep sanding will burn through the thin veneer or laminate layer. |
| Restaining | Absorbs stain evenly, allowing for a complete color change while enhancing natural grain. | Cannot be stained. Refinishing is limited to painting over the existing surface. |
Applying New Stain and Protective Sealants for Longevity
Because it is a natural material, solid wood readily accepts new stain, letting you completely change its color and character. Applying a pre-stain conditioner is a critical quality step that prevents blotching and promotes even absorption. Once stained, a final polyurethane seal protects the restored surface from the bathroom’s high humidity and daily wear. This final barrier is essential for locking in the new finish and ensuring the vanity’s beauty lasts for years.
Boost Sales with Custom Bathroom Vanities
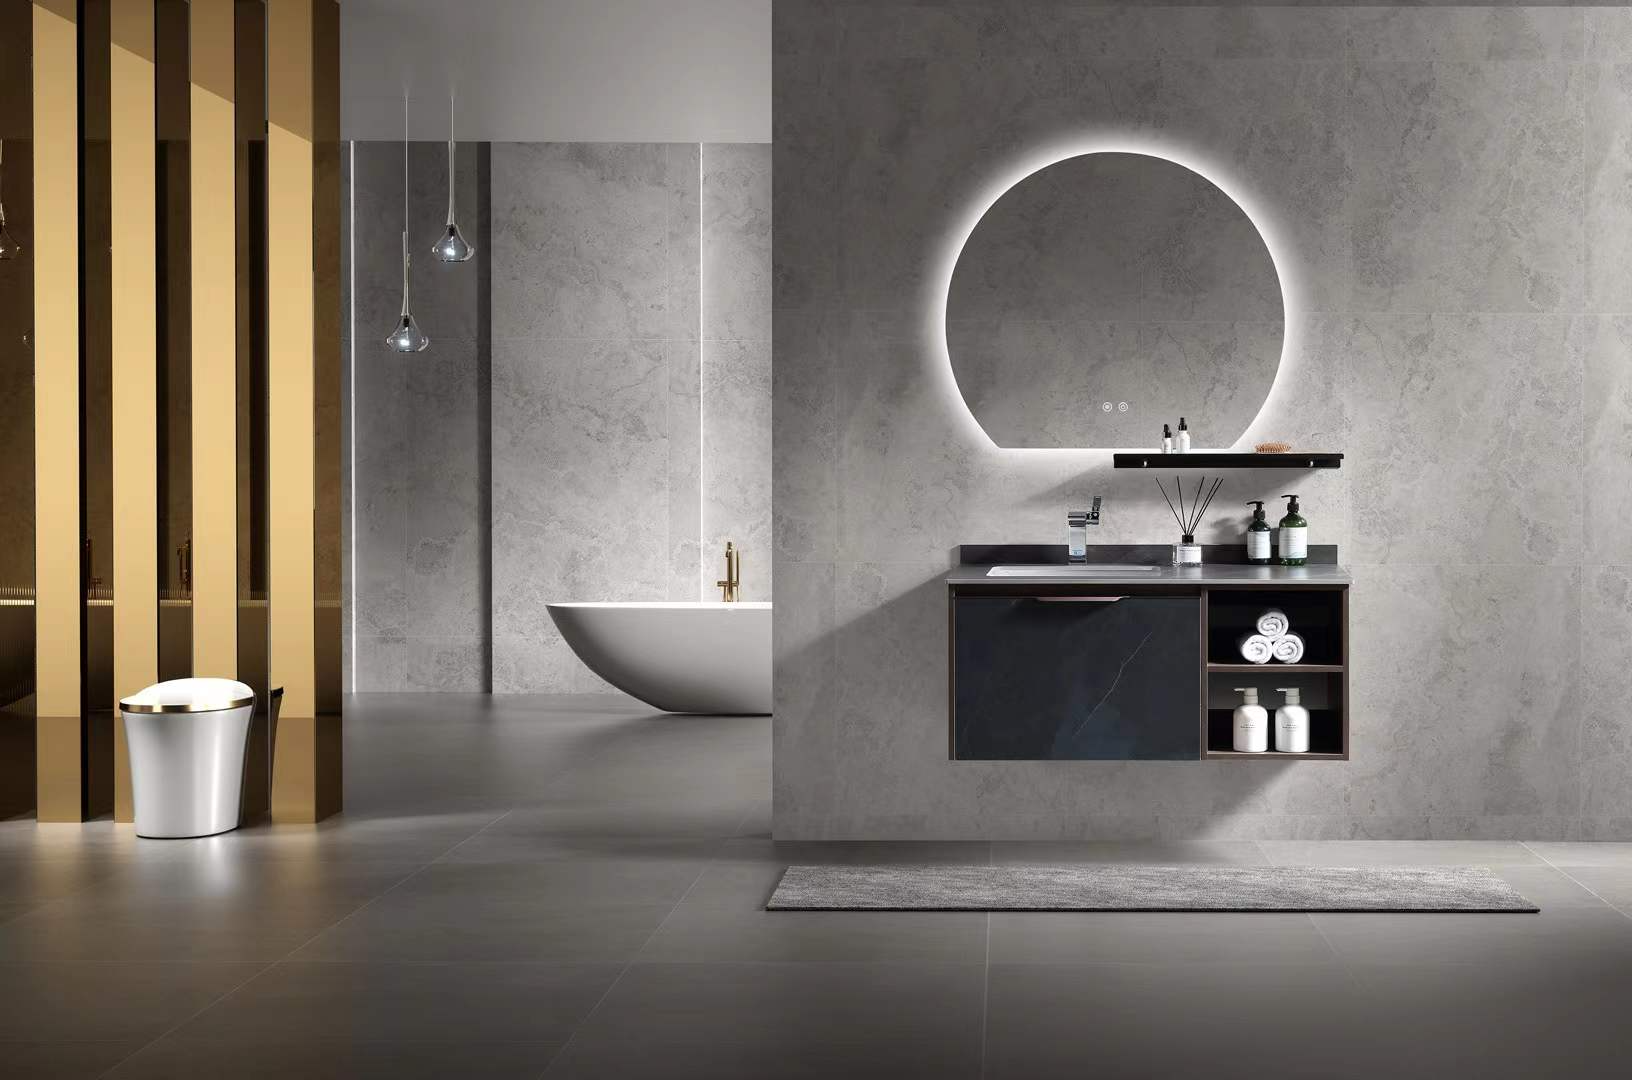
Why Is MDF Limited to Painting Only (With No Staining Options)?
The common belief that MDF is a paint-only material is outdated; modern staining is entirely possible but requires different preparation than solid wood to manage its high porosity and lack of natural grain.
A Common Misconception: MDF Can Be Stained
The idea that Medium-Density Fiberboard cannot accept stain is a persistent but inaccurate industry myth. In commercial applications like retail millwork and fixtures, stained or lacquered MDF is already a standard material. The success of the finish has nothing to do with whether it’s possible, but everything to do with using the right preparation methods and products. Professionals regularly use water-based stains, gel stains, and dyes to achieve consistent, high-quality finishes on MDF substrates.
Challenges in Staining MDF vs. Solid Wood
Staining MDF presents a different set of challenges compared to solid wood. Because MDF is an engineered product made of wood fibers and resin, it lacks a natural grain and has a uniformly absorbent surface. This high porosity is the primary hurdle. Without proper sealing, the stain absorbs unevenly and creates a blotchy appearance. The cut edges are especially problematic, as they act like a sponge and soak up far more stain than the face, leading to a dark, inconsistent finish that exposes the material’s composition.
| Process Step | Solid Wood (Oak/Ash) | HMR MDF (High Moisture Resistant) |
|---|---|---|
| Surface Preparation | Sanding with the grain (120-220 grit) to open pores for even stain absorption. | Applying a sealing coat or pre-stain conditioner is mandatory to control absorption. |
| Stain Application | Penetrating stains are absorbed into the wood, enhancing the natural grain pattern. | Gel stains or dyes sit on the surface, providing color without relying on grain. |
| Key Technical Challenge | Managing blotchiness in porous sections of the natural wood. | Preventing extreme absorption on cut edges and avoiding fiber swelling from water. |
Proper Techniques for Applying Stain to MDF
Achieving a successful stained finish on MDF hinges entirely on preparation. The surface and edges must be sealed before any color is applied. This initial sealing step controls absorption and ensures the final color is even and consistent. Applying a pre-stain conditioner or a thin wash coat of sealer is a non-negotiable first step. Gel stains are particularly effective for MDF because their thick consistency allows them to sit on the surface rather than penetrating deeply, which gives the finisher much greater control over the final look and minimizes blotching. Water-based stains can also work, but may require light sanding between coats to knock down any surface fibers that swell upon contact with moisture.
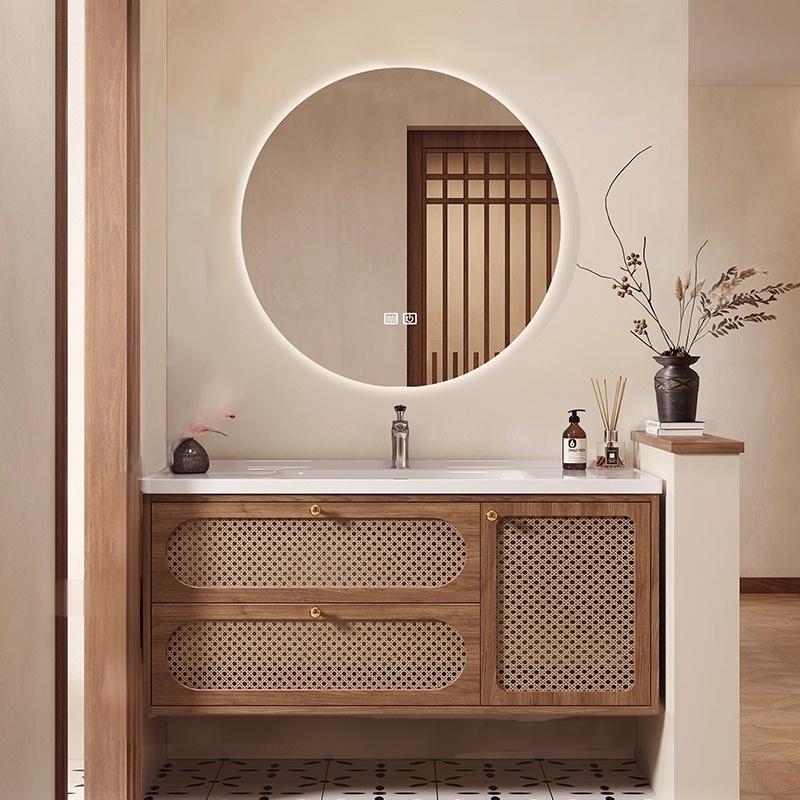
Is It Impossible to Refinish Laminate and Thermofoil Vanities?
Contrary to a common industry misconception, thermofoil and laminate vanities are not disposable and can be effectively refinished through targeted repairs, complete repainting, or refacing the substrate.
The idea that thermofoil vanities cannot be salvaged is inaccurate. Field-tested methods exist for both minor cosmetic fixes and complete aesthetic overhauls. The correct approach simply depends on the extent of the damage—peeling, yellowing, or structural failure—and the project’s budget. While replacement is sometimes necessary, refinishing is often a practical and cost-effective option.
Methods for Repairing and Refinishing Thermofoil
Several refinishing strategies can extend the life of a thermofoil vanity. For localized failures, direct repairs are efficient. For a total visual change, painting or refacing provides a durable new surface. These techniques offer tiered solutions that can match different levels of wear and tear.
- Minor Repairs: Address peeling edges by re-adhering them with contact cement. Surface discoloration or yellowing often responds well to gentle, specialized cleaning solutions.
- Full Refinish (Painting): A complete color change is possible. The process involves lightly sanding the thermofoil surface, applying a high-adhesion shellac-based primer, and finishing with a durable acrylic enamel paint.
- Refacing: This method covers the old surface entirely. An adhesive-backed veneer is applied directly over the existing thermofoil doors, creating a brand-new look without replacing the cabinet boxes.
| Method | Best Use Case | Key Process |
|---|---|---|
| Minor Repair | Localized peeling at edges or minor surface yellowing. | Re-adhere with contact cement; use targeted cleaners for stains. |
| Complete Painting | Aesthetic overhaul or when the surface is structurally sound but discolored. | Light sand, shellac-based primer, and topcoat with acrylic enamel. |
| Refacing | Achieving a new wood grain or color look when the thermofoil is intact but outdated. | Apply adhesive-backed veneer directly onto the cleaned original surface. |
Removing Thermofoil to Paint the Substrate
Instead of painting over the plastic coating, you can remove the vinyl layer entirely. This approach exposes the underlying medium-density fiberboard (MDF), which creates an excellent, stable substrate for a new paint finish. It’s often the preferred method when the thermofoil is badly damaged, cracked, or peeling across multiple areas, as it eliminates the failing surface instead of just covering it.
- A heat gun or high-powered hair dryer can be used to warm and loosen the adhesive bonding the vinyl coating to the MDF.
- After peeling off the vinyl, the MDF substrate is ready for standard preparation: sanding, priming with a solvent-based primer, and painting.
- This technique is particularly effective for extensive damage, ensuring the new finish adheres to a solid, unified base rather than a compromised vinyl layer.
When to Choose Replacement Over Repair
Refinishing is not always the most practical solution. When damage is severe, replacing the vanity doors or the entire unit becomes more cost-effective and provides a better long-term result. The decision point is typically based on the percentage of surface damage and the structural integrity of the MDF core.
- If more than 30% of the thermofoil surface is peeling, cracked, or otherwise damaged, the labor and material costs for repair can approach that of new doors.
- Visible swelling in the underlying MDF is a clear indicator of moisture infiltration. This type of water damage compromises the board’s structural integrity and cannot be fixed by cosmetic refinishing, making replacement the only viable option.
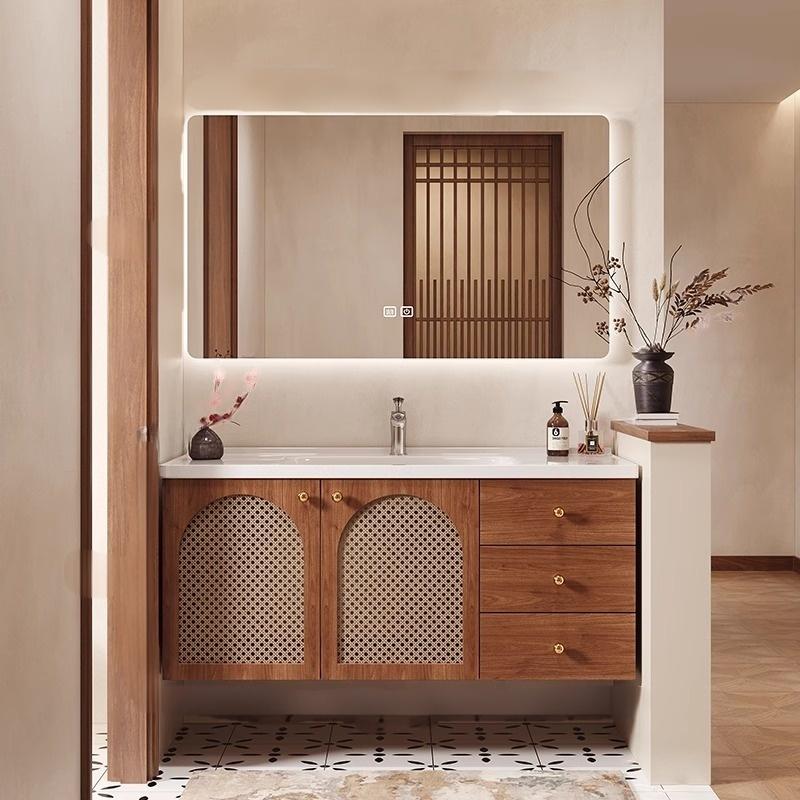
How Should You Prepare Surfaces for Refinishing: Sanding vs. Liquid Deglosser?
Surface preparation is a choice between professional-grade durability from mechanical sanding and DIY-friendly convenience from chemical deglossers.
The success of any refinishing project depends entirely on how well the new coating adheres to the old surface. Professional finishers and DIY enthusiasts have two primary methods for preparing a vanity: physically abrading the surface with sandpaper or chemically treating it with a liquid deglosser. The choice between them impacts labor, mess, and the final coating’s long-term performance.
Mechanical Sanding: The Professional Standard for Adhesion
Mechanical sanding physically etches a vanity’s surface using abrasives, typically in the 150-180 grit range. This action creates a microscopic texture, often called a “tooth,” which gives the primer and paint a rough profile to grip. This physical bond is the most reliable way to ensure maximum finish durability, which is why it remains the industry standard for professional work.
- Provides the most dependable surface for coating adhesion, making it the preferred method for high-quality, long-lasting applications.
- Effectively smooths out minor surface imperfections, creating a uniform and flawless base for the new finish.
- The process is labor-intensive and generates significant dust, requiring thorough site preparation and meticulous cleanup.
Liquid Deglosser: A Convenient Alternative for DIY Projects
Liquid deglossers are chemical solutions that clean and simultaneously soften an existing finish. The chemicals dull the surface sheen, creating a slightly tacky base that helps a new coat of paint stick. This method is gaining popularity in the DIY market because it is fast, simple, and avoids the mess of sanding, particularly on vanities with intricate details or complex profiles where sandpaper can’t reach evenly.
- Significantly cuts down on labor time and completely eliminates the airborne dust associated with sanding.
- Works very well on ornate or detailed surfaces where achieving a uniform sanded finish is difficult or impossible.
- While convenient, the chemical bond may be less robust than a mechanical one, making it best for smooth, undamaged surfaces in low-wear environments.
Why Is the Right Primer Important for Withstanding Bathroom Humidity?
A high-performance primer is the foundational component of a moisture management system, serving as an impermeable barrier that dictates the longevity and integrity of the final finish.
Creating a Barrier Against Water Infiltration
A specialized primer creates a non-porous seal on vanity surfaces, effectively blocking moisture from penetrating the underlying wood or composite material. This is the first and most critical line of defense against the constant humidity in a bathroom. While standard primers can absorb ambient moisture, formulations designed for bathrooms actively repel water. This sealing action is essential for preventing the substrate from swelling, warping, or deteriorating from chronic exposure to damp conditions.
Preventing Peeling and Mold Growth
When moisture finds its way behind a paint layer, it breaks the adhesive bond and causes blistering and peeling. The right primer establishes a stable foundation that keeps the topcoat locked in place, even with temperature and humidity fluctuations. Many primers intended for damp environments also contain integrated antimicrobial agents. These formulations often have a higher pH level, creating a surface that is inhospitable to the common types of mold and mildew found in bathrooms, proactively stopping microbial growth.
Ensuring Topcoat Adhesion and a Uniform Finish
A quality primer provides a uniform, consistent surface that allows the topcoat to adhere properly and evenly. Without this foundational layer, the final paint job can appear blotchy and will lack the durability needed for a high-use, humid space. The primer helps the topcoat cure correctly, maximizing its protective qualities. Ultimately, the primer and topcoat work together as a comprehensive system, where each layer contributes to long-term resilience against moisture.
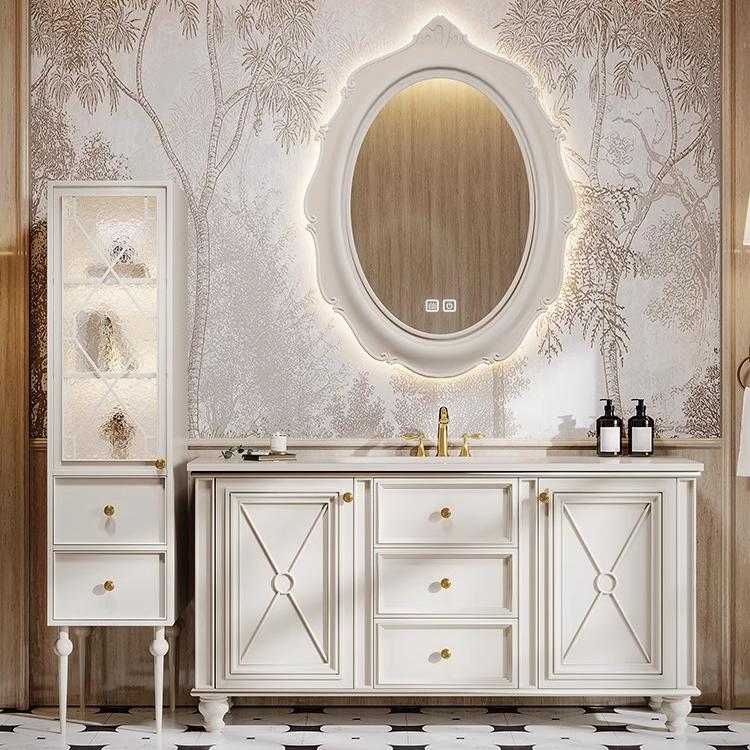
How Can You Market Solid Wood Vanities as “Heirloom Quality”?
Positioning a solid wood vanity as an heirloom-quality asset requires framing it as a one-time home investment that enhances resale value, backed by modern digital customization and transparent sustainability narratives.
The core of this strategy is shifting the customer mindset from viewing a vanity as a disposable fixture to seeing it as a permanent part of the home’s value. The conversation must move beyond initial cost to focus on total cost of ownership. While materials like MDF or thermofoil may require replacement every 10-20 years, a solid wood piece is built to last for generations. This durability, combined with classic design that outlives fleeting trends, becomes a tangible selling point. Data shows that high-quality wood fixtures can directly contribute to home appreciation, often by 5-10%, making the vanity a smart financial investment, not just a functional purchase.
Emphasize Durability, Timeless Design, and Home Resale Value
Your marketing should consistently frame the solid wood vanity as a one-time purchase. Contrast its robust construction against engineered materials that are susceptible to moisture damage and structural failure over time. Highlight that solid wood’s ability to be stripped, sanded, and restained means it can adapt to future design changes, unlike laminate or MDF which offer limited refinishing options. This adaptability reinforces its long-term value and timeless appeal, ensuring it remains a desirable feature for future homebuyers rather than a liability that needs replacing.
Leverage Digital Customization and Sustainability Narratives
Connecting the traditional value of an heirloom with modern consumer expectations is key. Digital tools can bridge this gap by allowing customers to create a truly personal piece worth preserving. A narrative built around responsible material sourcing strengthens the message of passing down quality for future generations. Authenticity is crucial, and showing real-world examples solidifies the longevity claim in a way that technical specifications alone cannot.
- Use 3D configurators and augmented reality (AR) tools to let B2B clients and their end-customers visualize custom sizes, wood types, and finishes in the actual bathroom space.
- Develop a compelling story around your supply chain, highlighting responsible wood sourcing, partnerships with reforestation programs, and low-waste manufacturing processes.
- Showcase user-generated content from past projects, featuring photos of your vanities that have been in use for several years to provide social proof of their durability and lasting appeal.
Conclusion
Understanding the refinishing potential of each material is key to defining a product’s long-term value and market position. Solid wood stands apart with its ability to be fully stripped, sanded, and restained, offering true longevity for end-users. Materials like MDF and laminate provide a more limited lifecycle, typically restricted to painting or minor surface repairs, which directly impacts their appeal in the secondary market.
Evaluate how these material characteristics align with your customers’ expectations for durability and customization. Contact our team to learn how our material flexibility can meet your target price points or to request a refundable sample and assess our quality firsthand.
Frequently Asked Questions
Can you paint a laminate vanity?
Yes, you can successfully paint a laminate vanity, but proper preparation is critical for a durable finish. Start by thoroughly cleaning the surface with a degreaser to remove any residue. Next, lightly scuff the entire surface with 180-grit sandpaper to create texture for the primer to grip. It is essential to then apply a high-adhesion, shellac-based bonding primer. Once the primer is fully cured, you can apply two or more coats of a high-quality acrylic enamel or cabinet-specific paint for a resilient, long-lasting result.
How to sand bathroom vanity?
To sand a bathroom vanity for repainting, the goal is to degloss the surface, not remove the old finish entirely. Use a medium-grit sandpaper (180 to 220-grit) and apply light, even pressure. Work in the direction of the wood grain if applicable. The objective is to create a uniformly dull, scuffed surface that the new primer and paint can adhere to securely. After sanding, meticulously clean the vanity with a tack cloth or a vacuum with a brush attachment to remove all dust particles before priming.
Refinishing solid wood vanity?
Refinishing a solid wood vanity involves stripping the old finish, preparing the wood, and applying a new protective coat. First, use a chemical stripper or extensive sanding to remove the existing paint or varnish. Once stripped, sand the bare wood starting with a medium grit (e.g., 120) and progressing to a fine grit (e.g., 220) for a smooth surface. Apply your choice of wood stain if desired, followed by at least three coats of a high-quality, water-resistant topcoat like polyurethane or spar urethane to protect it from the bathroom’s high humidity and moisture.
Painting MDF cabinets?
Painting MDF cabinets requires a specific process to prevent the material from swelling and to ensure a smooth finish. First, lightly sand the surface with 220-grit sandpaper and clean off the dust. The most crucial step is to seal the MDF with a solvent-based primer, such as a shellac or oil-based primer. These primers block moisture and prevent the MDF fibers from raising. Pay extra attention to sealing any raw or cut edges. After the primer is dry, you can apply two or more thin coats of a durable cabinet paint, sanding lightly between coats for the best result.
Best primer for bathroom cabinets?
The best primer for bathroom cabinets is one that offers excellent adhesion and superior moisture resistance. A shellac-based primer (like Zinsser B-I-N) is a top choice because it adheres to virtually any surface, blocks stains, and seals wood or MDF effectively. An oil-based bonding primer is another excellent option for its durability and ability to block water. For a lower-VOC alternative, modern high-adhesion, stain-blocking acrylic primers have improved significantly and are suitable, provided they are rated for high-humidity environments.
Restaining oak vanity?
Restaining an oak vanity is an intensive process that requires completely removing the old finish. Start by using a chemical stripper to dissolve the existing varnish and stain. After stripping, sand the entire vanity thoroughly, starting with 120-grit sandpaper and moving up to 220-grit, to open the wood grain for the new stain. Apply the new stain evenly with a cloth, allow it to penetrate, and wipe off the excess. To protect the finish from moisture, apply multiple coats of a durable sealer like a marine-grade spar urethane or a high-quality polyurethane.




0 Comments