
The container door swings open at your warehouse. The first carton shows a crushed corner, and the vanity top underneath is cracked. Your forwarder answers with the same line every time: the cargo was sound when it left the factory. You are left holding a bill of lading and no proof either way.
Container loading photo documentation closes that gap. Timestamped pictures of the empty container, the packed cartons, every loading layer, and the applied seal give you a position when a freight claim starts. This guide covers the exact shots to take before, during, and after loading at Qingdao Port, and how to file the evidence so it works in your favor.
Key Takeaways
- Photograph the empty container before the first carton moves in. A dented floor or a wet wall becomes your proof that damage did not start in your warehouse.
- Capture the container number and seal number in the same frame as the cargo. That link ties every photo to one shipment document.
- Shoot every loading layer: bottom, middle, top. Include gap filling and strapping, because stowage questions come up in every claim review.
- MFBATH runs 5 quality checks on each piece and supports third-party inspection by SGS or TÜV before loading. Your photo file adds an independent second record.
- Under Free On Board (FOB) terms at Qingdao Port, risk transfers as cargo crosses the ship’s rail. The loading photos fix the condition at that handover moment.
- Payment runs 30% deposit, with the balance due within one week of the draft bill of lading. Review the photo file before you release that payment.
- A named folder and cloud backup take about 20 minutes on loading day. That small step can decide a claim weeks later.
Table of Contents
- Why Photo Documentation Wins Claims
- Before Loading: What to Photograph
- During Loading: The Shot List
- After Loading: Sealing Evidence
- Organizing the Evidence File
- How This Protects Your Order
- Frequently Asked Questions
- The Bottom Line
Why Photo Documentation Wins Claims
Claims are won on paper, not on phone calls. A damage claim without documentation starts from zero. Carriers, forwarders, and insurance adjusters each work from their own records. Your photo file is the only record you control from origin to delivery.
“The container left our yard in perfect condition.” — the default forwarder response
That sentence ends more disputes than any other. Once the seal is applied, the container is a closed box to everyone outside. Only the loading crew and the inspector saw the cargo inside. Their memory fades, but your photos do not. Pictures make the box transparent again.
Photo evidence answers the three questions adjusters ask first. Was the container sound before loading? Was the cargo properly packed? Was the load stowed so it could survive the voyage? If your photos answer all three, the carrier must explain what happened at sea.
Without photos, the file holds a container inspection report that often reads “no exceptions.” That phrase can mean nobody checked, or nobody wrote down what they saw. Your camera fills that silence with a documented condition. A claim built on photos moves faster than a claim built on phone notes.
Ocean freight runs under regulators such as the U.S. Federal Maritime Commission, which oversees the international ocean transportation system serving the United States. Carrier rules and claim windows still depend on paperwork. The freight claims process shows how a damage report moves from the warehouse to settlement. Your photos enter that process as the origin record.
Cargo insurance works the same way. Policies pay for proven loss, and proof starts with the condition at shipment. Transit coverage protects against damage that happens on the water. Photos taken at loading show what the policy was guarding when the voyage began.
Before Loading: What to Photograph
Start the photo record before a single carton enters the container. The empty container is the first suspect in most damage claims. A hole in the floor, a protruding nail, or a damp patch can explain damage that carriers blame on your packaging. Photographing the container empty protects every party.

The Empty Container Check
- Floor: walk the full length and shoot every panel. Look for holes, lifted nails, and damp spots that can wet the bottom cartons.
- Walls and ceiling: check for punctures, dents, and condensation. A damp roof drips onto cartons for the whole voyage.
- Door seals and gaskets: cracked rubber lets in rain and salt air. Photograph the gasket line on both doors.
- Cleanliness: residue from a previous cargo stains and scents cartons. Record any contamination before loading begins.
Next, photograph the cargo before it moves. Each carton should show clean corners, tight strapping, and no crushed edges. MFBATH packs bathroom vanities in export cartons with moisture protection. The packaging standards page documents the full system carton by carton.
Shoot a sample of cartons from every model, not just the front row. The packing list tells you how many models ride in this container. Mixed loading of different sizes is standard at our factory, with the minimum order at 15 sets per model, color, and size. The photos must cover each model group so nothing is a mystery later.
Numbers matter as much as condition. Photograph the carton marks, model codes, and quantity labels on each stack. Lay the packing list next to the first carton and shoot them together. That one photo ties the paper record to the physical cargo.
Schedule the check before the truck arrives, not after. Once the container is loaded, the pre-loading condition is gone forever. Ten minutes of photos now can save a month of emails later. The same discipline applies to every shipment, from samples to full containers.
If the container shows real damage, stop the process. Report the defect to the forwarder in writing and request another container. Loading into a damaged box makes you partly responsible for the outcome. A rejected box costs hours; a damaged order costs months.
During Loading: The Shot List
The shot list below follows the loading sequence. Assign one person to the camera, phone, or tablet. Consistency beats creativity; the same angles on every order make files easier to compare. One person with a script covers the whole load without slowing the crew.
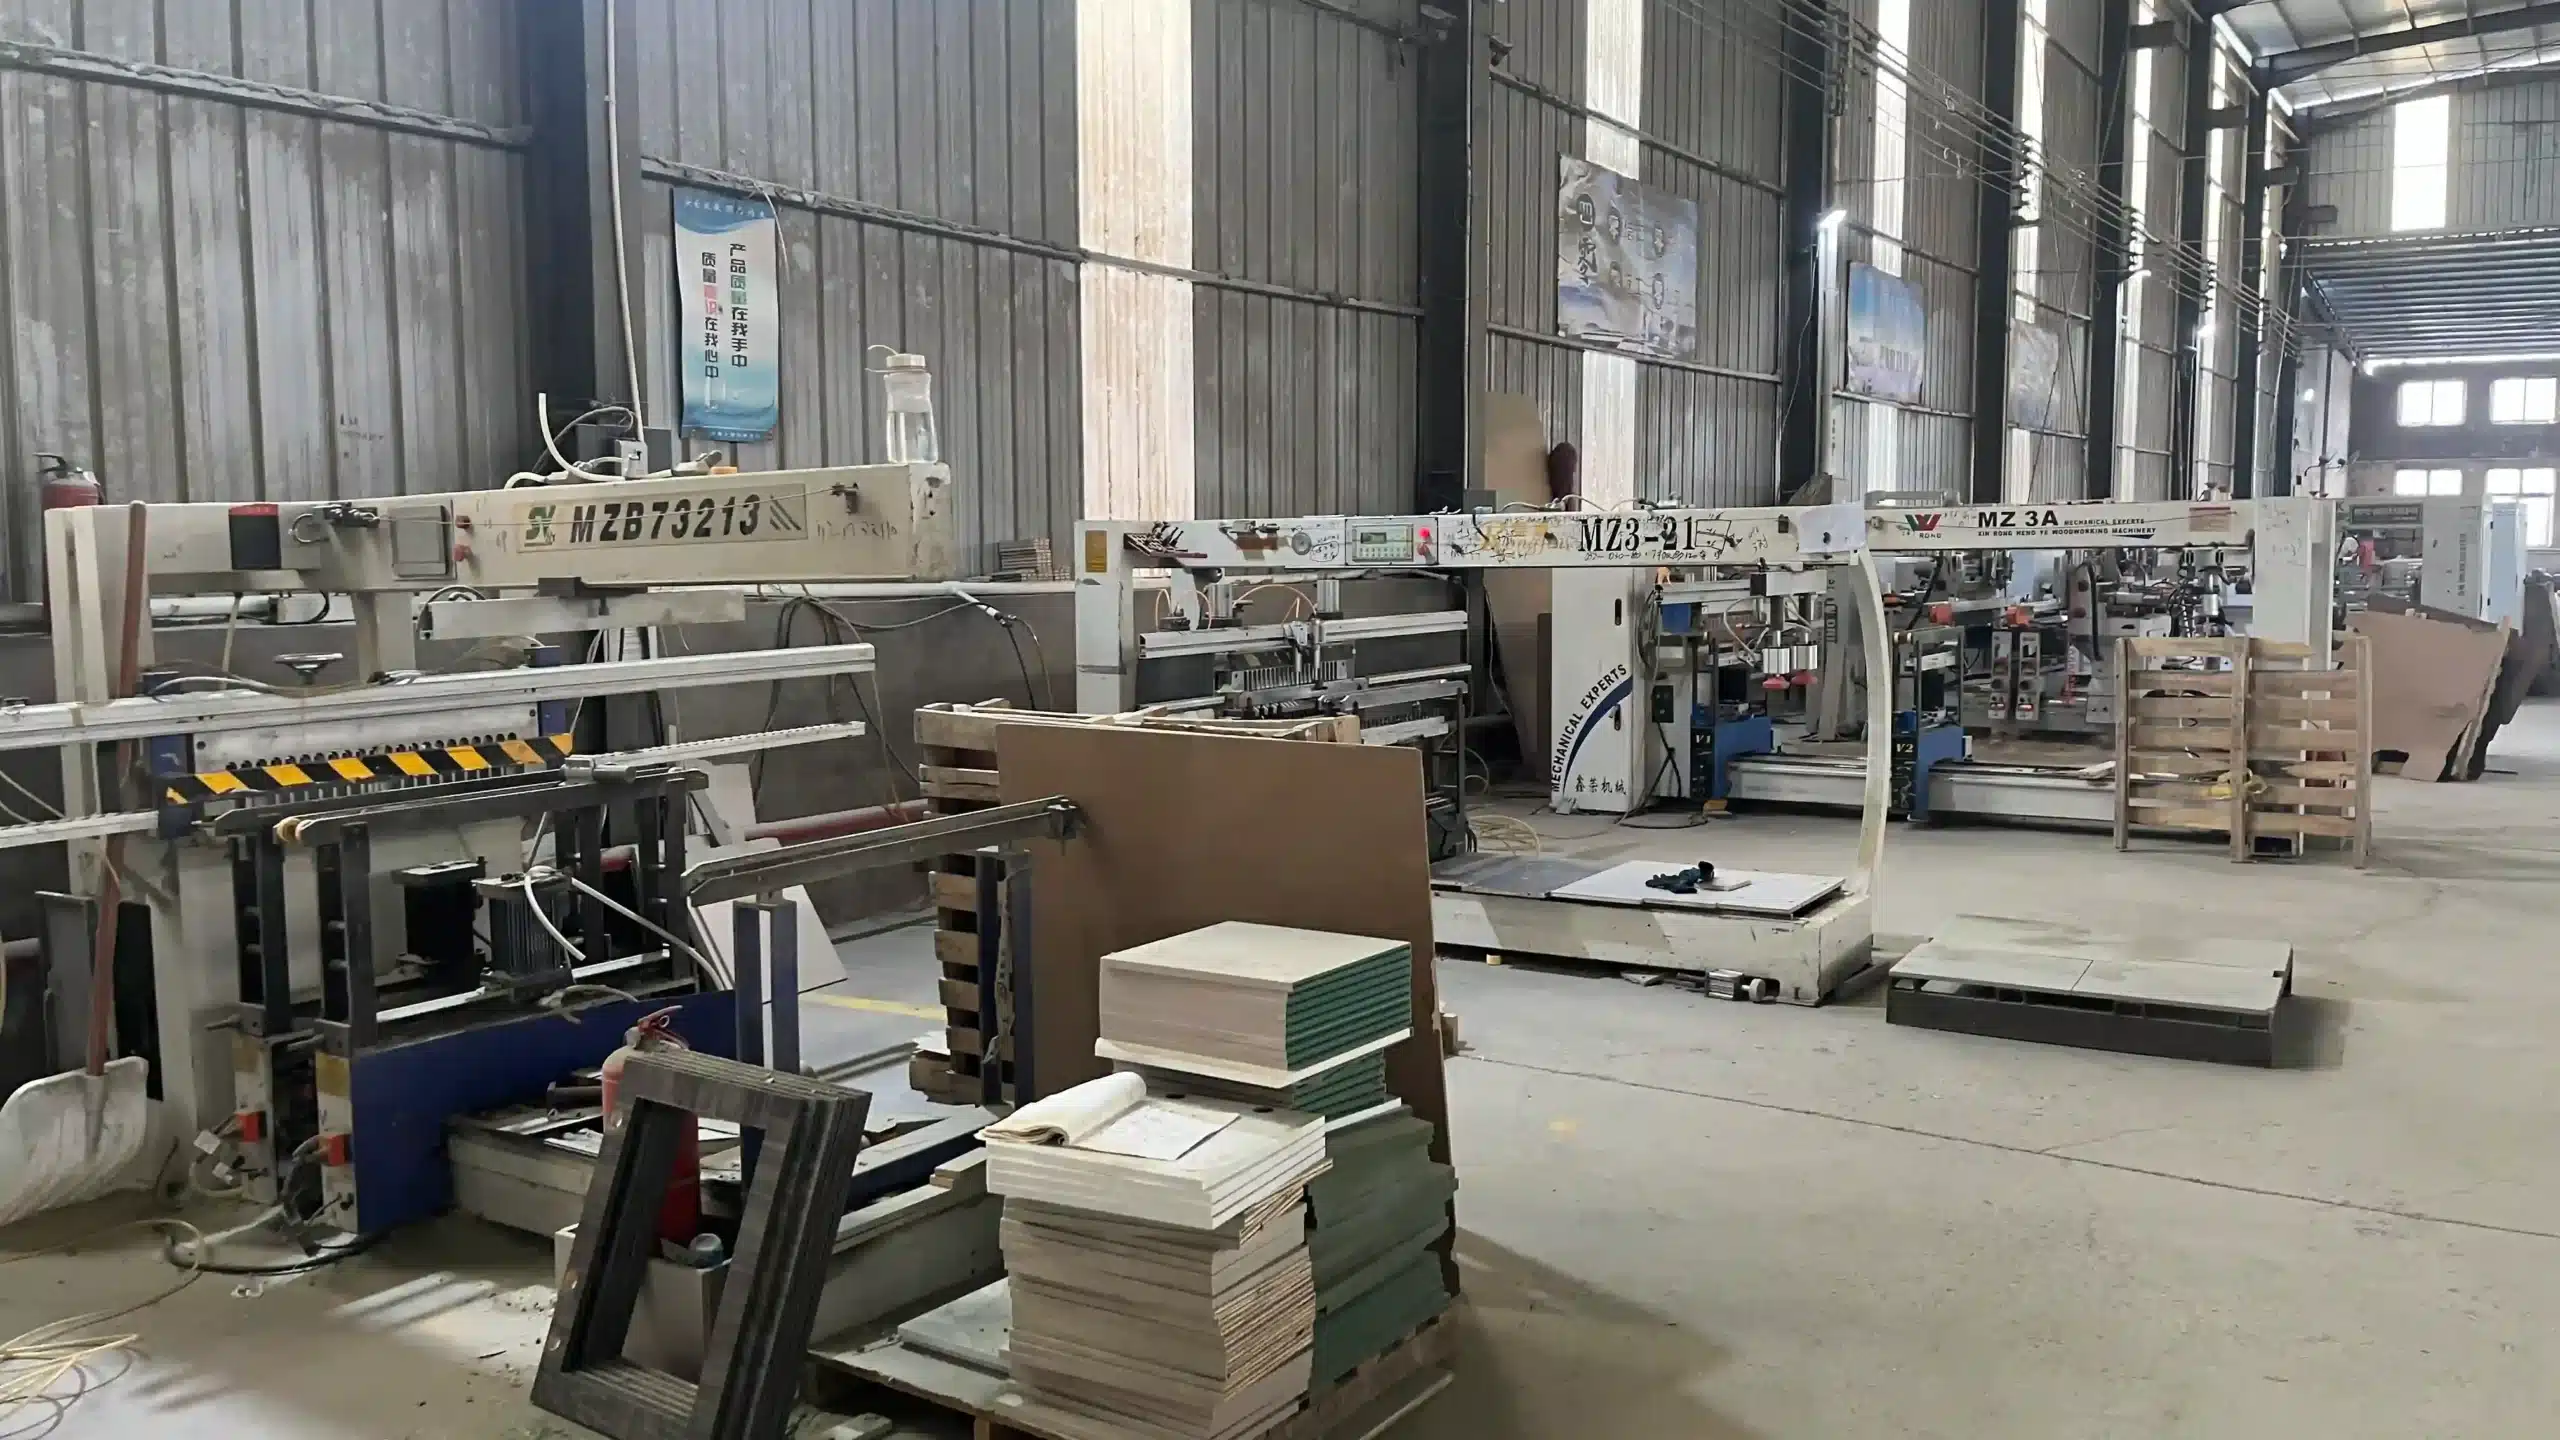
The Shot List
- Container number and seal number: shoot the door plate and the seal before loading starts. Shoot the seal again the moment it is applied. The numbers must be readable in the frame.
- Bottom layer placement: capture the first cartons as they go in. Show them flat, aligned, and clear of the container walls.
- Every completed layer: photograph the floor, middle, and top rows. Each layer photo gives the adjuster a three-dimensional picture of the load.
- Gap filling: airbags, foam blocks, and cardboard fill the voids between cartons and walls. Shoot each filled gap at close range so the material is visible.
- Securing: straps and bracing hold the load in place. Show the tie-down points and the last cartons locked against the door.
- Mixed loads: when models and sizes share one container, photograph each segment. Match every photo group to the packing list rows.
Ocean carriers and terminals follow the IMO/ILO/UNECE Code of Practice for Packing of Cargo Transport Units. The International Maritime Organization publishes the code to keep containers safe at sea. Badly secured cargo injures crew and damages ships. A load that shifts can turn a delivery into a total loss.
Two shots that buyers forget are the most useful later. Take a close photo of a carton with its model label visible. Then shoot the same carton from the door after the layer is complete. That pair connects each carton to its position in the container.
Keep the camera time honest. Set the date and time before the first shot and leave the settings alone. EXIF data records when each photo was taken, and the timeline becomes part of the evidence. A camera with the wrong date raises questions a battery change would avoid.
Shoot from the door line so the spacing between cartons and walls is true. Add one angle from inside the container at the end of each layer. Two angles per layer beat ten random shots. The goal is a record an adjuster can read without being on site.
The shot list works with the container loading plan. The plan decides what goes where; the photos record what actually happened. Keep both documents in the same shipment folder from day one.
Packaging That Survives the Voyage
Browse this product, solution, or service page to explore relevant offerings.

After Loading: Sealing Evidence
The seal is the moment of transfer. Once the doors close, the condition inside is frozen until delivery. Photograph that moment as carefully as the loading itself. The seal number becomes the shipment’s fingerprint.

Shoot the seal in three steps. First, a wide shot of the closed right door with the seal visible. Second, a close-up of the seal body with the number readable. Third, an angle showing the seal anchored in the door hasp. Move the camera, not the seal.
Then photograph the closed doors from straight on. Both door bars must show engaged in the frame. Add a shot of the lock mechanism and the gaskets seated against the frame. Finish with an overall scene of the container in the yard and the truck or chassis nearby. Context shots prove location, date, and daylight.
Send the seal number and container number to your forwarder in writing the same day. Attach the photo set to the same email. The message creates a second witness to the handover. Keep the sent copy in the evidence folder.
Record the seal number on your copy of the packing list. When the container arrives, the first check at your warehouse is the seal. If the number matches and the doors are intact, the damage discussion starts in a different place. The carrier claim window and the 2-year warranty both start at delivery, so the inspection date belongs in the file.
Photograph the container exterior before the truck pulls away. The corners, the door frame, and the chassis plate all belong in the record. If the container is lifted onto a chassis, shoot the moment of transfer. Each frame narrows the list of parties who could have caused damage.
Organizing the Evidence File
A photo you cannot find is a photo you never took. Organize the file while the memory of loading day is fresh. A standard naming system costs minutes and saves hours when the claim lands months later.
Use one naming pattern for every shipment: order number, container number, seal number, and a two-digit sequence. Example: MF2026-0814_CBHU8812345_MLCN12345_07. The sequence follows the shooting order, so the file sorts itself chronologically.
Build four folders under each order: 01-empty-container, 02-loading, 03-sealing-evidence, and 04-documents. The fourth folder holds the packing list, the bill of lading copy, and the forwarder’s emails. Every photo goes into its folder on the day it was taken.
Keep the original files untouched. EXIF data carries the date, time, and camera settings, and editing software can strip it. Copy the originals to a cloud drive and a second device. The upload timestamp supports your timeline.
Decide who receives the file before the ship sails. Your forwarder, insurance broker, and warehouse manager all have reasons to see it. The factory’s export team keeps its own copy for quality tracing. One shared link with the order number in the subject covers everyone.
Keep the file until the warranty conversation is closed. MFBATH covers the whole cabinet with a 2-year warranty, and transit disputes rarely wait that long. Carrier claims can run for months. Delete nothing until the container is inspected and signed for.
Pair the photo file with the vanity quality control checklist from your inspection. The checklist records the condition of each carton before loading; the photos record the same cartons inside the container. Together they form one continuous record from the QC bench to the vessel.
How This Protects Your Order
Photo documentation does not stop damage; it assigns responsibility when damage happens. The system works because it connects to every control point in your order. Each control point below adds a layer that keeps the record complete.
Every MFBATH vanity passes 5 quality checks before it reaches the export carton. The bathroom vanity quality control system covers the finish, the doors, the hardware, and the assembled cabinet. Those checks tell you the product was sound at the factory gate. Your loading photos tell you it stayed sound through the container.
Third-party inspection strengthens the chain further. SGS, TÜV, and similar agencies can inspect your order before loading when the appointment is arranged in advance. Their report is an independent record from a neutral party. Add the inspection photos to the same evidence folder as the loading shots.
Trade terms decide where responsibility passes. MFBATH ships Free On Board (FOB) from Qingdao Port, so your risk begins once cargo crosses the ship’s rail. The loading photos are taken at exactly that boundary. They show the goods at the moment the carrier’s responsibility starts. The Incoterms guide covers the transfer points, and the official Incoterms rules published by the ICC define them in detail.
Payment timing gives you a natural review point. Orders run on a 30% deposit, with the balance due within one week after the draft bill of lading (BL) is issued. The draft BL names the container and seal numbers. Check the photo file against the draft BL before releasing the balance. That habit catches numbering errors early.
The 2-year whole-cabinet warranty covers manufacturing defects, not transit damage. When a cabinet arrives with a dented door, the question is which layer failed: production, packaging, loading, or handling. Photos from loading day help your supplier and your carrier answer that question quickly. Compare the damaged unit against the configuration on the product page and the quality record to isolate the cause.
The record matters for every shipment size. MFBATH serves 1,000+ dealers across 20+ countries, and the return rate stays under 1%. Production runs 20–30 days, with 4–6 weeks total to the U.S., Canada, and Mexico. Book a full container load (FCL) or share space as a less-than-container-load (LCL); the photo discipline stays the same. Risk per carton is higher in LCL, so the record matters more.
Frequently Asked Questions
Who should take the loading photos: me or the factory?
Both, and a third party if the order is large. MFBATH’s export team can document the loading and share the files with you. An independent inspector from SGS or TÜV adds a neutral report that carries more weight in a dispute. Treat the photos as part of the shipment cost, not an extra.
What if the forwarder ignores the photos I send?
Send them in writing anyway, with the seal number and container number in the subject line. The forwarder’s silence does not erase your record. If the claim reaches the carrier or insurer, your file becomes the origin condition record. Keep the sent email in the documents folder.
Can loading photos really change a claim outcome?
Yes, because claims are decided on documentation. Without photos, the default position is that cargo was sound when loaded. With photos, the carrier must explain what happened between your documented loading and the damaged arrival. That shift in the burden of proof decides many claims.
How long should I keep the evidence file?
Keep it until the container is inspected, the claim window passes, and the warranty period ends. MFBATH’s 2-year whole-cabinet warranty covers manufacturing defects, so keep the file at least that long. Transit claims run on their own deadlines, and the photos stay valid evidence for years.
The Bottom Line
Damage disputes are decided by whoever holds the better record. The loading photo file is the record you control, and it costs about twenty minutes on loading day. Add the empty container, every layer, and the applied seal to every order from Qingdao. The next container you ship will be the one that proves the method.




0 Comments