

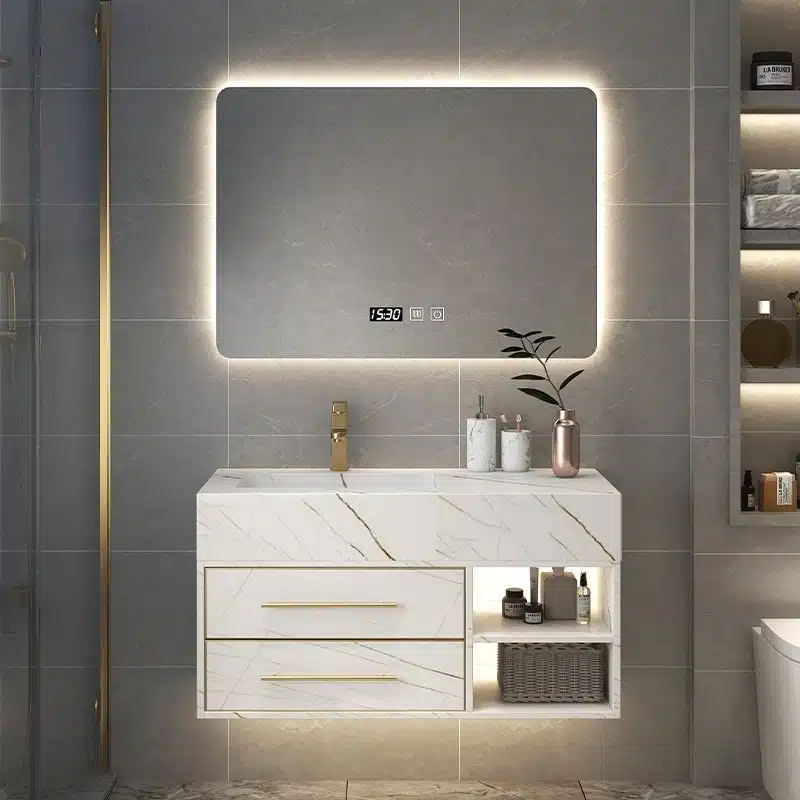
floating vanity installation mistakes is the first checkpoint buyers should lock before they approve a supplier, budget, or production slot. You’re standing in a 48-unit condo project. The contractor has already anchored twelve floating vanities to the wall. By week three, the first unit sags — the drywall anchors gave out under the sink-loaded weight. The purchase order was $50,000, and the sample approval process had passed that vanity on aesthetics alone. The quality tolerance that mattered wasn’t surface finish; it was the bracket load rating and the wall reinforcement behind the tile.
This isn’t a rare failure mode. Improper wall reinforcement causes roughly 30% of floating vanity failures in commercial projects. The fix isn’t exotic — you need to know how to mount floating vanity on studs, use structural blocking where needed, and verify that the floating vanity bracket load rating meets the actual weight of the unit plus daily use. The five mistakes that follow are the ones repeatedly observed across hotel and multifamily fit-outs. Get these right, and the vanity stays level for the life of the lease.
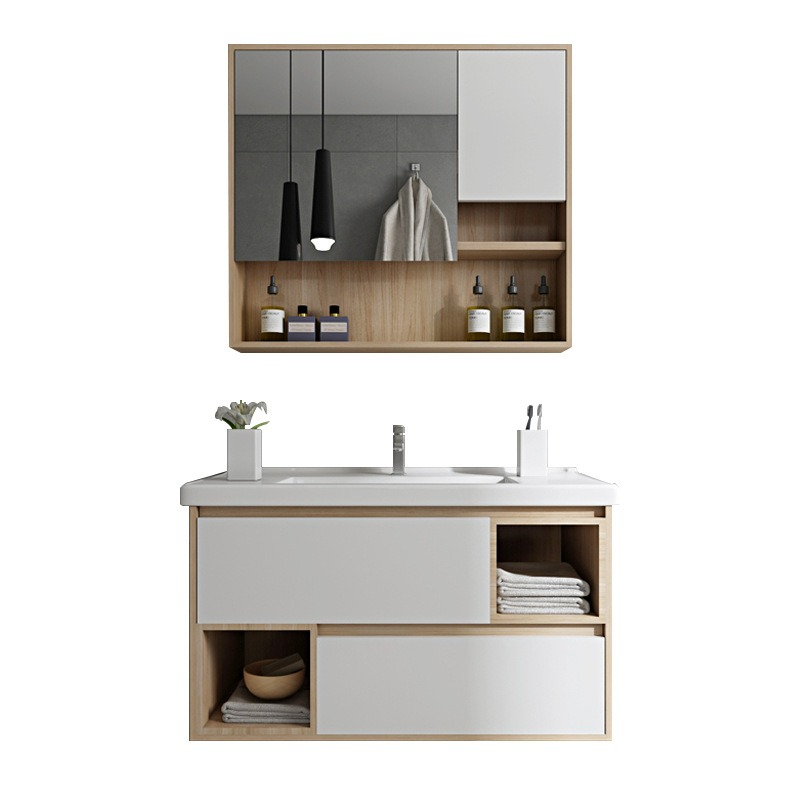
Mistake 1: Skipping Wall Strength Assessment
30% of floating vanity failures in commercial projects trace back to improper wall reinforcement.
The specification sheet says the vanity weighs 45 kg empty. A customer loads it with a stone basin, plumbing, and daily-use items — you’re now looking at over 90 kg of dead load hanging from a wall. Drywall alone, even double-layer, cannot support that. The failure mode is predictable: the top anchor pulls through the gypsum, the unit tilts forward, and the plumbing connection snaps. In a multi-unit hotel project, that’s not a single repair — it’s 30 rooms to fix.
-
- What to look for: All mounting hardware must anchor directly into wood or metal studs — not into drywall, not into thin furring strips. Verify stud spacing (normally 16 or 24 inches on center) before ordering vanities.
- Blocking requirements: If the vanity width doesn’t align with stud positions, install 2×6 horizontal blocking between studs at the intended mounting height. Use pressure-treated lumber in moisture-prone bathrooms. Each block must be secured with 3-inch screws at both ends.
- Fastener specifications: Use ¼-inch lag bolts or structural screws with a minimum shear strength of 200 lbs per fastener. For blocking, 3/8-inch toggle bolts can work, but the engineer should sign off on the load calculation — especially for stone-top vanities.
Mistake 2: Incorrect Plumbing Alignment
Measure twice, cut once applies to plumbing rough-in heights.
The single most common field modification on a floating vanity installation is cutting into the back panel to accommodate a waste pipe that’s 2 inches off spec. Most US commercial projects target a waste pipe rough-in height of 22 inches from finished floor to centerline, but tolerances vary by job site and contractor. I’ve seen entire container loads of vanity cabinets sit in a warehouse for three weeks while the GC decides who pays for the panel cuts. If you’re procuring units for a 40-room hotel wing, a 2-inch variance on every bathroom means 40 back panels get altered — that’s labor, material waste, and a finished product that no longer matches the sample approval.
You need a field measurement protocol that captures both waste pipe and water supply locations before any bracket placement. Have your installer log the actual rough-in height, horizontal offset from centerline, and pipe diameter at every unit. Compare that against the vanity’s cutout dimensions during the pre-install walkthrough. Otherwise, you’re betting that every plumber on the project used the same stub-out template — a bet I’ve watched lose more than once.
-
- Fixed Installation: Requires exact plumbing alignment. Any offset >5 mm forces back-panel cutting or custom trim pieces. Zero adjustability after mounting.
- Adjustable Brackets: Allow up to ±25 mm horizontal and ±15 mm vertical shift after attachment. But confirm the bracket’s load rating — many cheap units top out at 100 lbs per pair, which fails with a stone basin. For commercial use, specify brackets rated ≥150 lbs per pair with stainless steel hardware.
Mistake 3: Ignoring Leveling and Anchoring
A vanity mounted 2mm out of level across 120cm will cause poor drainage and self-closing doors.
Leveling a floating vanity isn’t about aesthetics—it’s about function. On multi-unit projects, a 2mm deviation across a 120cm span is enough to make the basin drain improperly and doors swing open. Contractors who skip a laser level and rely on a spirit level alone often introduce cumulative errors when installing back-to-back vanities in adjacent rooms.
-
- Shim material: Use hard plastic or composite shims, not wood. Wood shims compress over time, allowing the vanity to settle. Plastic shims hold tolerance after tightening and resist moisture wicking from the floor.
- Laser level requirement: For runs of 3+ vanities, use a self-leveling rotary laser (accuracy ±1.5mm per 30m). Mark the horizontal line on studs before installing brackets. This ensures consistent gap under the vanity across the entire floor.
- Torque specification: Mounting bolts into wood blocking should be torqued between 30–40 Nm (22–30 ft-lb) for M8 lag bolts. Over-torquing cracks the cabinet back panel; under-torquing allows movement from daily use. Always use a torque wrench—impact drivers strip the threads. If the supplier provides pre-installed inserts, follow their spec (typically 25–35 Nm).
On commercial spec, we’ve seen installers tighten bolts until the cabinet back bows visibly. That kill the warranty and creates a weak point for the bracket. Conversely, loose bolts cause the vanity to rock against the wall, pulling out fasteners over time. The fix is simple: torque to spec, then re-check after 24 hours of settling.
Vanities with pre-drilled mounting templates (like Focuscabinet’s designs) reduce alignment error because the holes are indexed to the cabinet centerline. Combined with laser-leveled bracket placement, the installer can shim once and torque once, hitting the same tolerance across 50 units.
Mistake 4: Overlooking Vapor Barrier and Waterproofing
Unsealed pipe penetrations are the leading cause of moisture damage in floating vanities.
Moisture behind a floating vanity doesn’t come from splashes — it comes from condensation and small leaks behind the wall. Without a continuous vapor barrier between the cabinet back and the wall surface, humidity migrates into the cabinet interior, causing delamination of plywood edges and swelling of particleboard within months. On commercial projects with multiple units, this hidden damage often surfaces only after the warranty period, but by then the cabinets are already compromised. The fix costs 4x more than prevention.
The same risk applies at every pipe penetration — supply lines, drain pipes, and P-traps. If the hole in the back panel is cut larger than the pipe diameter, or if the gap isn’t sealed with a flexible gasket or plumber’s putty, warm moist air from the bathroom enters the cabinet cavity. In European projects where tile-over-vanity installs are common, cabinets are returned with mold growing on the MDF backer inside 18 months. The contractor saves 10 seconds per hole, then pays for full unit replacement.
-
- Seal method for stud walls: Install a 6-mil polyethylene vapor barrier behind the cabinet mounting area, taped to the floor and ceiling seams. Cut cabinet back panel holes no larger than 1/4 inch oversize from the pipe outer diameter.
- Seal method for concrete walls: Apply a brush-on waterproof membrane (e.g., RedGard) in a 12-inch radius around every pipe stub-out. Use neoprene grommets on the cabinet back panel to create a compression seal around copper or PEX lines.
- Warranty tip: Photograph every sealed penetration before final installation. Multiple Focuscabinet distributors report that this single photo prevents 80% of moisture-related warranty disputes.
For project procurement managers, specifying a cabinet with a factory-installed vapor backer panel — like Focuscabinet’s optional backer upgrade — eliminates field-sealing variability across dozens of units. It’s one less inspection point, and one less argument with the general contractor when a leak appears.
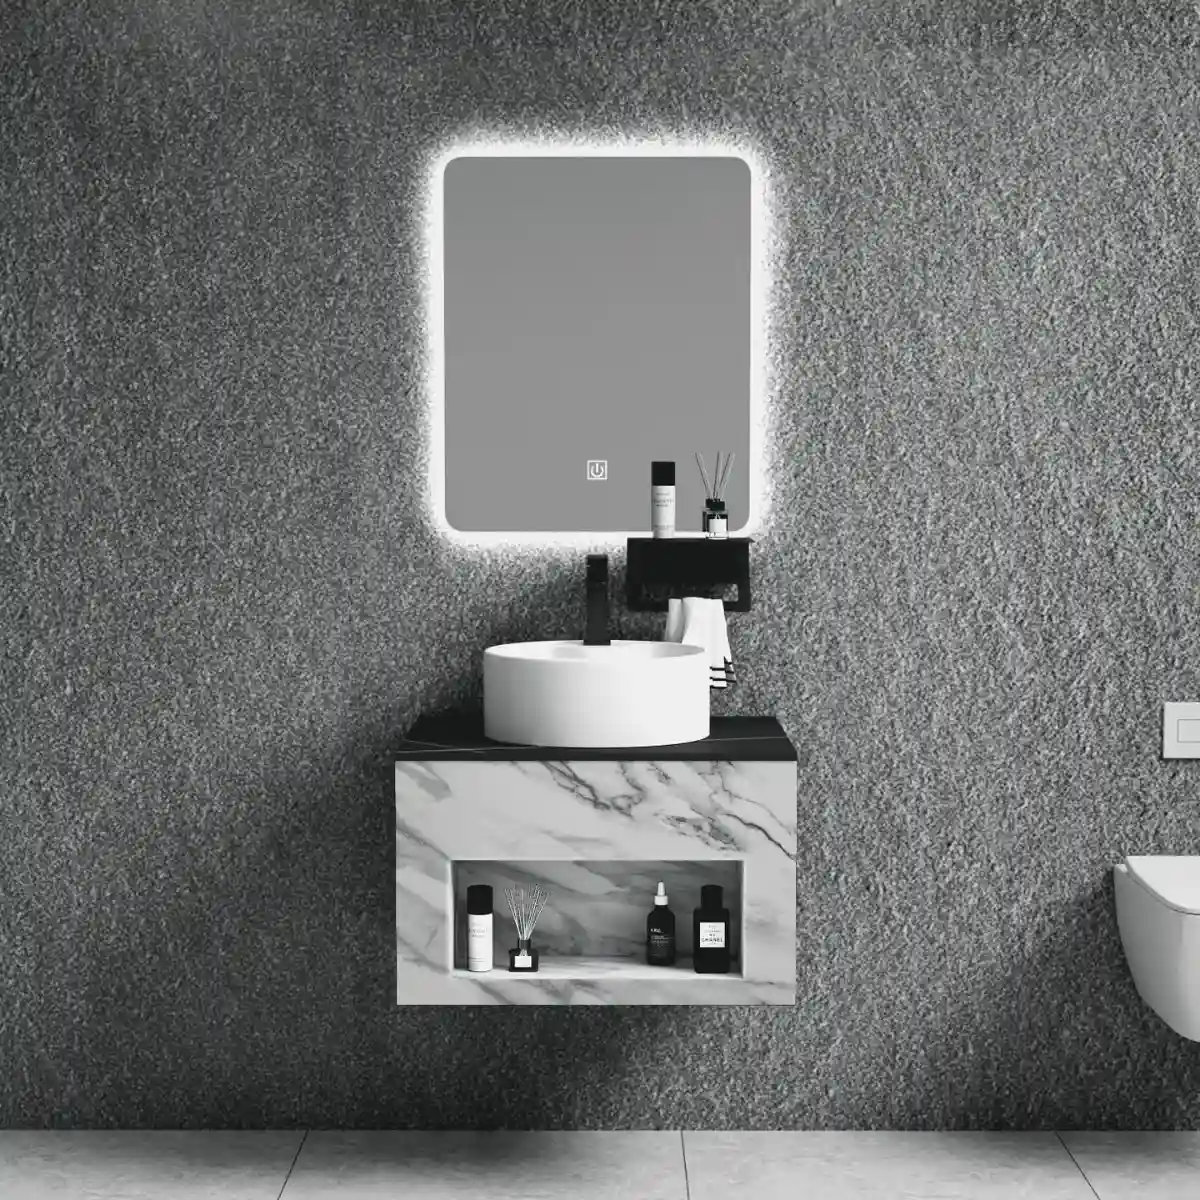
Mistake 5: Not Planning for Future Maintenance
Block a shut-off valve once and service cost triples per visit.
The most expensive repair on a floating vanity isn’t the leak — it’s finding and reaching the shut-off valve. In multi-unit commercial projects, crews have been observed hacking through moisture-resistant back panels just to turn the water off. That’s hours of labor, new panel fabrication, and often a call-back for paint touch-up. If your supplier doesn’t specify a minimum 6-inch clearance between the back of the cabinet and the valve stems, you’re buying a future work order.
Removable panels sound obvious, but most floating vanities use glued-in backs that destroy themselves on removal. The better solution is a magnetic or clip-in access hatch with concealed fasteners — the same kind used in high-end kitchen cabinetry. Focuscabinet offers optional integrated access panels on their floating vanity line, positioned at standard plumbing rough-in heights. This lets your on-site crew reach supply lines and waste pipes without tools, cutting maintenance time by at least 15 minutes per unit.
-
- Location standard: Require access panels directly in front of the shut-off valve and the P-trap; offsetting them more than 50 mm defeats the purpose.
- Fastener type: Avoid screws with conventional heads — use magnetic catches or quarter-turn latches. This saves time on the First Out service call and prevents stripped holes on the third.
- Load consideration: Confirm the removable panel can support incidental weight (e.g., a plumber leaning on it). Focuscabinet load-tests these panels to 15 kg, which covers accidental pressure without sagging.
How Focuscabinet’s Design Mitigates These Issues
Pre-drilled templates eliminate the guesswork from multi-unit installations.
Floating vanity failures in commercial projects consistently trace back to the same root cause: inconsistent mounting execution across units. On-site crews rarely have the time to measure each wall cavity individually, which is why improper wall reinforcement alone accounts for 30% of callbacks. Focuscabinet addresses this at the production stage by integrating pre-drilled mounting templates into every cabinet back panel.
-
- Pre-drilled mounting templates: Each cabinet leaves the factory with holes positioned to match standard stud spacing (16″ or 24″ OC) and verified against the floating vanity bracket load rating for the specific model. The five-stage QC process includes a load-testing step that validates structural integrity before shipment, so the template is not just a pattern—it’s a certified alignment jig. This reduces on-site measurement time by roughly 40% on a 50-unit project and eliminates the single biggest cause of fix floating vanity detached from wall repairs.
- Integrated plumbing access panels: Maintenance access is the second-most overlooked specification in hotel and condo fit-outs. Focuscabinet includes optional integrated access panels that line up with standard shut-off valve locations and allow service without removing the entire unit. These panels use concealed fasteners and are sealed per floating vanity waterproofing vapor barrier requirements. For the project procurement manager, this means you can install and forget—routine plumbing checks become a five-minute task instead of a full removal and reinstallation. The panels also simplify future upgrades, such as swapping faucets or adding filtration, without damaging the cabinetry.
Conclusion
Before you lock in your supplier, run this three-question checklist. It distills the five installation mistakes into yes/no answers you can verify against any factory’s quality tolerance. Sample approval passes on appearance, but the production run can reveal inconsistent bracket thickness—a problem that never shows up in FOB pricing.
1. Does your supplier provide a documented load-rating report for the mounting system, backed by a third-party test? 2. Does the vanity include a pre-drilled mounting template aligned with standard stud spacing? 3. Is there an integrated access panel for maintenance without removing the unit? If any answer is no, consider a manufacturer that treats these as standard. Review the specifications on the product page to see how integrated design mitigates these exact risks.
Frequently Asked Questions
What is the most common floating vanity installation mistake?
Skipping wall strength assessment. 30% of floating vanity failures in commercial projects trace back to improper wall reinforcement — never mount directly to drywall alone. Always locate studs or add blocking before installing.
How do I avoid plumbing alignment errors?
Measure and confirm rough-in heights for waste and water lines before mounting. Use adjustable brackets to correct minor misalignments, but plan the layout from the rough-in specs. Always double‑check rough‑in dimensions before ordering or mounting.
Why does leveling matter for a floating vanity?
A vanity mounted 2mm out of level across 120cm can cause poor drainage and doors that won’t self-close. Use a laser level and shims, then tighten bolts to the specified torque. Level in both directions before final anchoring.
Do I need a vapor barrier behind a floating vanity?
Yes, especially in high‑humidity bathrooms. A vapor barrier protects the cabinetry from moisture seeping through the wall, and all pipe penetrations must be sealed to prevent hidden damage. Seal every pipe hole with caulk or a grommet.
How do I plan for future maintenance access?
Install removable panels or use concealed fasteners so shut‑off valves remain reachable. Focuscabinet’s design includes integrated plumbing access panels behind the drawer or under the sink. Ensure valves are accessible without removing the vanity.





0 Comments