

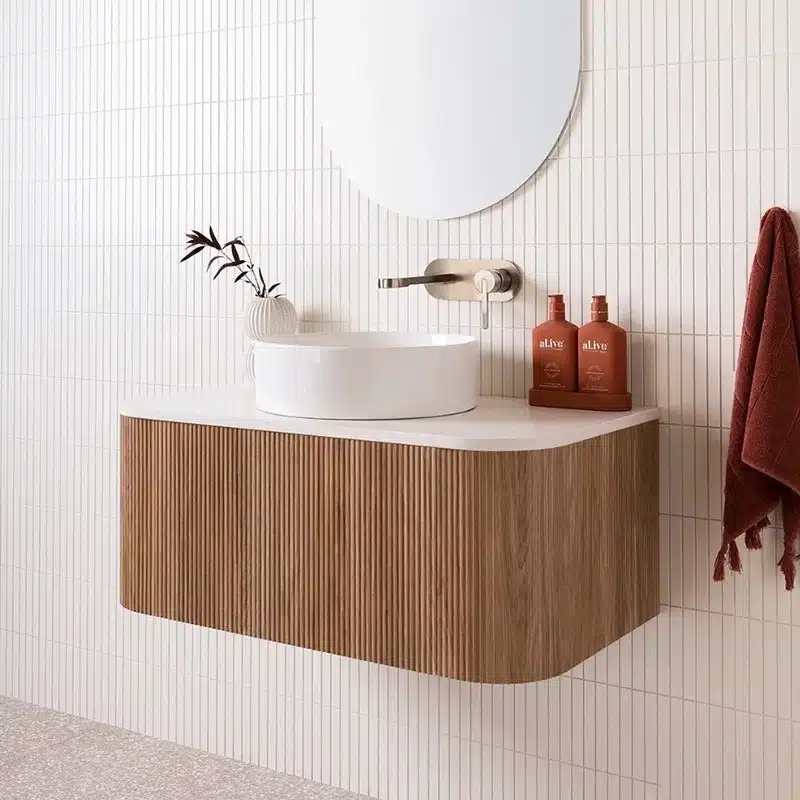
secure bathroom vanity is the first checkpoint buyers should lock before they approve a supplier, budget, or production slot. If you are specifying a floating vanity for a 2026 project, the question of how to secure a bathroom vanity to the wall should be answered before the order is placed, not after the crate arrives on site. As a specifier, your liability does not end with the design. It ends when the cabinet stays flush against the wall for the life of the installation. The difference between a safe mount and a callback is rarely the installer. It is the engineering that the factory built into the back panel before the unit left the production line.
Most generic imports treat the mounting process as an afterthought. They throw in a bag of plastic anchors rated for 15 kg each and call it a kit. A 48-inch vanity loaded with a stone top and plumbing hits 70 to 80 kg. Four plastic anchors into drywall give you a theoretical capacity of 60 kg — and that is before seasonal humidity embrittles the plastic. The math does not work. For a designer or architect, a failure here means water damage, a broken basin, and a conversation with the client that no one wants to have. The real solution is not a better drill bit. It is a factory that pre-drills 8mm pilot holes and laminates a 10mm marine plywood reinforcement plate into the back panel so the screw actually grips wood, not compressed sawdust.
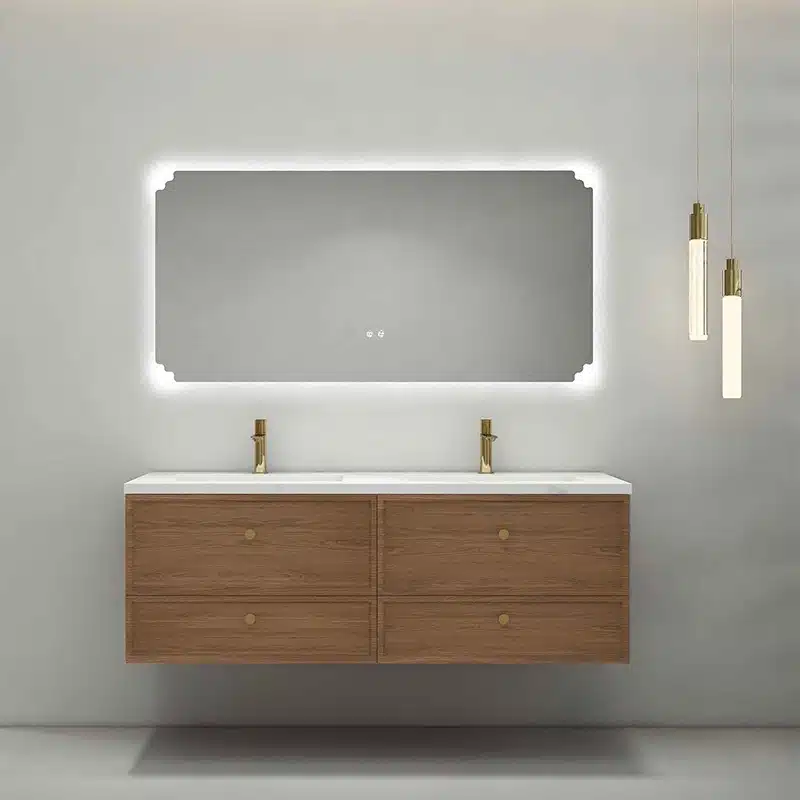
Why Generic Wall Anchors Will Fail
Plastic anchors are not rated for the sustained load of a fully loaded vanity.
A standard 48-inch loaded vanity weighs between 70 kg and 90 kg depending on the material: MDF units land around 60 kg, solid wood at 75 kg, and sintered stone tops push past 90 kg. A typical plastic drywall anchor is rated for a maximum static load of 15 kg. Even if you install four anchors, the total theoretical capacity is 60 kg — which already fails for a solid wood or stone unit before adding stored toiletries.
-
- Creep failure: Bathroom humidity cycles cause plastic anchors to embrittle over time. The material undergoes creep deformation under sustained load. After 18–24 months, a plastic anchor that held initially can lose 40–60% of its grip strength, silently loosening until the vanity pulls free.
- Drywall punch-through: When a plastic anchor fails, the screw head punches through the drywall face. If the vanity is mounted over a plumbing chase wall, that sudden movement can shear a copper supply line or crack a PVC drain. The resulting water damage averages $1,500–$4,000 in repairs — not including the cost of replacing the vanity itself.
- Injury hazard: A falling vanity poses a direct crush risk to children or pets in the bathroom. Even a 60 kg unit falling from a 36-inch mounting height generates enough impact force to cause serious injury. This liability exposure is why building codes in North America and Europe require wall anchoring for any cabinet over 30 kg.
The fix is not stronger plastic — it is eliminating plastic from the load path entirely. Stainless steel lag screws driven into wood studs with a minimum 1.5-inch embedment provide a holding capacity exceeding 200 kg per screw. For walls without accessible studs, heavy-duty toggle bolts rated for 90 kg each are the minimum acceptable alternative. Adhesive-only mounting is not code-compliant for any vanity over 20 kg.

The 3-Point Mounting Method (Gold Standard)
3-point mount prevents the bottom corners from swinging out if top screws loosen.
The 3-point mounting method is the gold standard for securing a wall-mounted vanity. It distributes the load across three anchor points instead of two, eliminating the lever action that causes the bottom corners to swing away from the wall when the top screws loosen over time.
-
- Step 1 – Locate studs: Use a stud finder to mark the center of two adjacent wood studs. Minimum stud spacing is 16 inches on center. If the vanity width is 48 inches, you will typically catch two studs. For wider units, a third stud may be needed.
- Step 2 – Drill pilot holes: Drill 8mm pilot holes at three positions: top-left (into the first stud), top-right (into the second stud), and bottom-center (into the wall between the two studs). The bottom-center hole requires a toggle bolt, not a lag screw, because it will not hit a stud.
- Step 3 – Select fasteners: For the two top holes into studs, use stainless steel lag screws with a minimum 1.5-inch penetration into the wood. For the bottom-center hole (no stud), use a heavy-duty toggle bolt rated for at least 50 kg. Never use plastic drywall anchors — they hold only 15 kg each and fail under creep load.
- Step 4 – Seal against moisture: Place a 5mm rubber washer under the head of each lag screw before tightening. This prevents moisture from wicking down the screw threads into the stud, which would cause rot and eventual pull-out failure over 2–3 years.
Factory-Reinforced Back Panels (The Real Difference)
MDF backs strip out under torque.
The back panel of a generic bathroom vanity is the single weakest link in the mounting chain. Most imports use a 3mm MDF backer board — essentially compressed sawdust with a paper veneer. When you drive a screw through that material, the threads cut into loose fibers, not solid wood. The result is predictable: the screw spins freely after 2–3 turns, or it strips out entirely the first time the vanity shifts under load. That failure mode has caused more callbacks than any other installation defect.
-
- The MDF Failure Mechanism: MDF has zero grain structure. Screw threads rely on wood fibers to grip; MDF fibers are short, random, and held together by resin. Under the shear load of a 70–80 kg vanity, the resin bond breaks, the fibers crumble, and the screw pulls out. This is not a theoretical risk — it is a documented failure mode in field returns from big-box suppliers.
- MFBATH’s Engineering Solution: Every MFBATH vanity back panel receives a 100mm x 100mm marine-grade plywood reinforcement plate, bonded with PU glue at the factory. The plate is positioned precisely at the standard mounting points (top-left, top-right, bottom-center). Marine plywood is cross-laminated hardwood — each layer runs perpendicular to the next, creating a structural grid that resists screw pull-out forces in any direction.
- Screw Grip Performance: A #10 stainless steel lag screw driven into the marine plywood patch achieves a pull-out resistance of approximately 180 kg per screw — more than double the load requirement for a 48-inch vanity. The PU glue further prevents moisture wicking behind the patch, eliminating the rot path that plagues untreated MDF backs in humid bathrooms.
The practical takeaway for specifiers: when you specify an MFBATH vanity, the screw is engaging solid wood — not compressed sawdust. That single engineering detail eliminates the most common cause of vanity detachment failures. It is a difference you cannot see from the outside, but it is the difference between a cabinet that stays on the wall for 15 years and one that fails before the first plumbing inspection.
Floating Vanity Structural Requirements
A 48″ floating vanity loaded with stone can exceed 90 kg — standard 2-point mounting is a liability.
Frameless and floating vanities transfer the entire load to the wall through the back panel and a hidden bracket system. Unlike freestanding units that rest on the floor, a floating vanity has zero ground support. If the wall anchorage fails, the unit drops — and with it, the sink, plumbing connections, and any tile or waterproofing below. For an interior designer or architect, that means a callback, a repair bill, and a damaged reputation.
The industry standard for a secure floating installation is a minimum 3-stud mounting pattern, or a continuous horizontal steel support bar bolted through the drywall into the studs. A 2-point mount (top-left and top-right only) leaves the bottom corners unsupported. If the top screws loosen even slightly from vibration or seasonal wood movement, the bottom of the cabinet swings away from the wall, creating a gap that looks unprofessional and puts leverage on the plumbing. The 3-point method — top-left, top-right, and bottom-center — locks the cabinet face flat against the wall and distributes the load across three vertical planes.
-
- 3-stud mounting: Required for any vanity over 60 kg. Each lag screw must penetrate at least 1.5 inches into a structural stud. Use stainless steel screws with 5mm rubber washers to prevent moisture wicking.
- Continuous steel support bar: For installations where stud spacing is irregular (e.g., 24-inch centers) or the vanity spans more than 60 inches. A 2mm thick galvanized steel bar bolted to at least three studs distributes point loads across the entire wall plane.
- Toggle bolt backup: If no stud is available at a mounting point, use 200 kg-rated metal toggle bolts. Never use plastic anchors. A single toggle bolt in 5/8-inch drywall holds roughly 50 kg in shear — adequate only if combined with stud-mounted screws at the other points.
Load distribution matters because drywall alone has negligible compressive strength. A point-loaded screw through drywall will punch through under 70 kg of sustained weight. The engineering solution is to transfer the load into the wood studs via the bracket or the cabinet’s reinforced back panel. MFBATH’s floating vanities include a 10mm marine plywood reinforcement plate adhered to the interior back panel with PU glue. This creates a solid-wood anchor point for the screws, unlike generic imports that use MDF backs which strip out under torque. The result is a mounting surface that grips the screw threads like a stud, even if the screw misses the stud center by a few millimeters.
Container optimization for these heavy, flat-packed units is a separate consideration. A standard 40HQ container holds approximately 120 to 150 floating vanity units (depending on width and stone top inclusion). The flat-pack design reduces cubic volume by 40% compared to pre-assembled units, but the weight of sintered stone or solid wood tops can push the container to its gross weight limit before the cube is full. Distributors should verify the weight-to-volume ratio with the factory before booking freight. MFBATH’s production data shows that a 48-inch floating vanity with a sintered stone top and a plywood box weighs approximately 85 kg. At that weight, a 40HQ container maxes out at roughly 110 units before hitting the 28,000 kg payload limit.
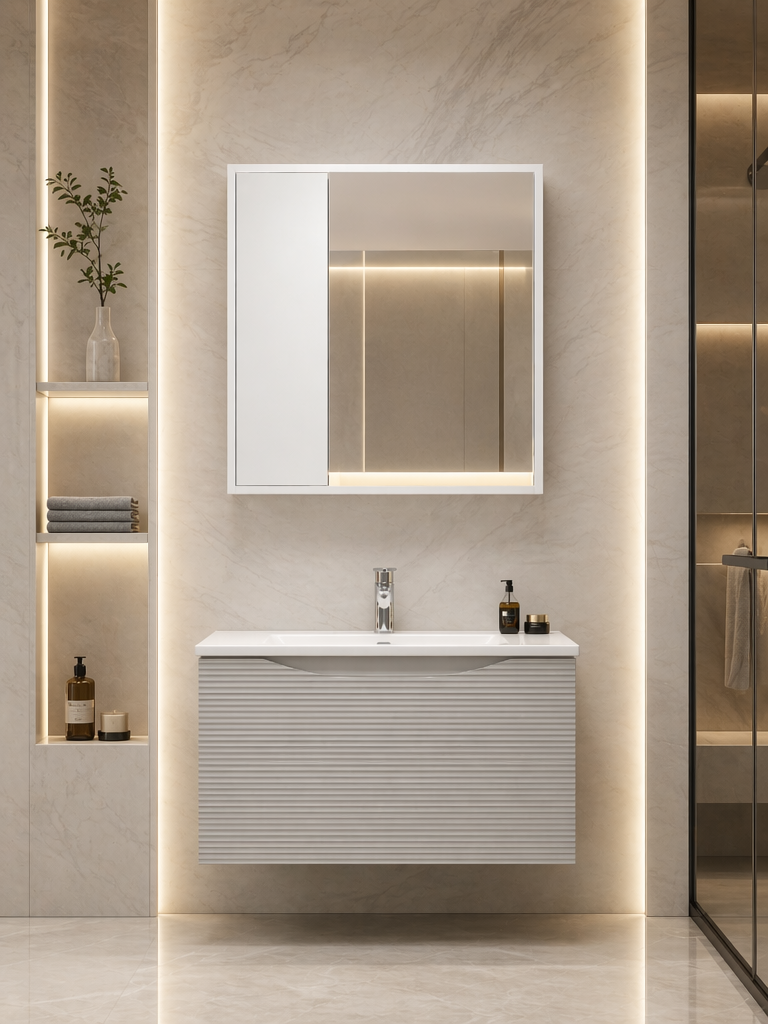
Custom Vanity Installation Checklist
Four checks that separate a safe install from a callback.
-
- 1. Check wall level: Use a 1.2 m spirit level across the mounting area. A wall that is out of plumb by more than 3 mm over 600 mm will force the vanity to sit crooked, creating a visible gap at the top. Shims are acceptable, but the factory pre-drills at standard stud centers (16 in / 406 mm) — if your wall is out of square, you must shim behind the bracket, not behind the cabinet face.
- 2. Verify rough-in plumbing (17–20 in):Measure the center of the drain stub-out from the finished floor. The industry standard rough-in range is 17–20 in (432–508 mm). If the measurement falls outside this band, the vanity drawer or door will hit the trap. MFBATH vanities are CNC-cut to accept this range, but site errors as low as 14 in have been seen — that requires a plumber to relocate the stub-out before the cabinet goes on the wall.
- 3. Confirm hardware bag contents (lag screws + toggles): Open the hardware bag before lifting the cabinet. You need: (a) four stainless steel lag screws, 5/16 in x 3 in, for stud mounting; (b) four heavy-duty toggle bolts rated at 90 kg each for drywall-only locations; (c) four 5 mm rubber washers. If the bag contains plastic anchors or drywall screws, stop — those will fail under a 70 kg loaded vanity. MFBATH ships only steel hardware; generic imports often substitute nylon anchors to save $0.12 per unit.
- 4. Apply silicone caulk to back edge to prevent water wicking: Run a continuous 5 mm bead of 100 % silicone (not latex) along the entire top back edge of the vanity before pushing it against the wall. Water from splashes or condensation travels down the wall surface and wicks into the MDF back panel if there is no seal. A 2 mm gap left uncaulked will saturate the back panel within 12 months, causing delamination. This step takes 2 minutes and eliminates the most common moisture-related warranty claim.
Conclusion
A 48″ loaded vanity weighs 70-80 kg. Plastic anchors rated for 15 kg each cannot hold it. The only safe path is anchoring into wood studs with stainless steel lag screws or using 200 kg-rated toggle bolts. Factory pre-drilled pilot holes and internal plywood reinforcement—features MFBATH builds into every unit—eliminate the guesswork and strip-out risk that generic imports leave for the installer.
Review your current project specs against the mounting checklist above. If the vanity specs don’t include a reinforcement plate or pre-drilled points, that gap becomes your liability. Explore the Custom Vanity OEM Services to see how we engineer mounting-ready solutions for your specific project loads.
Frequently Asked Questions
Should you anchor a vanity to a wall?
Yes, you must anchor any freestanding or floating vanity to the wall to prevent tipping. A loaded 48-inch vanity can exceed 70 kg, and without proper anchoring, it poses. Anchor to studs or use rated brackets for any vanity over 20 kg.
How do you attach a bathroom vanity to the wall?
Use the 3-point mounting method: locate two studs, drill 8mm pilot holes at top-left, top-right, and bottom-center, then secure with stainless steel lag screws. If no studs are available, use heavy-duty toggle bolts. Always use 5mm rubber washers to prevent moisture wicking.
How to secure a vanity to a wall without drilling?
You cannot safely secure a loaded vanity without drilling into structural supports. Adhesive-only methods or surface-mount clips will fail under the sustained load of a vanity filled with plumbing and toiletries. If drilling is impossible, specify a floor-standing model instead.
How to secure a freestanding vanity?
Secure a freestanding vanity by screwing its back rail into wall studs using two lag screws, even if it has legs. This prevents the unit from shifting or tipping forward during use. Check that the back rail is reinforced, not just MDF.
How much do plumbers charge to install a bathroom vanity?
Plumbers typically charge $150 to $500 for vanity installation, depending on whether wall anchoring and plumbing reconfiguration are needed. If the wall requires stud repair or the vanity lacks factory pre-drilled. Specify a vanity with pre-drilled pilot holes to reduce on-site labor.





0 Comments