

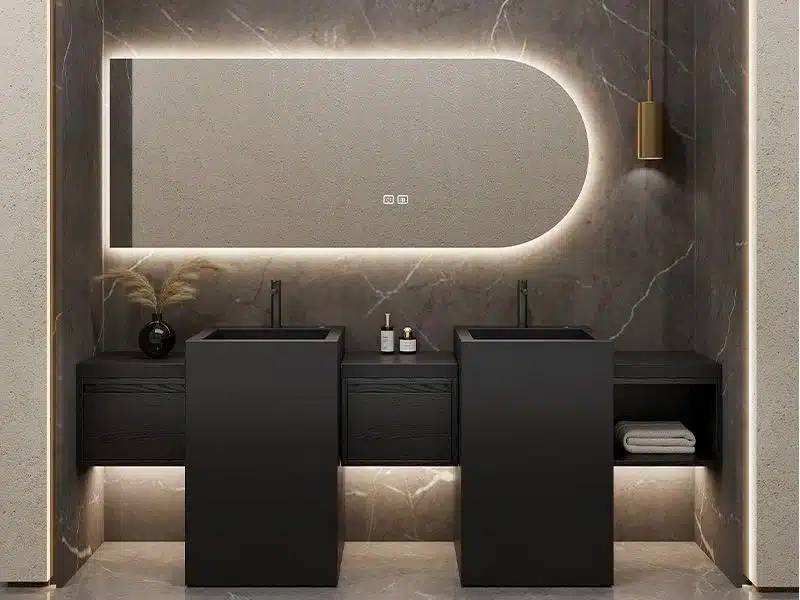
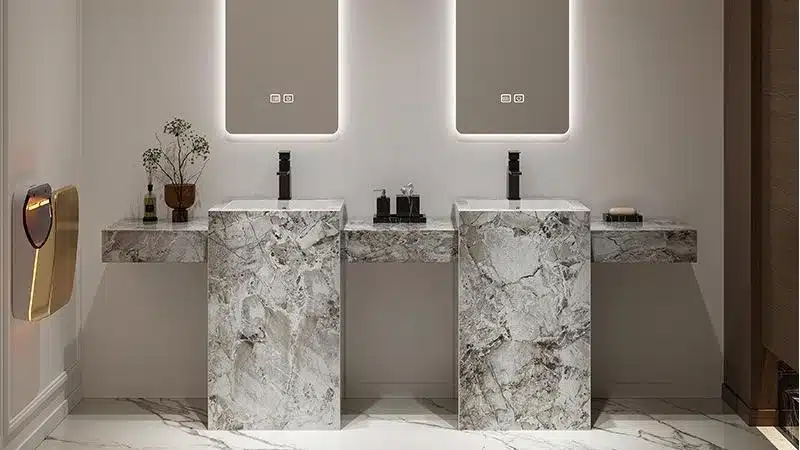
 An incorrect Vanity Sizing & Layout Guide is a primary driver of costly project rework, leading to budget overruns and damaged client relationships. A vanity that arrives on-site even a half-inch too wide for an alcove, or with drawers that collide with door trim, brings productivity to a complete halt. This single error cascades into scheduling delays, change orders, and a loss of professional credibility that is difficult to recover from.
This guide establishes a clear standard operating procedure for specifying bathroom vanities. We cover the exact dimensional data for standard widths, depths, and installation heights for different sink types. We also provide the technical specs for calculating door swing clearance, drawer extension paths, and the proper use of filler strips for wall-to-wall installations—ensuring every project proceeds without measurement-related failures.
Understanding Standard Vanity Widths (24″-72″)
Vanity width is the primary specification dictating a bathroom’s layout and utility, directly controlling sink configuration, available countertop space, and total storage volume.
Common Width Options and Applications
Selecting the correct vanity width depends entirely on the bathroom’s intended use. Compact powder rooms benefit from 18″ to 24″ models that provide essential functions without consuming valuable floor space. For guest bathrooms, 30″ to 48″ vanities offer a practical balance of counter area and storage. Master bathrooms typically require 60″ to 72″ units, which comfortably accommodate double-sink configurations for simultaneous use and provide maximum storage capacity. A 30″ to 36″ vanity is often a good fit for children’s bathrooms, providing adequate space while often incorporating safety features like soft-close hardware.
How Width Impacts Functionality
A vanity’s width directly determines its functional capabilities. Wider models, particularly those 60 inches and above, provide the flexibility for either a single, spacious sink or a dual-sink setup. As the width increases, so does the usable countertop surface for daily routines and toiletries. Storage configurations also scale accordingly, evolving from a simple single cabinet on a 24″ unit to a complex arrangement of multiple drawers and cabinets on a 72″ model, significantly enhancing organization.
| Vanity Width Range | Typical Application | Key Functional Features |
|---|---|---|
| 24″ – 36″ | Powder Rooms, Small Guest Baths | Single sink only; limited counter space; basic cabinet or drawer storage. |
| 48″ – 60″ | Full Guest Baths, Small Master Baths | Spacious single sink; ample counter space; combination of drawers and cabinets. |
| 60″ – 72″+ | Master Bathrooms | Single or double sink options; maximum counter and storage capacity. |
Installation and Clearance Requirements
Proper installation begins with accurate measurement. Before selecting a vanity, measure the total available wall length to ensure a proper fit. It is critical to leave adequate clearance on the sides. The industry standard is to maintain at least 18-21 inches of open space between the side of the vanity and an adjacent wall or fixture. This clearance is not just for aesthetics; it is a functional requirement that ensures cabinet doors and drawers can open completely without obstruction.
Depth Dynamics: Standard (21″) vs. Narrow (18″)
The choice between a standard 21-inch or narrow 18-inch vanity depth is a direct trade-off between maximizing storage and countertop space versus preserving floor area for traffic flow in compact bathrooms.
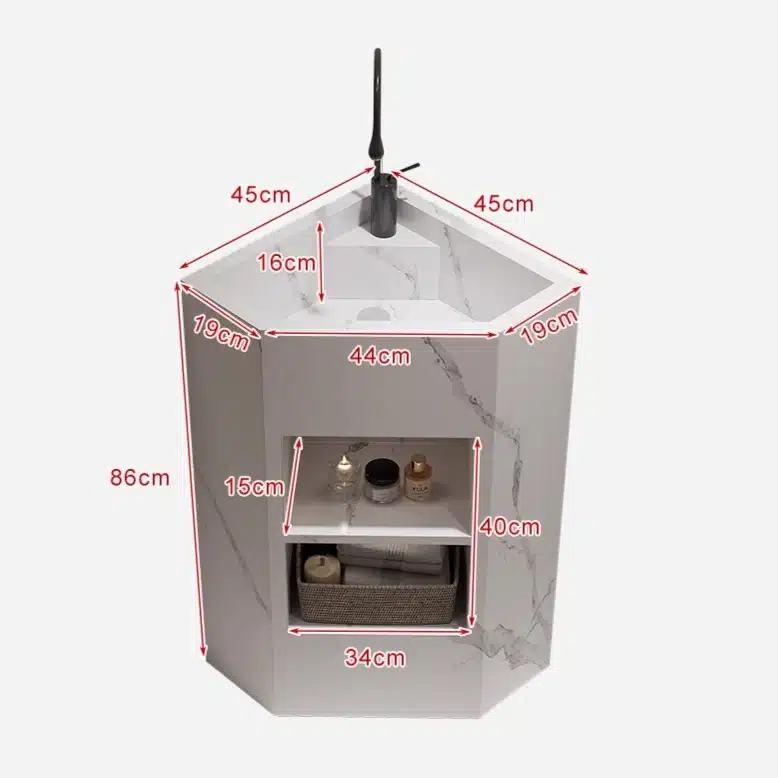
Standard Depth (21 inches): The Industry Benchmark
The 21-inch depth is the industry standard for a reason. It provides ample interior cabinet volume for storing cleaning supplies and toiletries, while also accommodating most undermount sink models without compromising plumbing space behind the unit. This depth creates a comfortable and functional countertop, allowing enough surface area for daily-use items without feeling cramped. A 21-inch cabinet typically supports a countertop with a slight overhang, bringing the final depth to around 22.5 inches, which is the expected dimension in most residential master and guest bathrooms.
Narrow Depth (18 inches): The Space-Saving Solution
Narrow or “compact” depth vanities, typically 16 to 18 inches deep, are engineered specifically for environments where floor space is a premium. This includes powder rooms, hallway bathrooms, or any layout where a standard vanity would obstruct a walkway or door swing. While storage capacity is reduced, an 18-inch depth vanity frees up a critical three inches of floor space, which can make a small room feel significantly larger and more navigable. This configuration is often paired with wall-hung designs to further enhance the sense of openness by exposing the floor underneath.
Making the Right Choice for Your Project
Selecting the correct depth depends entirely on the bathroom’s layout and intended use. The decision isn’t just about the vanity itself, but how it interacts with the toilet, shower, and door clearances. For B2B clients, specifying the right depth is crucial for project success.
- Standard 21″ Depth is for: Primary bathrooms, guest baths, and any space where storage and counter surface are prioritized over maximum floor area. It’s the default for most new builds and renovations without significant space constraints.
- Narrow 18″ Depth is for: Small urban apartments, historic renovations with non-standard layouts, and secondary powder rooms. It solves traffic flow problems and is essential for meeting clearance codes in tight quarters.
Factory-Direct Vanities Designed to Boost Sales
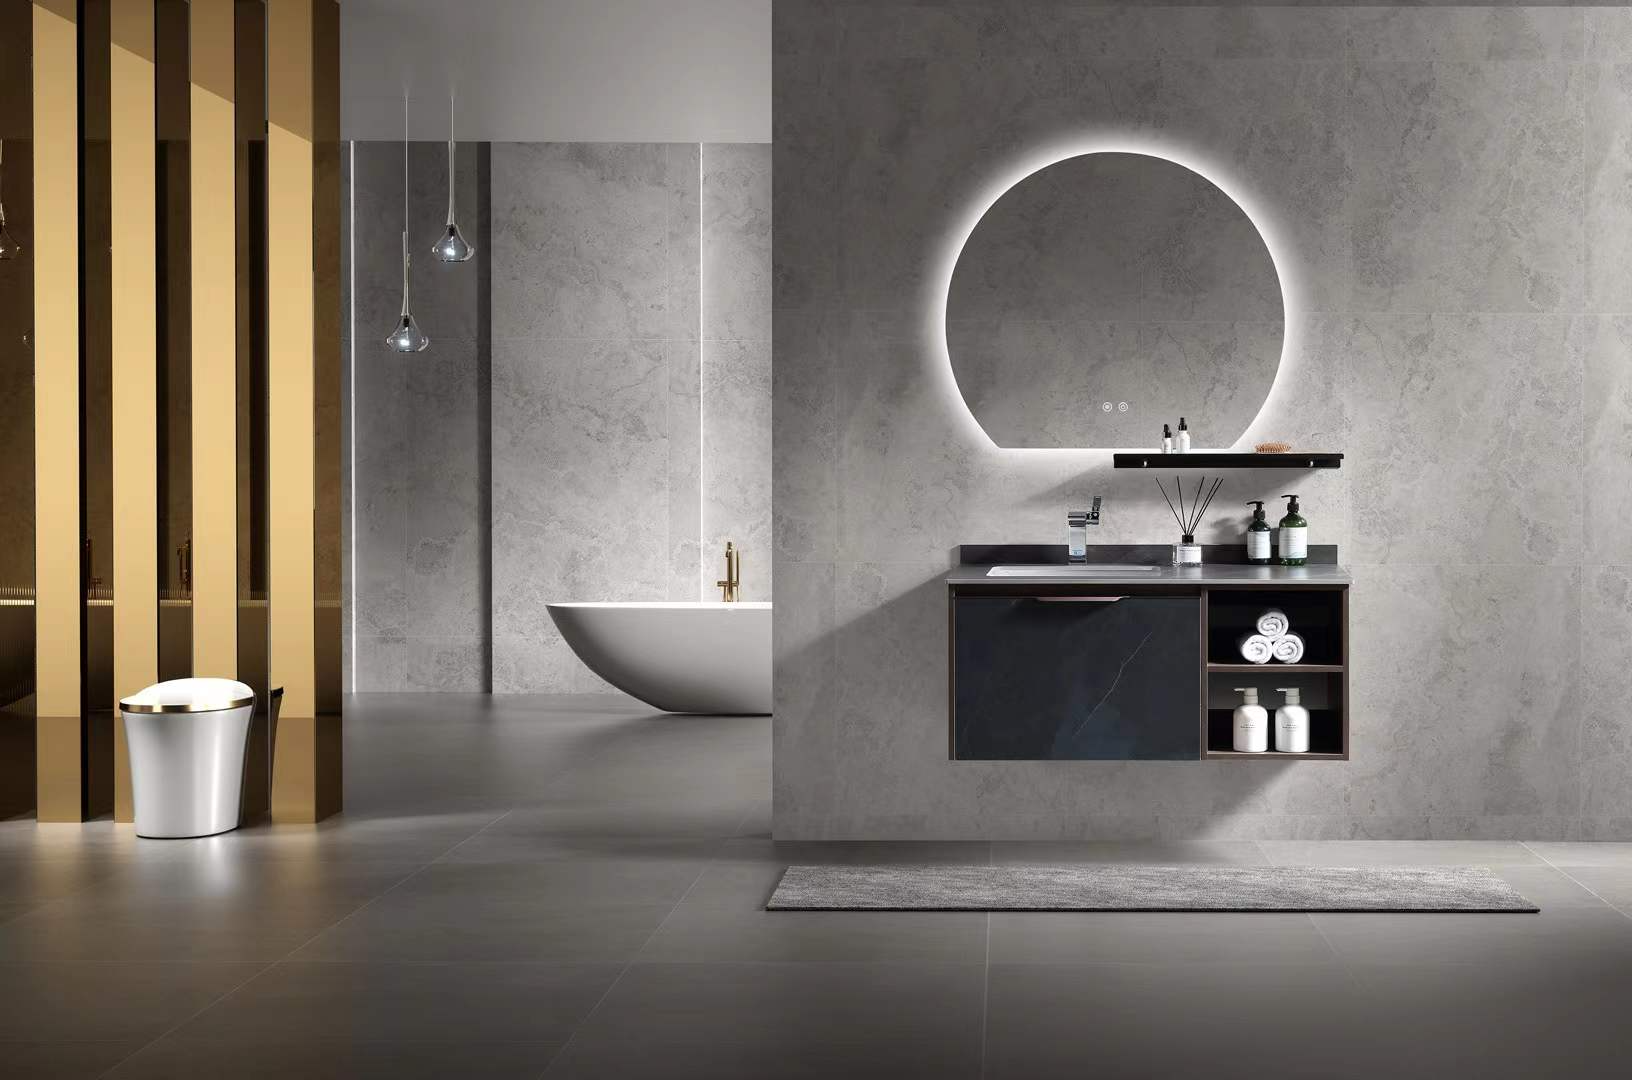
Height Standards: Vessel vs. Undermount Sinks
Vanity height is now dictated by sink type, with ergonomics driving vessel sinks to lower counter heights (30–32 inches) while undermount sinks align with traditional standards for broader accessibility and easier maintenance.
The selection between a vessel and an undermount sink directly impacts the final height of the bathroom vanity. This choice is no longer just about aesthetics; it’s a functional decision rooted in user comfort and practicality. The market trend clearly favors designs that prioritize accessibility, which often makes undermount sinks the default for high-traffic or commercial spaces.
Ergonomic Counter Heights for Vessel Sinks
Vessel sinks, with their elevated bowl design, sit on top of the counter. To maintain a comfortable and usable sink rim height (typically 35-36 inches from the floor), the vanity cabinet itself must be lower. Most installations use a counter height of 30–32 inches. This adjustment ensures users don’t have to reach up and over an awkwardly high bowl edge for simple tasks like washing their hands.
- The primary goal is to position the top edge of the sink bowl at a standard, usable level.
- This configuration prioritizes user comfort and ergonomics over traditional vanity height standards.
Standard Faucet Heights for Undermount Sinks
Undermount sinks are installed below the countertop, allowing the vanity to adhere to standard cabinet heights, usually around 34-36 inches. This setup is highly adaptable for diverse user demographics in both homes and commercial projects because the counter remains a consistent, predictable surface. The integrated design also simplifies cleaning, as there is no raised lip to trap water and debris.
- Market trends show a strong preference for undermount solutions due to their inclusivity and ease of use.
- This design supports standard faucet installations and simplifies long-term maintenance.
Key Differentiators: Faucet Compatibility and Installation
The choice between sink types extends beyond counter height to practical considerations like faucet compatibility and installation complexity. These factors impact the total project cost and long-term usability. A vessel sink requires a specific type of faucet—either a tall, vessel-style faucet or a wall-mounted fixture—that can clear the high rim of the bowl. Undermount sinks, by contrast, work with a much wider array of standard deck-mounted faucets, which simplifies procurement and replacement.
- Vessel sinks often require taller, specialized faucets that clear the bowl’s rim.
- Undermount sinks work with a broader range of standard deck-mounted faucets, simplifying selection.
Using “Filler Strips” for Alcove Installation
Filler strips are non-negotiable for alcove installations, compensating for imperfect walls to deliver a seamless, structurally sound fit.
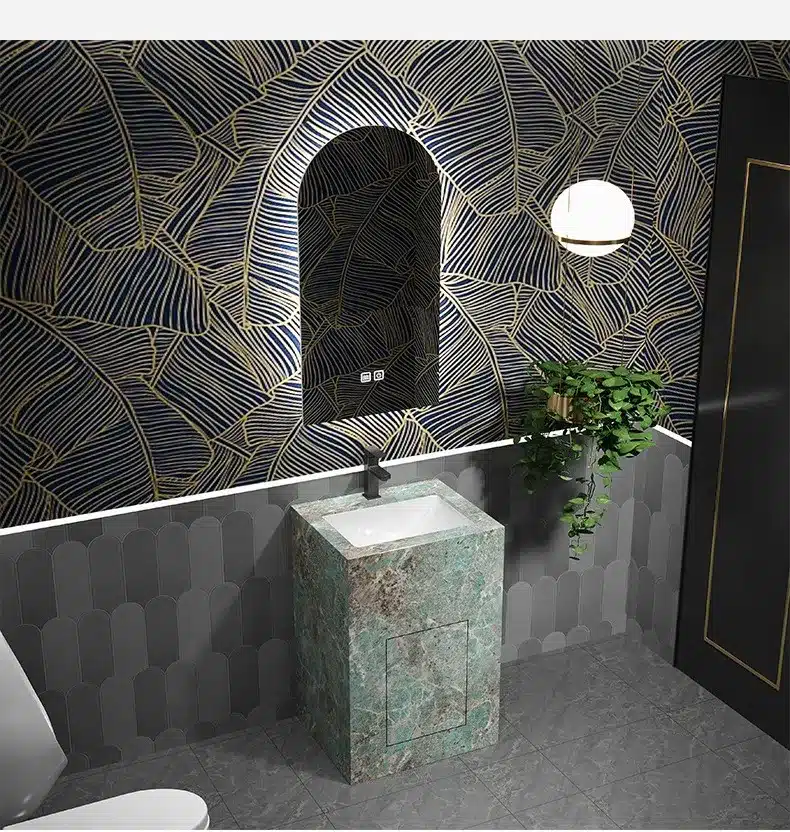
Why Filler Strips Are Necessary
In real-world construction, walls are rarely perfectly plumb or straight. A vanity installed directly into an alcove will almost always have gaps. Filler strips are precision-cut pieces that close these gaps, creating a clean, built-in appearance while ensuring the vanity is level and stable.
- Accommodates uneven or out-of-plumb walls for a tight fit.
- Provides a solid surface for proper weight distribution and secure fastening.
- Eliminates unsightly gaps to create a seamless, integrated look.
Scribing for a Custom, Seamless Fit
Scribing is the professional technique for achieving a perfect fit against an irregular wall. The process involves tracing the wall’s exact contour onto the filler strip with a compass or scribing tool. The strip is then cut along this line, creating a piece that matches the wall’s unique shape precisely. This method removes the need for excessive caulk to hide gaps and is a clear indicator of a high-quality installation.
| Installation Approach | Standard (DIY/Budget) | Professional (Scribed Fit) |
|---|---|---|
| Gap Management | Relies heavily on caulk to fill visible gaps, which can shrink and crack over time. | The strip is custom-cut to the wall’s contour; caulk is used only for a clean, minimal seal. |
| Final Appearance | Looks acceptable from a distance but reveals imperfections and wide caulk lines up close. | Creates a seamless, built-in aesthetic that appears fully integrated with the wall structure. |
| Structural Integrity | Can create uneven pressure points if not shimmed correctly behind the strip. | Provides continuous, solid backing against the wall for secure fastening and weight distribution. |
Material and Waterproofing Considerations
The long-term success of an alcove installation depends on the filler strip’s material and its resistance to moisture. Using a cheap, untreated material is a common failure point. The material should match the quality and water-resistance of the vanity itself, especially in humid bathroom environments. High-density PVC is an excellent choice for its absolute waterproofing, while High Moisture Resistant (HMR) MDF or water-resistant grade plywood are also reliable options.
- Select materials designed to resist moisture and prevent swelling or rot in damp bathroom environments.
- Employ durable fastening techniques, securing the strip to both the wall studs and the vanity frame for stability.
- Prioritize sealing all cut edges of the filler strip with a waterproof primer or sealant before installation to prevent water infiltration.
Door Swing Clearance & Drawer Extension
Effective vanity placement isn’t just about fitting a cabinet; it’s about engineering functional clearance for doors, drawers, and mandatory accessibility standards.
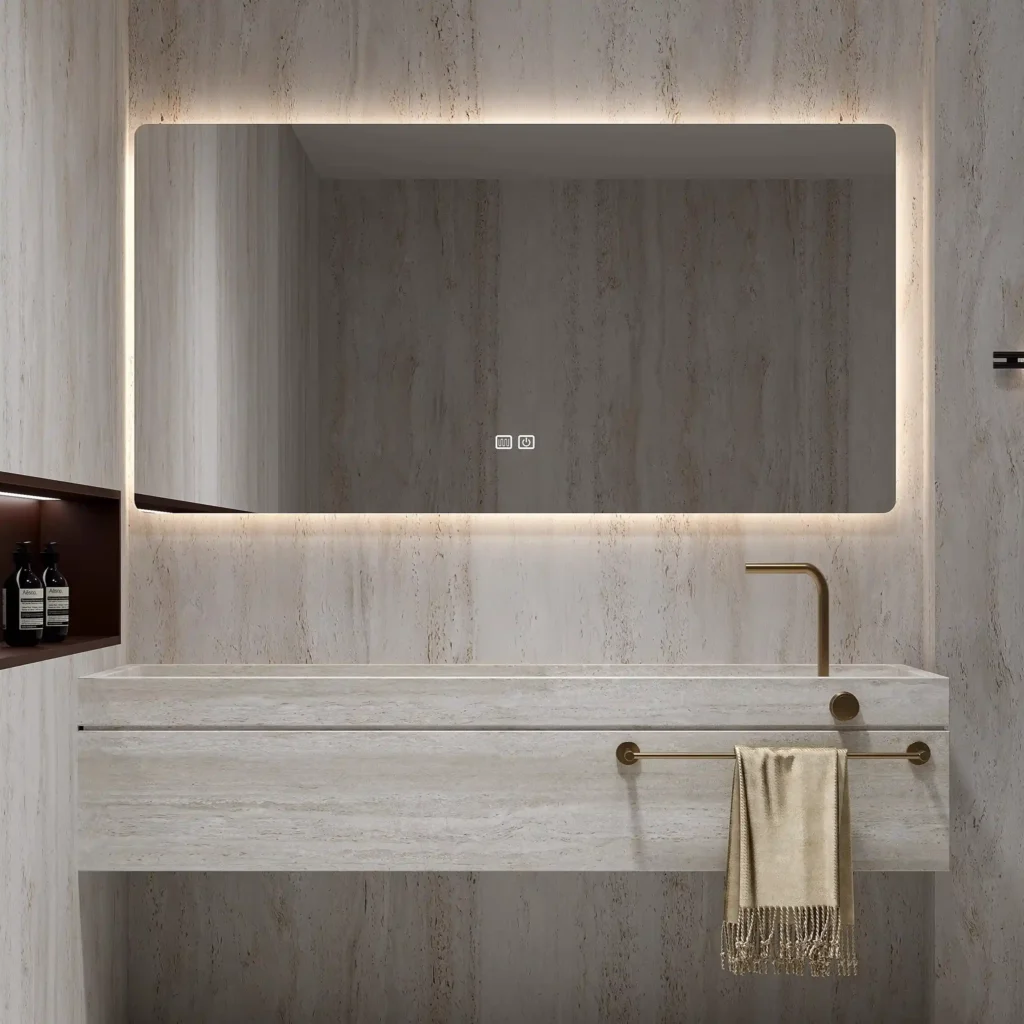
ADA Standards for Door Maneuvering Space
By 2026, accessible design is a baseline requirement, not an optional upgrade. All layouts must account for ADA standards, which dictate the minimum space needed for a person to approach and open a door. MFBATH engineers its vanity placements to align with these rules, ensuring functionality in both residential and commercial projects.
- A minimum clear width of 32 inches is the non-negotiable baseline for accessible doorways.
- Maneuvering space requirements change based on the user’s direction of approach, whether it’s from the front, hinge side, or latch side.
- Recessed cabinet configurations help optimize floor space, especially in compact bathrooms, without violating clearance rules.
Planning for Full Drawer Extension
A vanity’s utility is lost if its drawers cannot open fully. Proper planning involves measuring the drawer’s maximum extension length and ensuring it does not collide with other bathroom fixtures like toilets, shower doors, or adjacent walls. This simple check prevents major usability problems.
- Before installation, measure the full extension depth of all drawers.
- Ensure there is enough clear floor space in front of the vanity for drawers to open without hitting anything.
- In tight corners, using a filler strip between the vanity and the wall can create the necessary space for both doors and drawers to operate freely.
Hardware and Threshold Limitations
Accessibility extends to the smallest details, including the force needed to operate hardware and the height of floor thresholds. These elements are critical for creating a truly barrier-free environment that accommodates everyone.
- Accessible hardware is designed to operate with a maximum of five pounds of force, making it easy to open for all users.
- Bathroom thresholds must not exceed a half-inch in height to allow smooth passage for wheelchairs.
- Soft-close drawer mechanisms are increasingly standard features that improve ease of use.
Mirror & Lighting Proportions relative to Vanity
Correct lighting isn’t just about brightness; it’s about precise proportions and placement that deliver shadow-free facial illumination for practical daily use.
Achieving balanced and functional vanity lighting depends on a clear set of geometric relationships between the vanity, the mirror, and the light fixtures. These industry-standard guidelines ensure that light is cast effectively, eliminating harsh shadows and creating a visually cohesive design. Following these proportions is critical for both aesthetic appeal and practical task lighting in any bathroom project.
Width Ratio: Matching Fixture to Mirror
A key guideline for balanced aesthetics is selecting a lighting fixture that spans approximately 75% of the mirror’s width. This proportion ensures the light source is substantial enough to illuminate the area without visually overpowering the mirror. It creates a contained, intentional look that frames the vanity space correctly.
- Fixtures should not extend beyond the edges of the mirror to maintain a clean and polished look.
- This 75% rule applies whether using a single light bar above the mirror or calculating the combined visual space of dual sconces on either side.
Vertical Placement for Effective Lighting
Proper mounting height is critical for preventing unflattering shadows on the face. The ideal placement varies based on the type of fixture being installed, aiming to center the light source appropriately for anyone using the mirror. The goal is to cast light directly toward the face, not just down from the ceiling.
- Position side sconces between 60 to 70 inches from the floor, which typically aligns them at eye level.
- Mount fixtures installed above the mirror at approximately 80 inches from the floor to cast light downward effectively without creating deep shadows.
Spacing for Shadow-Free Illumination
Correct spacing between fixtures, and between the fixture and the mirror, completes the setup. These distances help create a field of light that minimizes shadows under the chin, eyes, and nose. Proper clearance also prevents the area from looking cluttered and ensures each component has a distinct visual space.
- When installing a light above the mirror, leave a gap of 2 to 3 inches to avoid visual crowding and potential glare.
- For installations with two sinks or two side sconces, space the fixtures 28 to 36 inches apart to ensure light converges evenly on the user.
Custom Sizing: When is it Worth It?
Offering custom-fit solutions is a direct strategy to increase margins, command higher prices, and reduce costly product returns from sizing errors.
Improving Margins by Reducing Returns
Providing custom-fit bathroom vanities directly impacts profitability by cutting down on product returns. Many returns are simply due to incorrect sizing. Market analysis confirms that distributors offering precise sizing can lower merchandise returns by up to 28%. When a vanity fits a unique space perfectly, you avoid the significant costs tied to reverse logistics, restocking, and writing off damaged inventory.
Commanding Premium Prices for Tailored Solutions
Customization is the most effective way to move beyond standard price competition. It allows distributors to justify higher price points based on the clear value of a perfect-fit product. Tailored products can command prices up to 20% higher than their standard-sized equivalents. FocusCabinet supports this strategy with a low MOQ of just 20 sets for production orders, allowing partners to test premium custom offerings in local markets with minimal financial risk.
Boosting Conversion Rates and Customer Loyalty
Investing in custom sizing capabilities builds customer confidence and drives sales. When a buyer finds a solution that perfectly fits their specific bathroom layout, their likelihood to purchase increases immediately. Retailers that effectively implement personalization and sizing tools report sales conversion increases between 10% and 15%. Solving unique spatial challenges positions a distributor as an expert partner, which encourages repeat business and strengthens long-term client relationships.
Conclusion
Mastering vanity dimensions ensures every project element fits together seamlessly, from door clearances to mirror proportions. This attention to detail prevents costly installation errors and creates a functional, aesthetically balanced space. Getting the measurements right is the foundation of a successful bathroom design.
When you’re ready to source vanities for your next project, our team can help you specify the exact materials and dimensions to meet your budget. Contact us to request a catalog or discuss our refundable sample program to verify our quality firsthand.
Frequently Asked Questions
How much space do I need for vanity door swing?
To ensure full functionality, you need space for both door swing and general access. For side clearance, maintain at least 18-21 inches between the vanity and an adjacent wall or fixture. For front clearance, you need enough space for the door to open completely—typically the width of the door itself, which can be up to 22 inches. Building codes generally require a minimum of 21 inches of clear floor space in front of the vanity for safe access.
What is a vanity filler strip used for?
A vanity filler strip is a matching piece of finished material used to close the gap between a vanity cabinet and an adjacent wall. It is essential when installing a standard-sized vanity into an alcove or corner that is slightly wider than the cabinet. This creates a seamless, built-in appearance and ensures that drawers and doors can open fully without scraping against wall trim or casings.
Standard depth of a bathroom vanity?
The industry standard depth for a bathroom vanity is between 18 and 22 inches. This range provides ample countertop space and sink capacity for most bathrooms. For more compact spaces like powder rooms or narrow bathrooms, shallower vanities with depths around 15 to 18 inches are also widely available.
How big should a mirror be over a 30 inch vanity?
For a 30-inch vanity, the mirror should typically be 2 to 4 inches narrower than the vanity itself, so a width of 26 to 28 inches is ideal. This creates a balanced look with a small visual border. Alternatively, for a more modern and streamlined appearance, you can use a mirror that is the exact same width as the vanity (30 inches).
Can I put a 30 inch vanity in a 30 inch space?
While technically possible, installing a 30-inch vanity into an exact 30-inch alcove is not recommended. Walls are rarely perfectly plumb, and a tight fit can make installation difficult and may scratch the surfaces. The professional standard is to use a slightly smaller vanity (e.g., 28 inches) and use filler strips on each side to close the gaps, ensuring a clean, custom-fit appearance and proper clearance for doors and drawers.
Correct height for vanity light above mirror?
The standard height for a vanity light fixture installed above a mirror is 75 to 80 inches from the finished floor to the center of the fixture. This placement ensures the light illuminates the face evenly and reduces shadows. It’s also good practice to ensure there are at least a few inches of clearance between the top of the mirror frame and the bottom of the light fixture.





0 Comments